Chris's camera pages
Retina Reflex S strip-down continued...reassembling the film advance mechanism
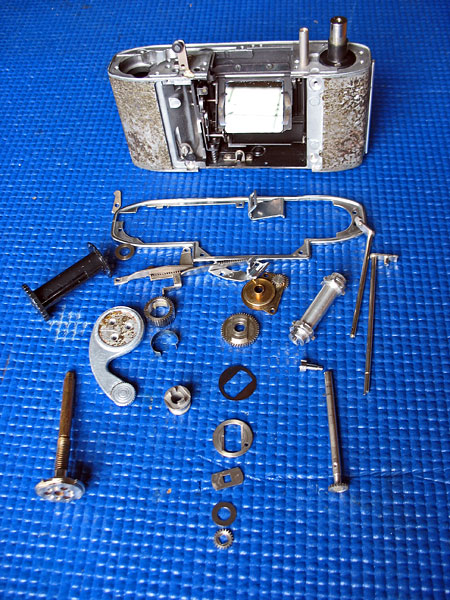
Now it's time to reassemble the cleaned film advance components.
The assembly of the film advance mechanism is pretty much a reverse of the stripping-down process.It is probably easiest to start by installing advance shaft.Lubricate the advance shaft return spring with fresh grease. I use a synthetic lubricant for this job. Be sure to also lubricate the shaft where it passes through the fixing bush.The tail of the return spring on the advance shaft should fit neatly into the slot on the fixing bush.
Align the holes in the bottom of the film advance sprocket with those in the fixing bush, otherwise the fixing bush tends to sit neatly over the spacing studs visible between the bottomplate on the shaft and the fixing bush, which is very confusing when trying to fit the screws. Make sure the metal bush is fitted into the base of the take-up spool.
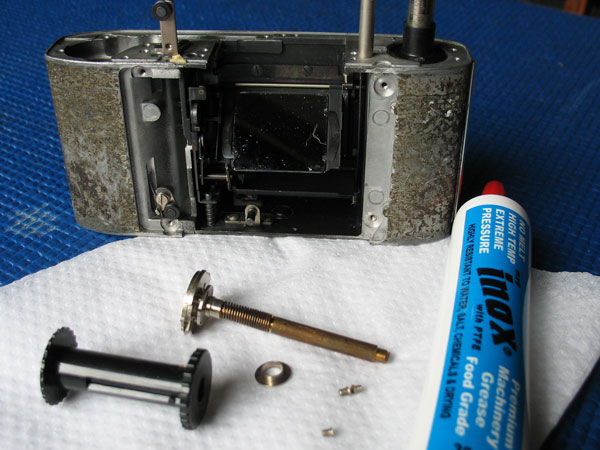
Put the film take-up spool back into the body, and pass the advance shaft back through the spool.
Align the holes in the base of the advance shaft with those in the fixing bush. Generally the slot in the fixing bush should align with the end of the body.
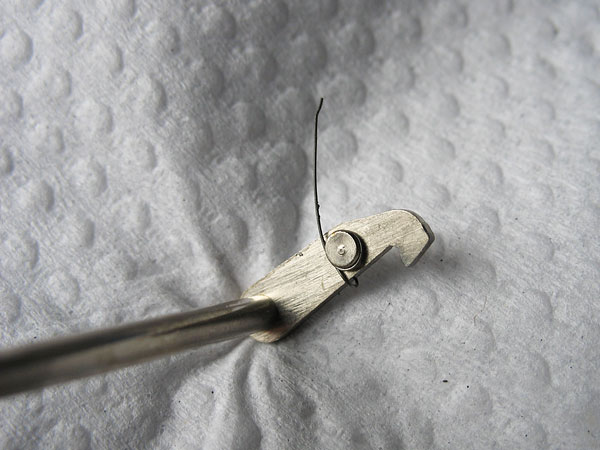
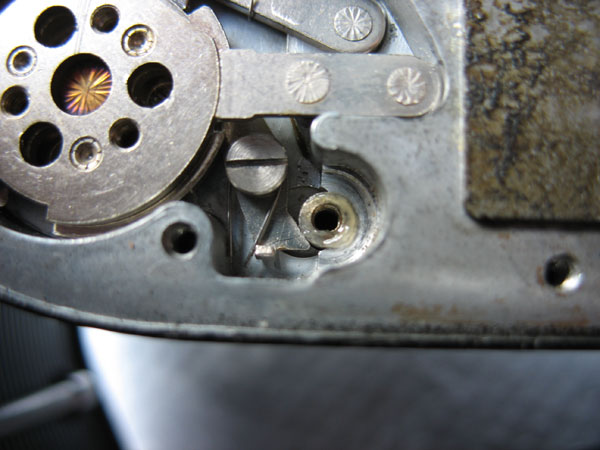
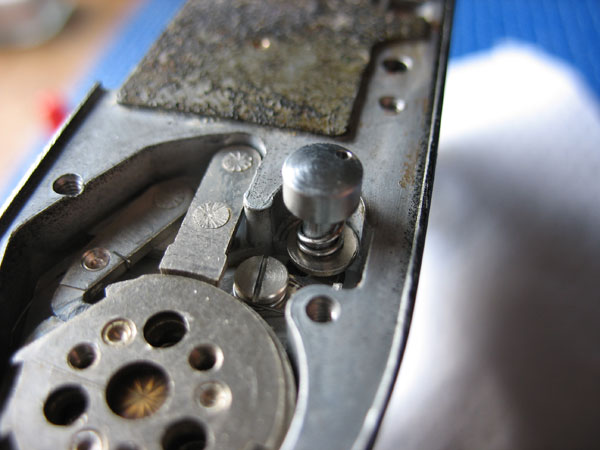
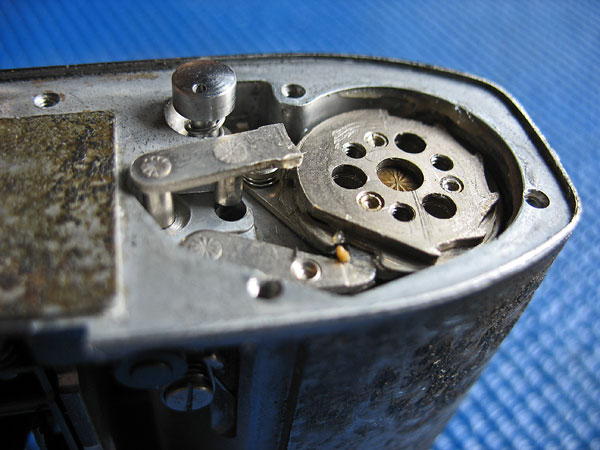
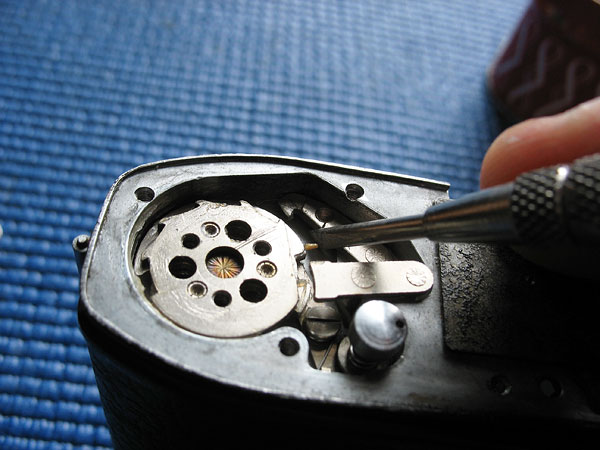
Check the lock and release mechanisms, make sure there are no rough spots on the shafts from corrosion. The spring for the lock assembly is noticeably lighter than the one for the release assembly. I wipe a little molebdynum lubricant into the holes in the body cast top and bottom where the shafts run.A brief note now on the purpose of the lock and release levers. The lock lever is the component that stops the film advance lever when the frame counter reaches number '1'. The lock lever is held down clear of the end of the film advance shaft by the underside of the frame counter dial. When the frame counter reaches number '1' a hole in the dial allows the lever to rise, blocking the film advance lever from further movement.The release lever forms the interlock between the shutter release and the film advance mechanism. As you swing the film advance lever the tip of the release lever follows the ratchet until it reaches a cut-out at the end of the swing. The release lever then rises under spring tension and the advance lever can return to the rest position. At this point the advance lever is blocked from further movement. When either the shutter release button, or the film release button is pressed at the top of the camera, the release lever is pushed down again, which moves the tip of the lever down to the lower side of the end of the advance shaft and so allows the film advance lever to be moved again.
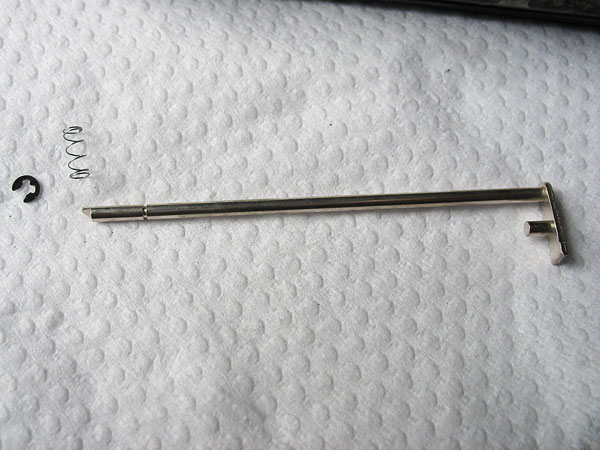

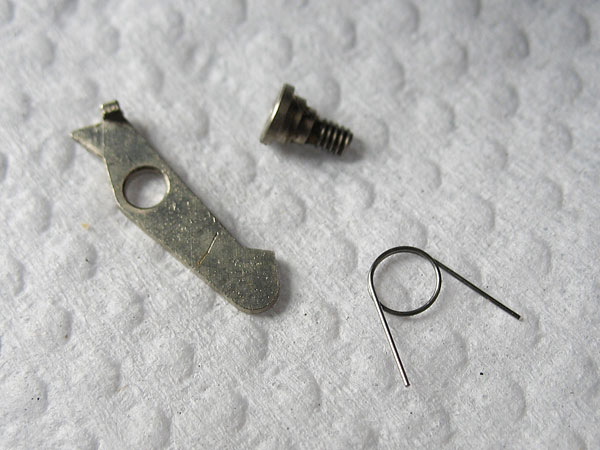
Install the lock lever.
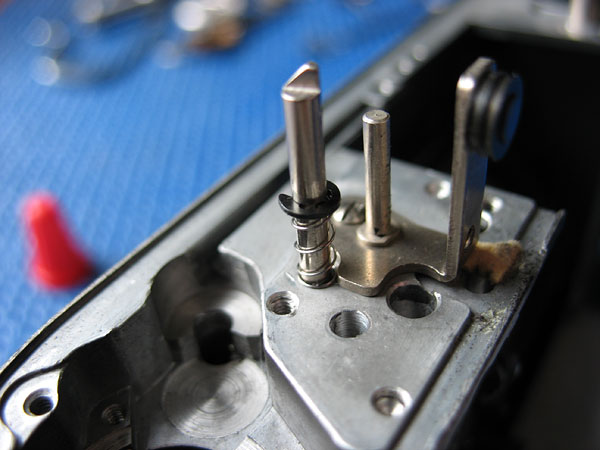
Note the way the spring fits on the end of the release lever.
Install the release lever.
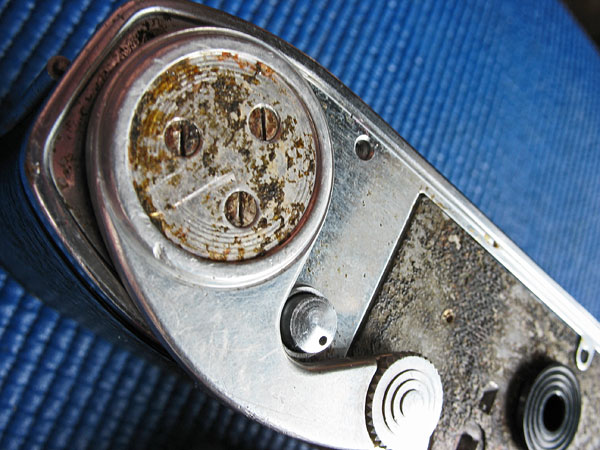
Install the rewind release lever, with its spring.
Grease the inside of the clutch assembly. Note that the spring can only be located in one position, with the tab in the slot of the centre component. I use a pair of crimp-lug pliers to hold the spring compressed while I push the outer case over it. Take care not to distort the spring else the clutch will not give the appropriate 'slip' under load.
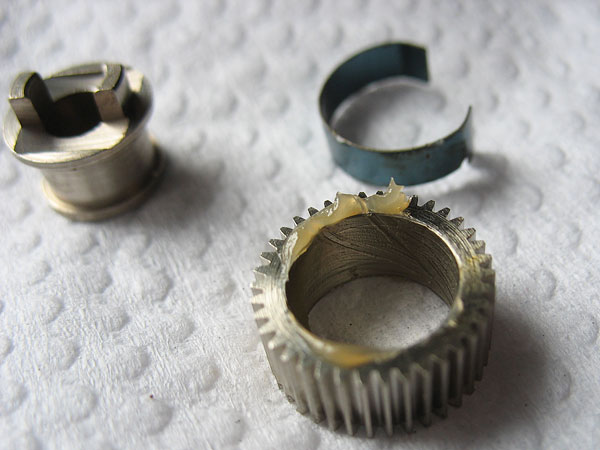
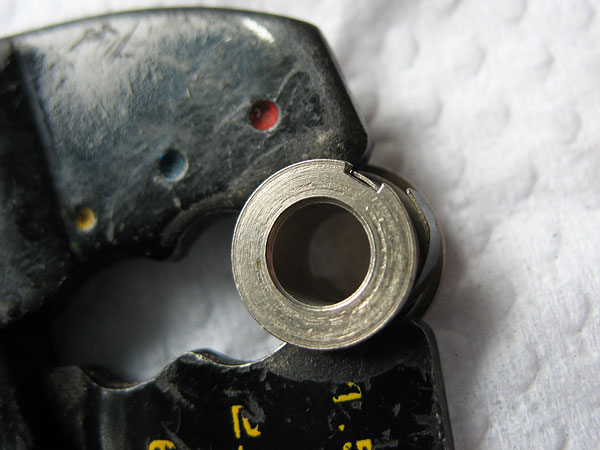
The centre of the clutch should revolve smoothly in both directions inside the outer case, but will certainly have greater resistance in one direction.
Lightly lubricate the inside centre of clutch, fit the clutch over the film advance shaft and rotate the clutch to engage it with the take-up spool.
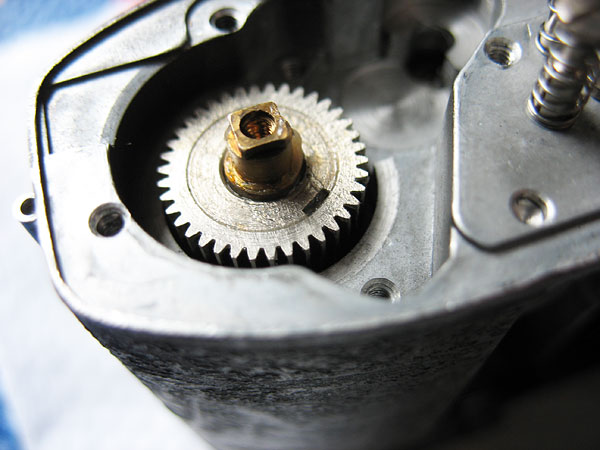
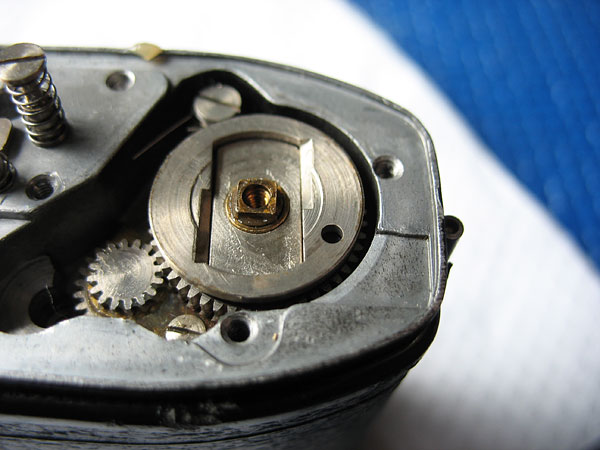
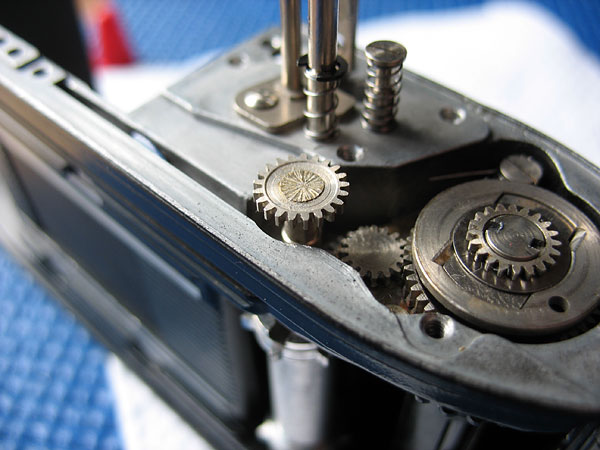
Grease the gear in the bushing and gear assembly and place over the clutch.
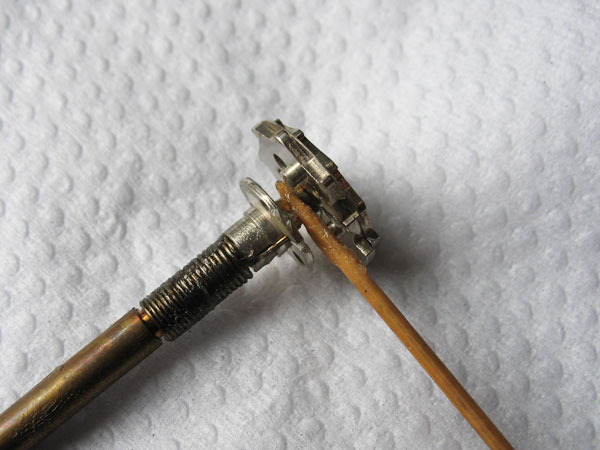
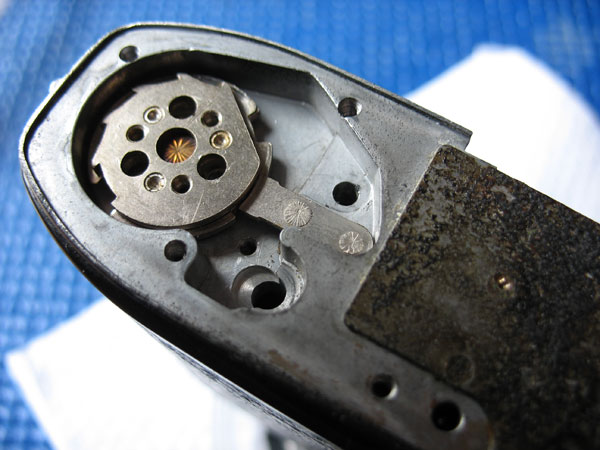
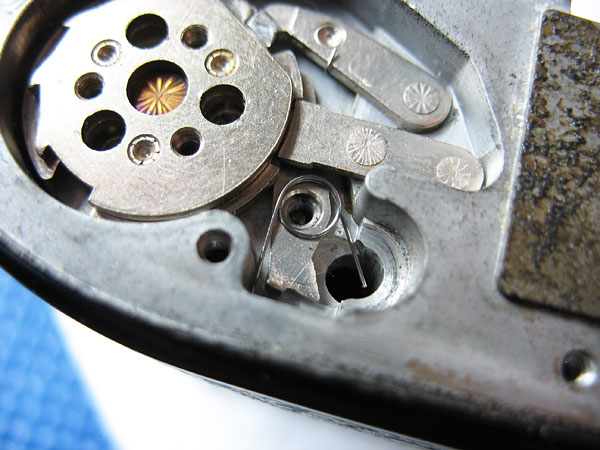
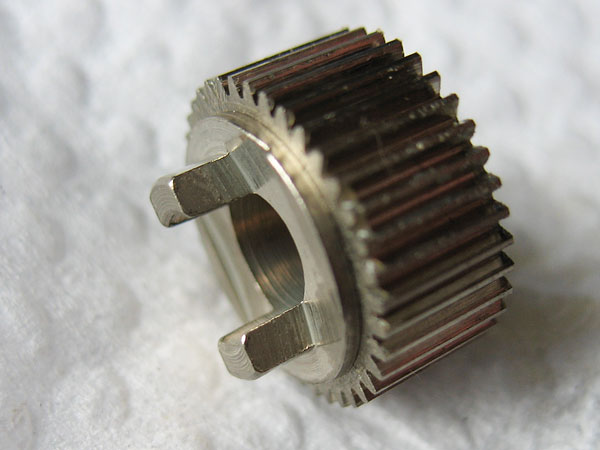
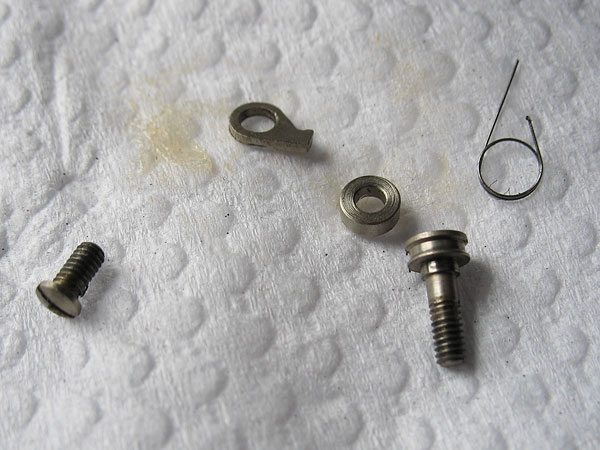
Fit the plain screw into the brass bushing and gear assembly, and install the ratchet components. Note that the small round spacer that fits under the ratchet pawl has a slight countersink one one side, that side must face downwards.
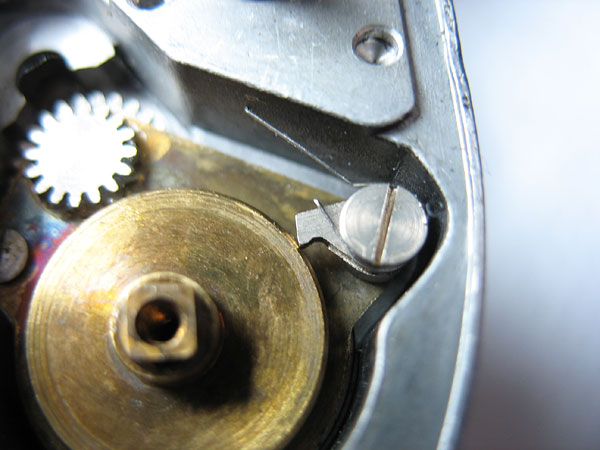
Lightly lubricate the gear and place over the top of the bush and gear assembly. Place the spring over the gear centre down.
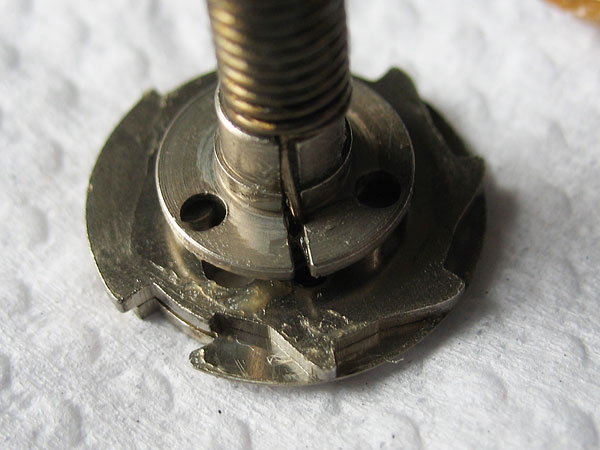
Place the cam over the spring, and fit the pawl on top of the advance shaft.
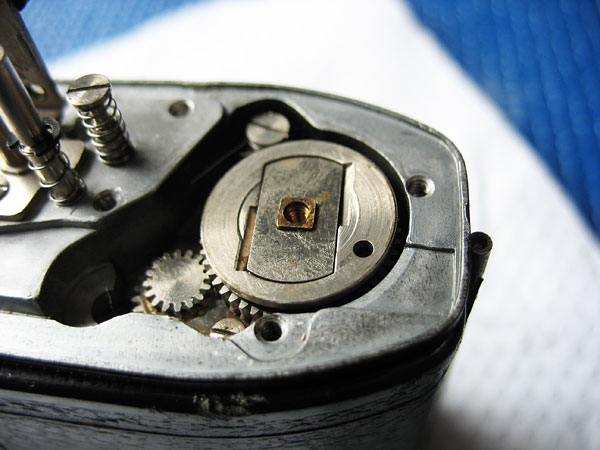
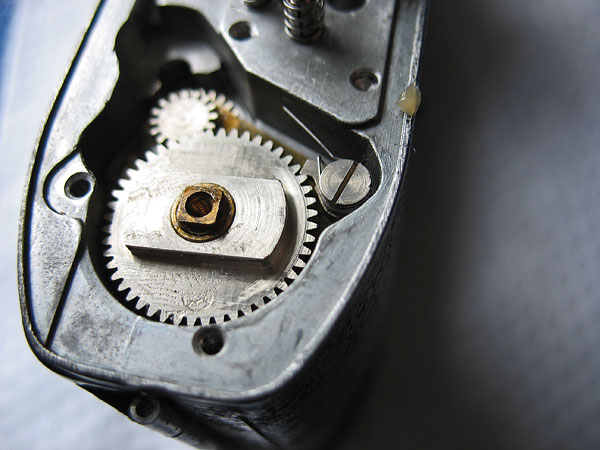
Place the spacer over the pawl, and the fit the gear over the squared top of the advance shaft.
![]()
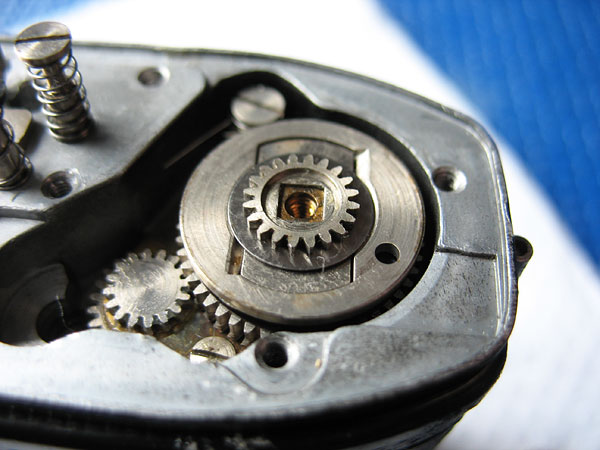
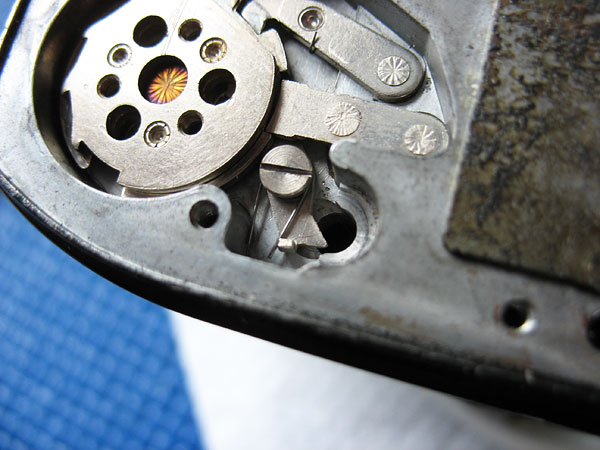
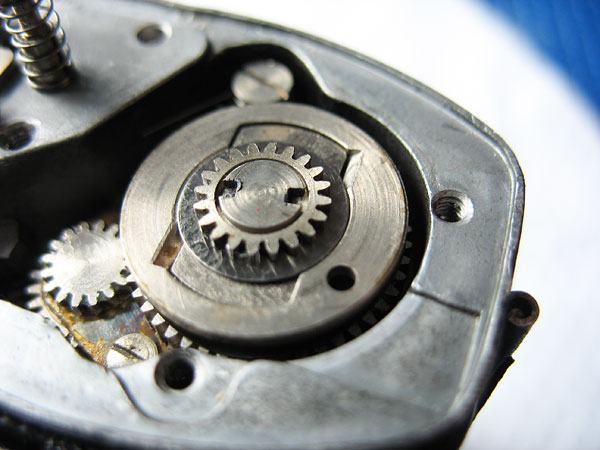
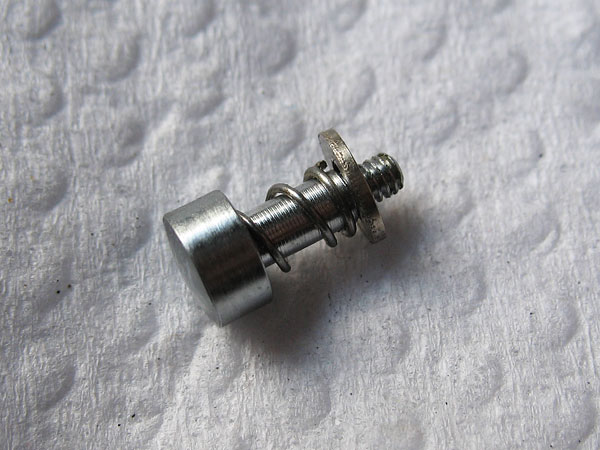
Fit the screw and tighten.
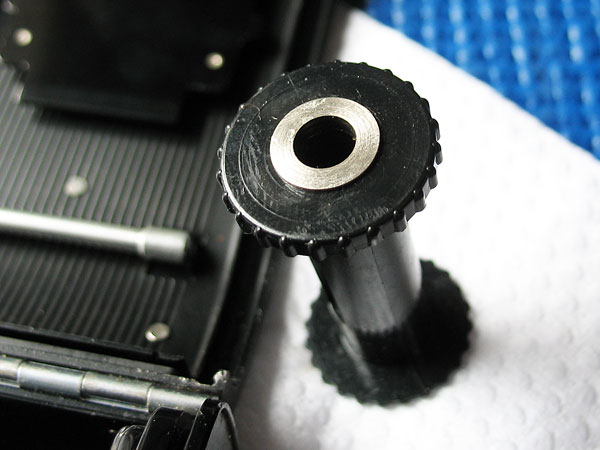
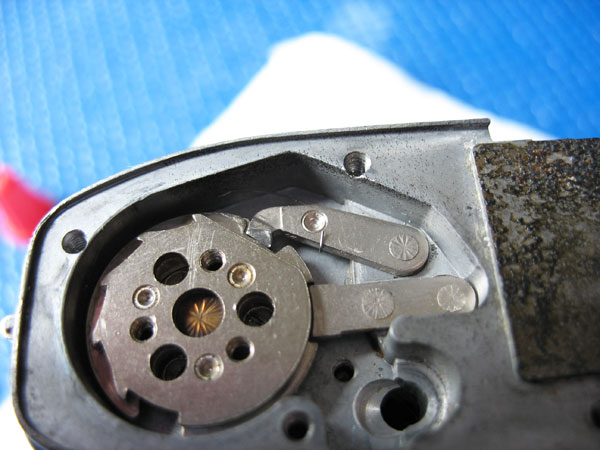
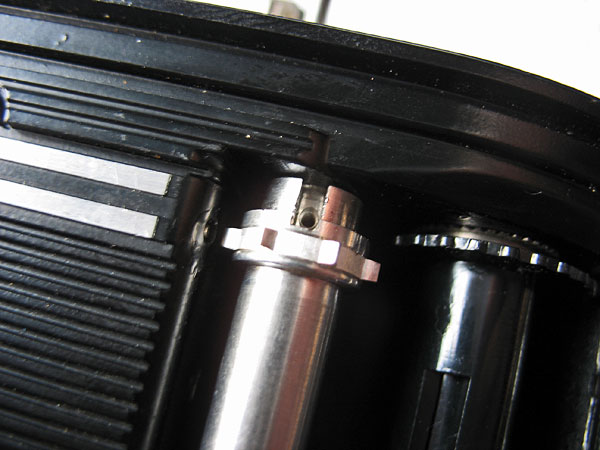
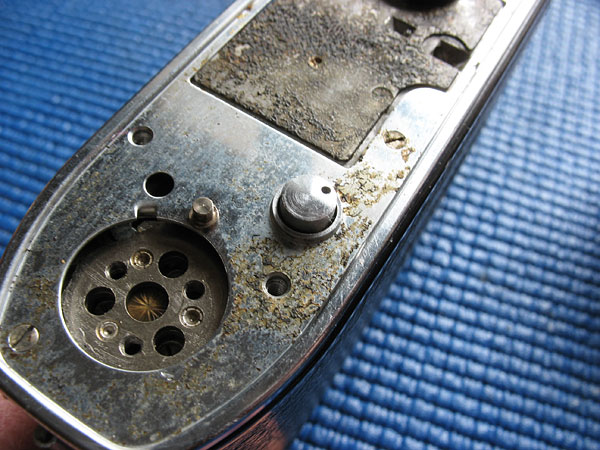
Place the film sprocket back into the body. The end with the slot goes to the top. Install the sprocket shaft.
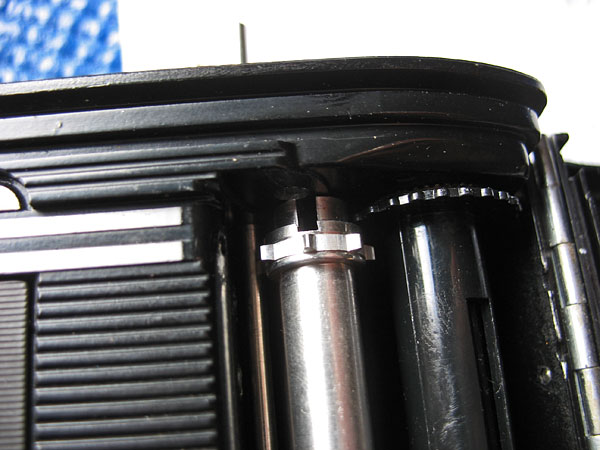
Push the rewind release lever across with the tip of a screwdriver to allow you to push the sprocket shaft all the way down. Assemble the rewind button components. Screw the rewind button loosely back into the end of the sprocket shaft.
Fit the screw through the slot in the sprocket through to the sprocket shaft.
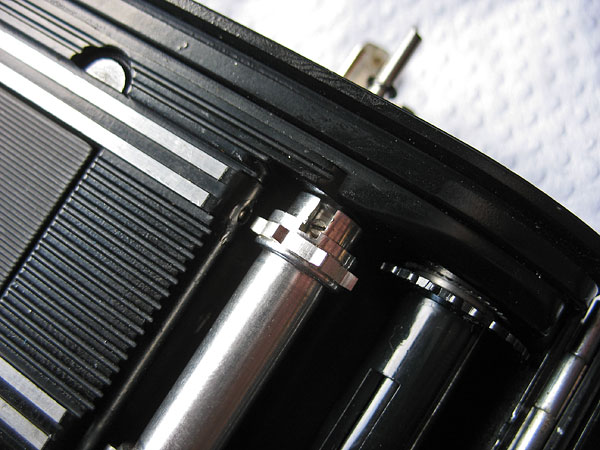
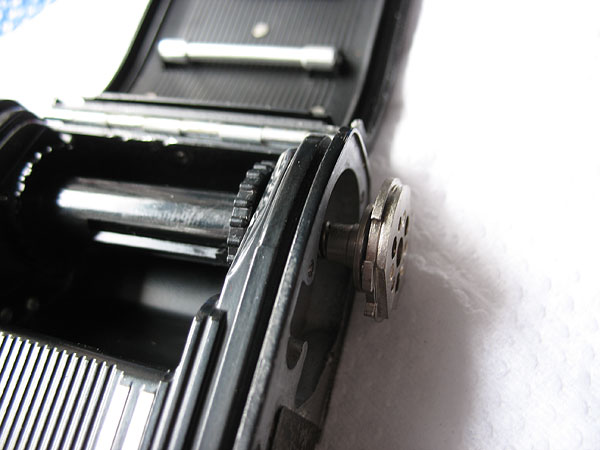
Check that the rewind button is able to pass through its washer freely, and prevent the sprocket shaft from turning with your thumb while you tighten the rewind button.
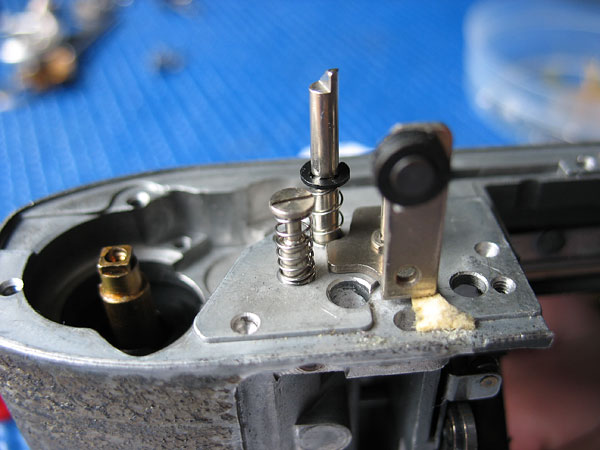
Tension the return spring by lifting the lock lever up and across to disengage it from the end of the advance shaft, hold the release lever away with the tip of a screwdriver and rotate the film advance shaft clockwise one full turn with the tips of a pair of tweezers or similar and then allow the release lever and the lock lever to drop into position to prevent the shaft rotating back again.
Being careful not to disturb the lock lever at the top of the camera, apply a litle grease to the contact areas on the end of film advance shaft, replace the chrome trim to the base of the camera and fit three or four screws to secure it.
Fit the film advance lever in position and tighten the three screws.
Check the action of the film advance by pressing the film release lever down at the top of the camera until it latches. Holding the lock lever down with the tip of a finger, swing the film advance lever and allow it to return to the park position. It should swing freely and the return spring should return it to the body positively.If all is well proceed to installing the upper components
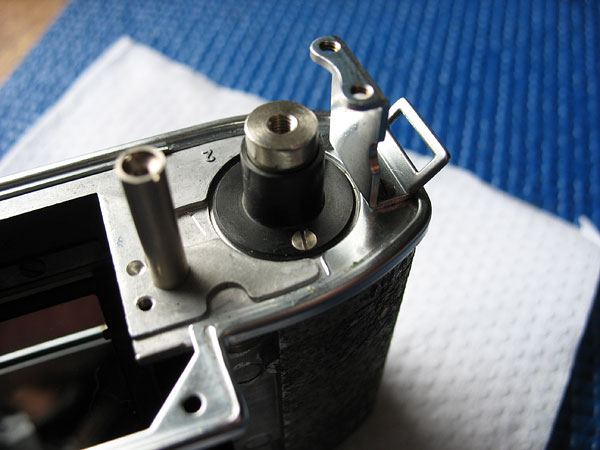
Fit the upper trim and left-hand strap lug.
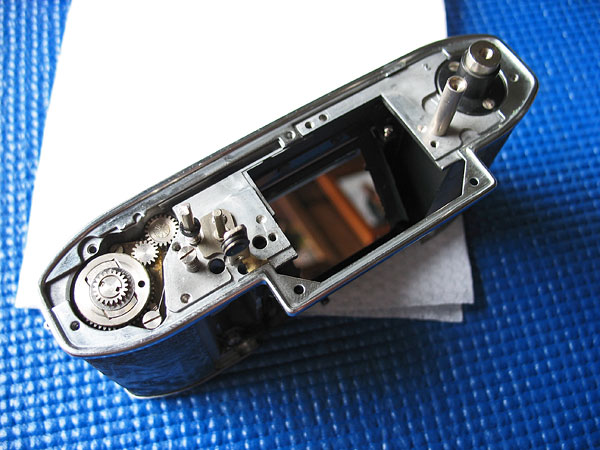
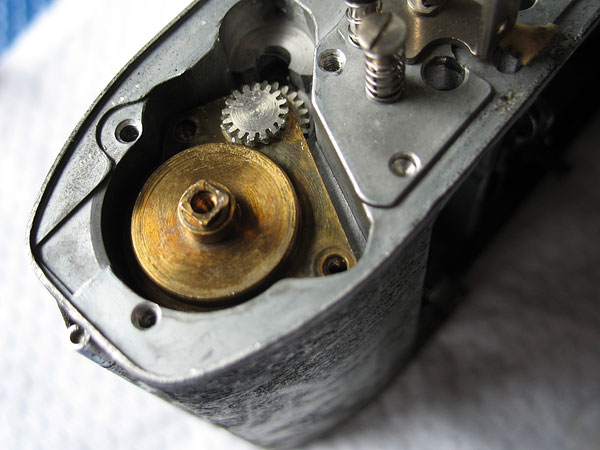
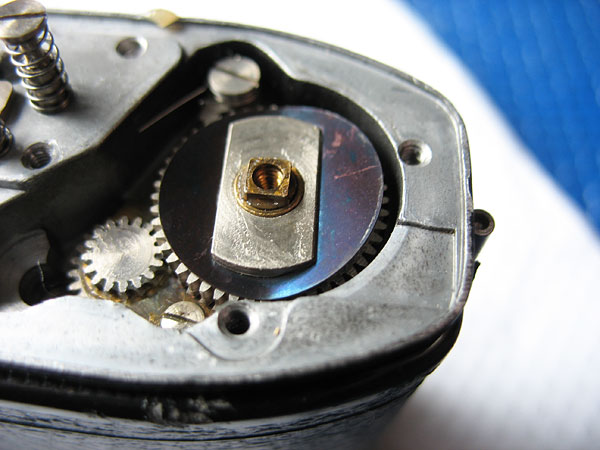
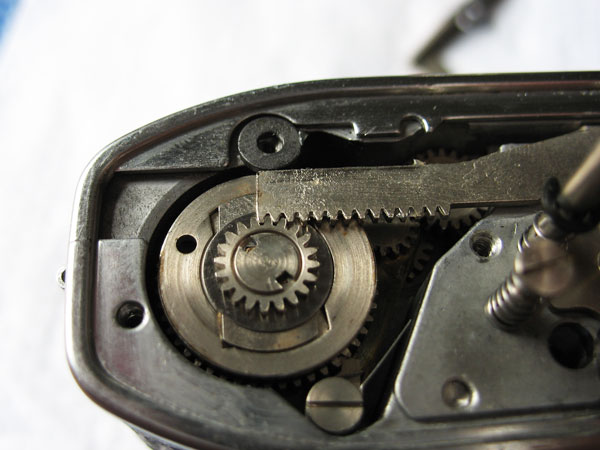
Install the setting rack and the spacer. The teeth of the setting rack should engage with the advance shaft gear as in the picture.
Put the right-hand strap lug into position and fit and tighten both screws.
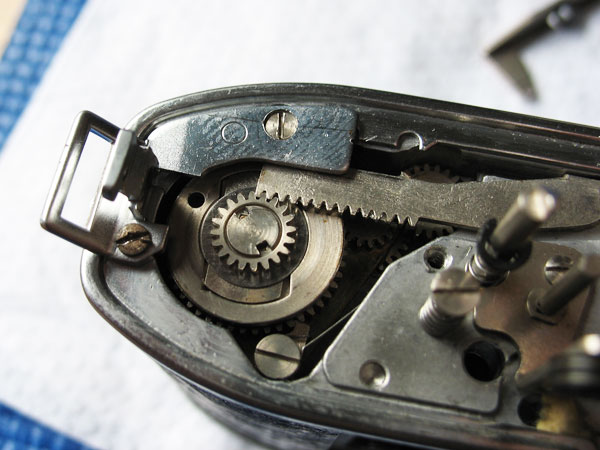
Place the rack clamp into position and install and tighten both screws.
Check that the film advance lever moves smoothly again. If all is well, put the body aside and move on to stripping down the shutter assembly.
Next section: Stripping down the shutter.