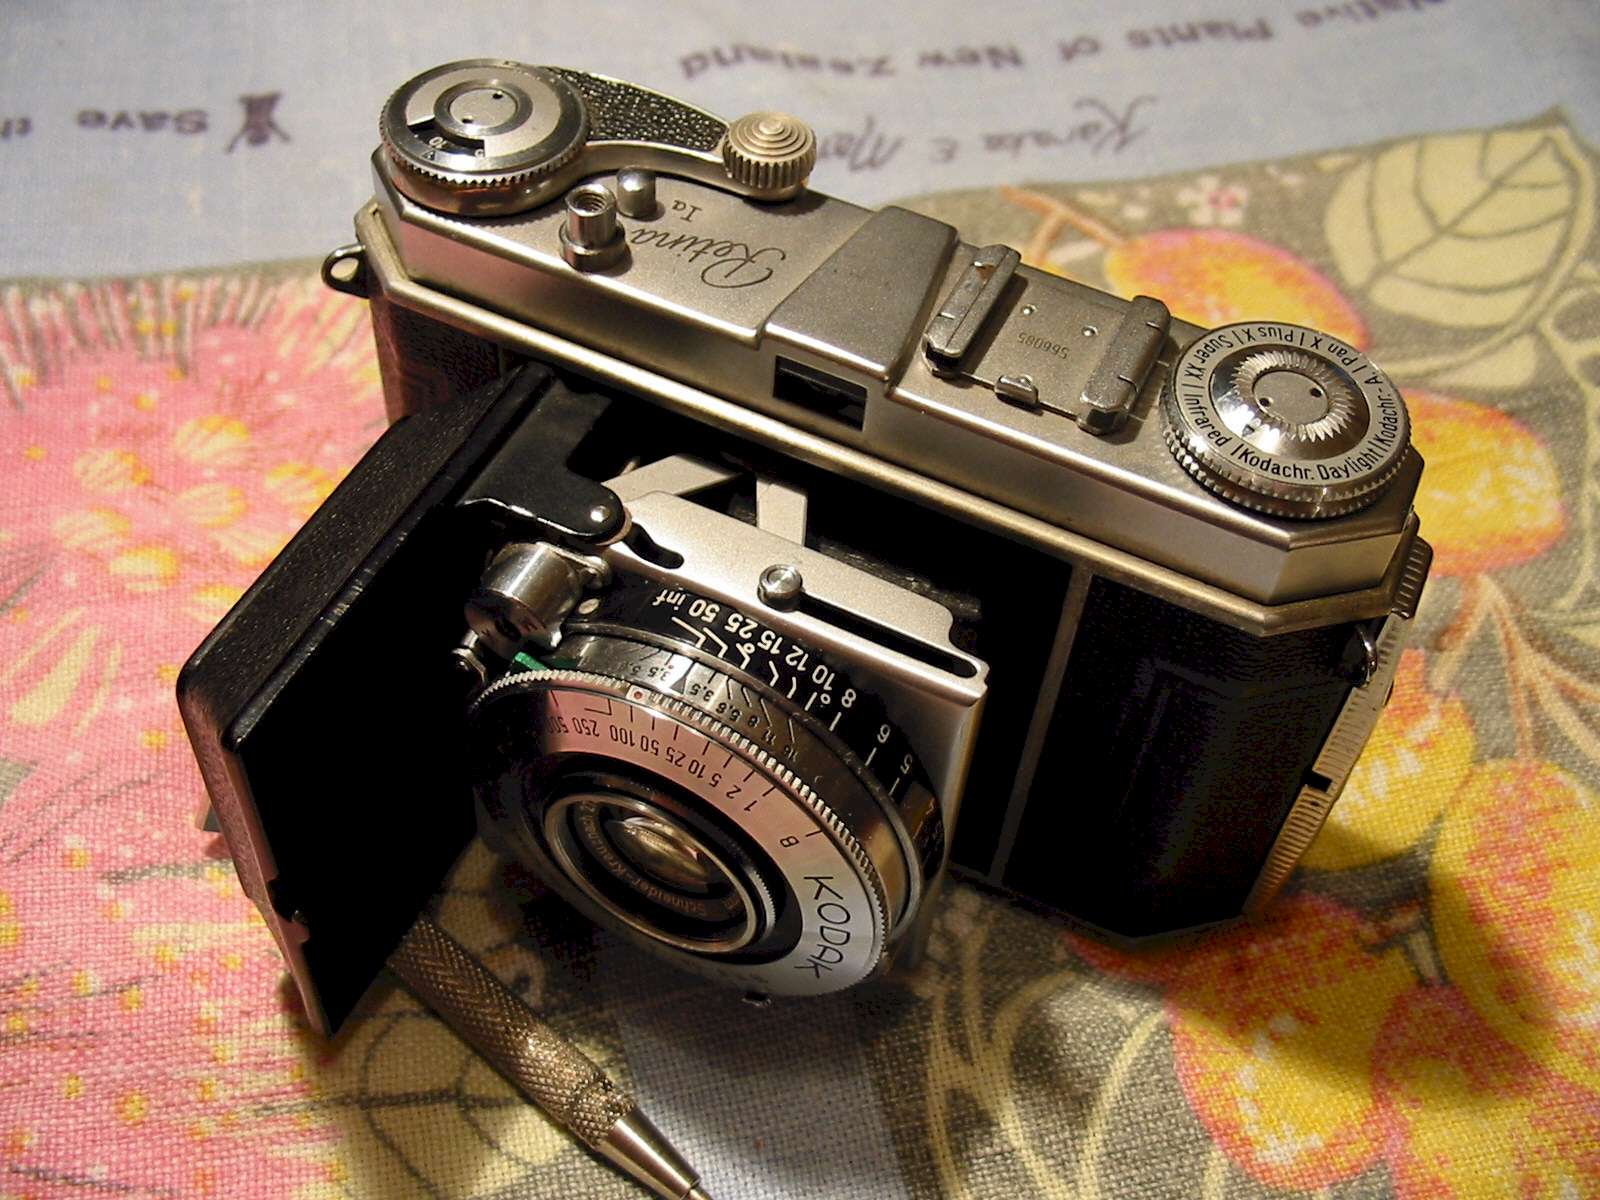
Chris's camera pages
Retina 1a strip down notes
The film advance mechanism
The film advance mechanism
Set up for working on your camera by preparing a soft surface to prevent scratches to the camera or the table, a folded tea towel or similar works well. This should stop small parts rolling away off the table too. If you plan on removing the shutter cocking rack, then you will find it a lot easier to work on the film advance if you remove the shutter from the camera first.
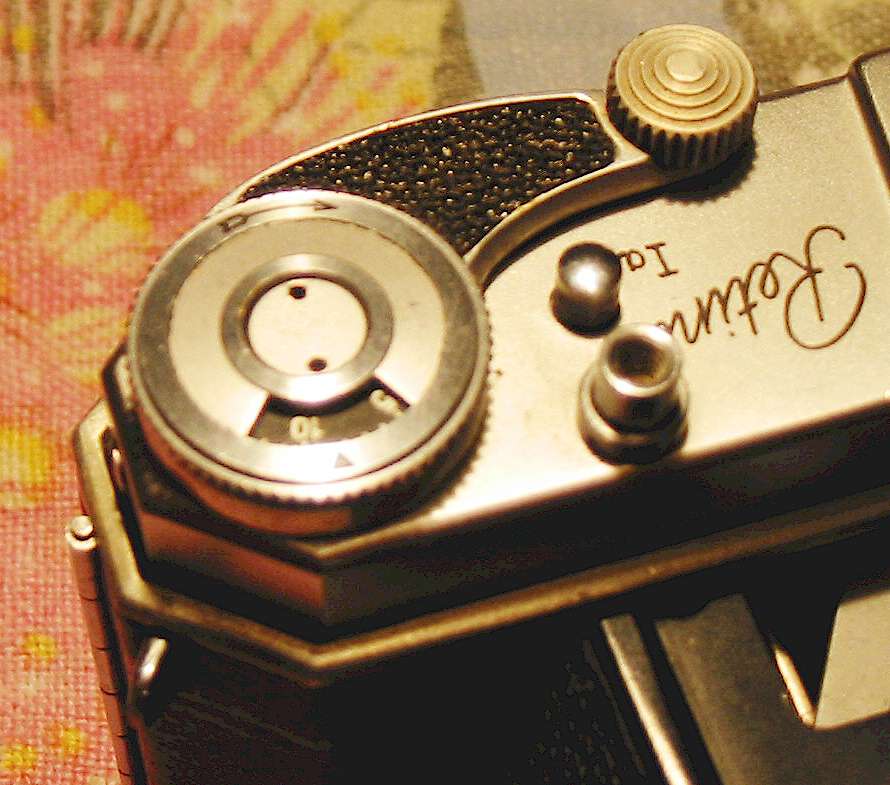
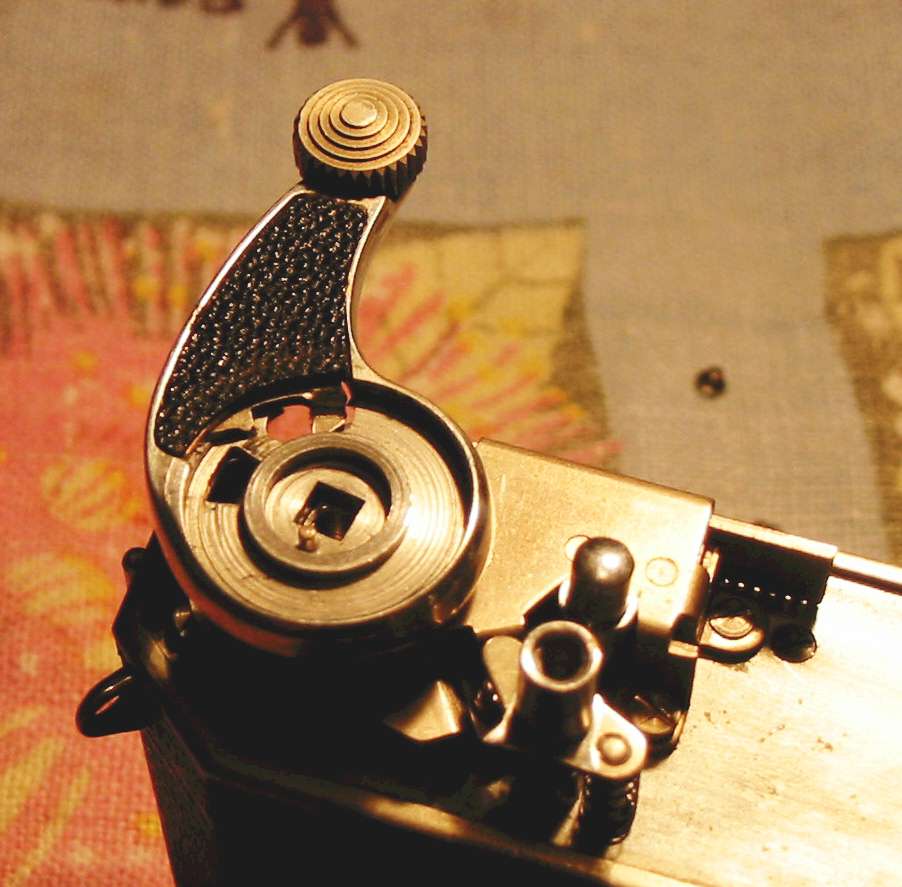
The first thing to remove is the film advance lever, you will need to unscrew that pin-head screw in the centre of the lever. It is conventional right-hand threaded. The rewind knob at the other end of the camera will also need to come off. Use a screwdriver as a lever to stop the shaft from turning inside and unscrew the knob with your fingers. This is right-hand threaded too. Then remove the screw at each end of the top plate. Lift off the top.
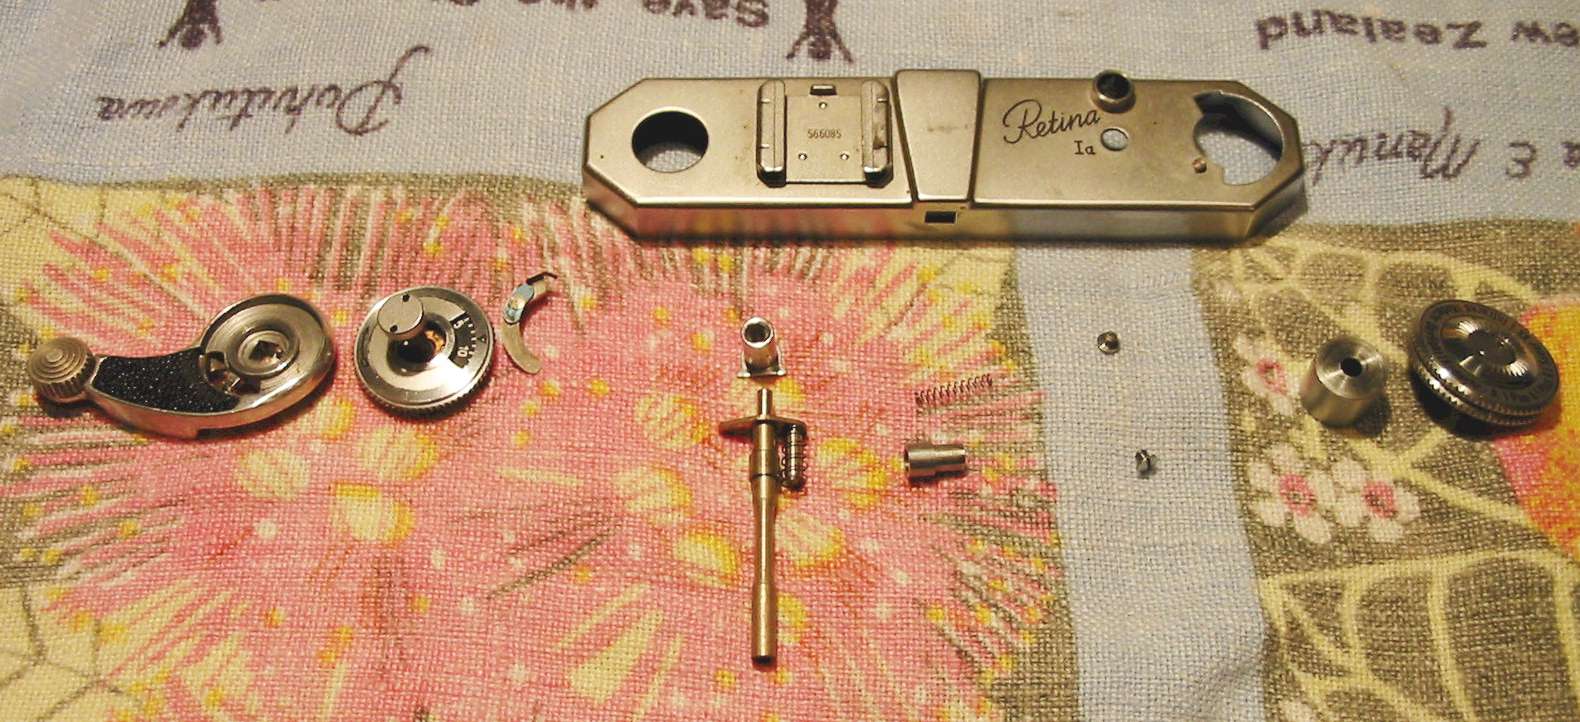
Lay out the parts so you will know where everything is.
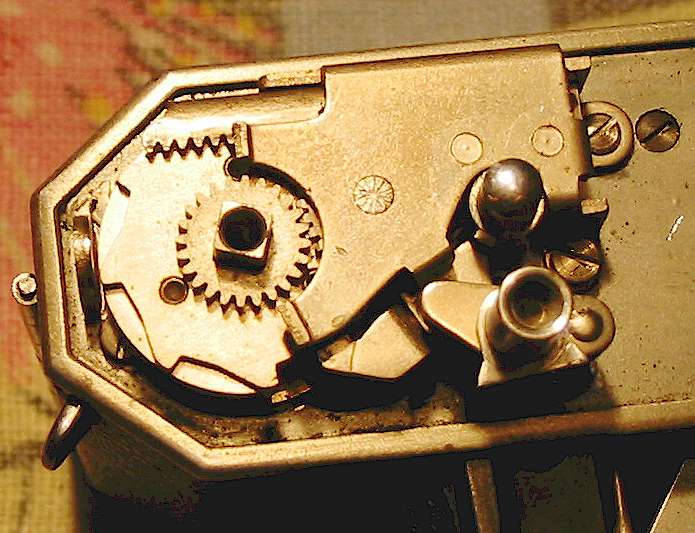
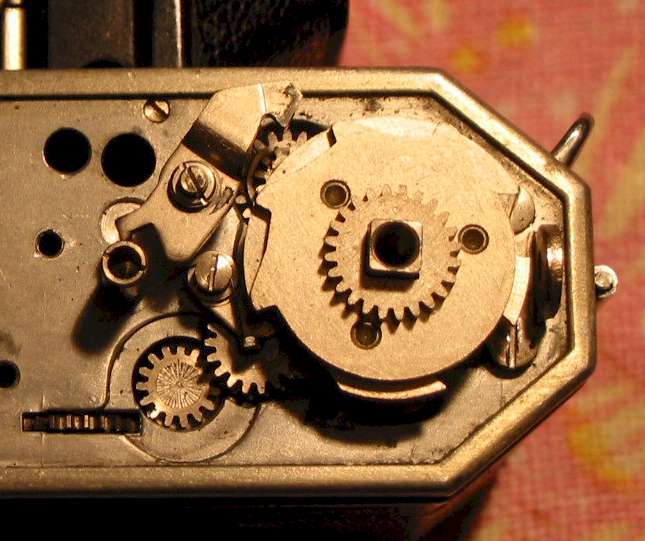
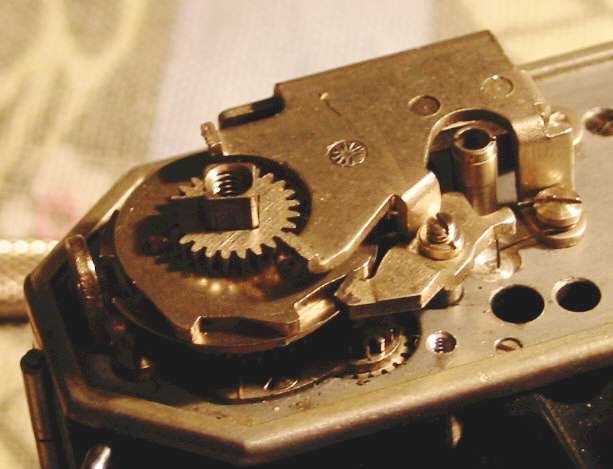
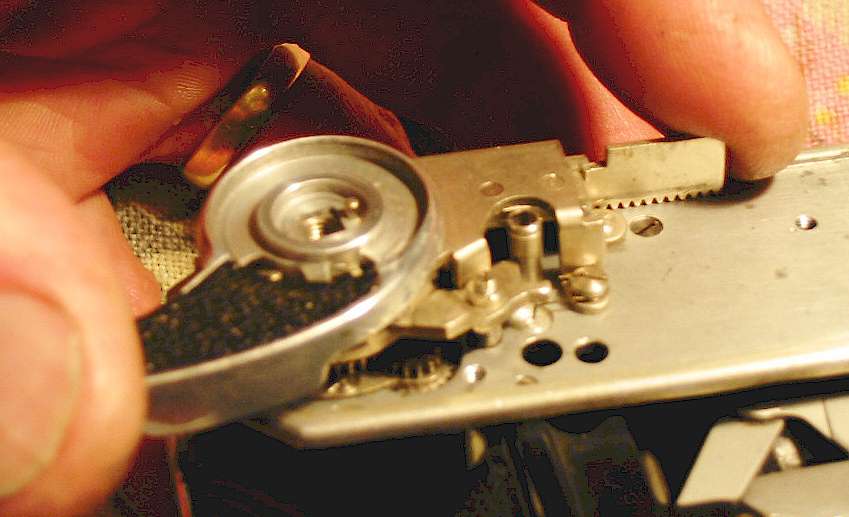
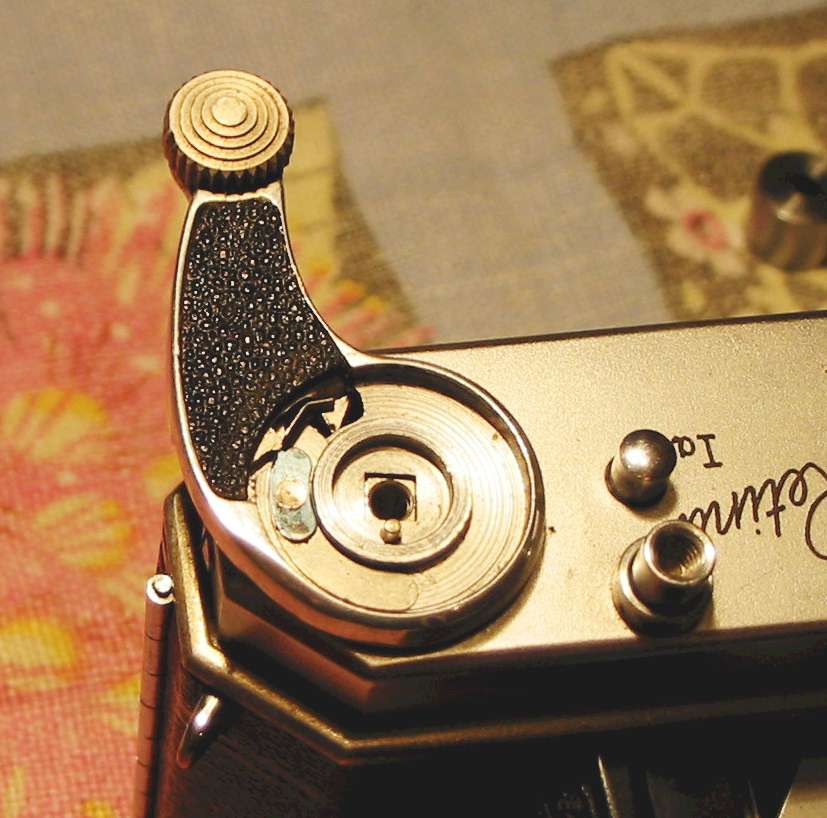
This picture shows the correct position of the cocking rack. In this picture the shutter is cocked and the winder is in the rest position . Note the position of the ratchet and the square top of the winding shaft.
Here you can see the film release button lifted off to show it's return spring in position.
In this picture both the shutter release and the film release button and spring have been removed to show the position of the spring that returns the release lever assembly. The spring is held down by the screw at the front of the winding rack bracket.
This shows the shutter release shaft, note the return spring, which fits over the short pin and the collar fits on the main shaft between the camera body and the shaft top.
Here you can see the top of the film advance shaft with the cocking rack and associated parts removed. The film advance shaft is under no spring tension at this point.
Here the shutter release lever assembly has been put back into place. The return spring for this lever is held in place by the cocking rack support bracket as shown further down the page.
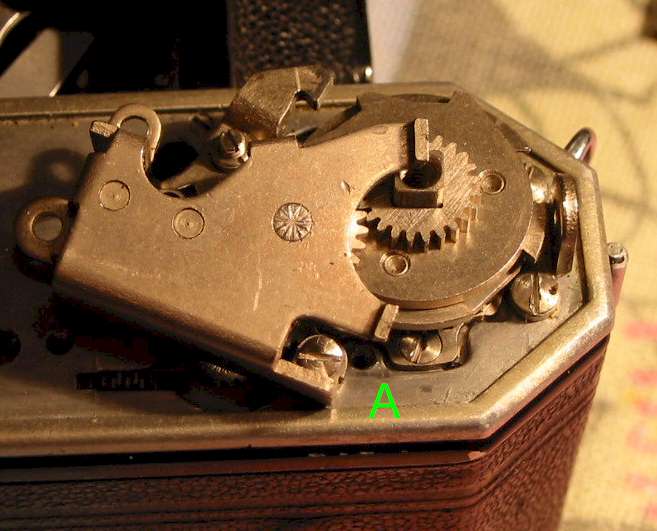
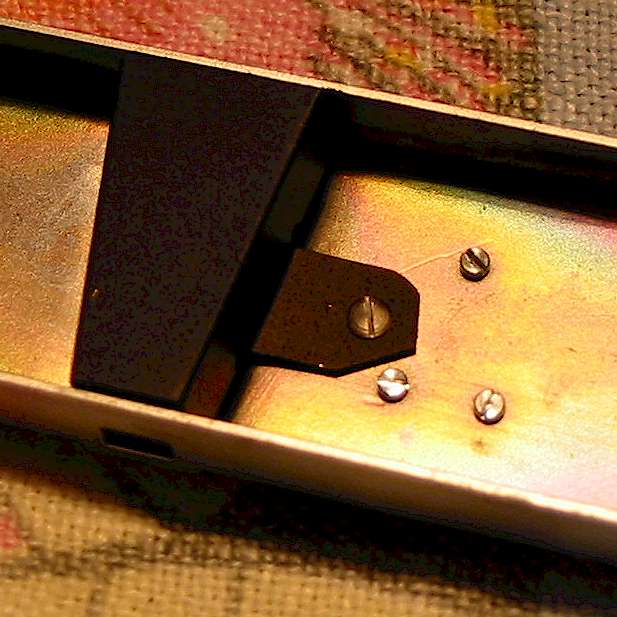
In this picture you can clearly see the third screw on the rack support bracket at"A" which is only accessible while the rack is removed. Place the support bracket over the top of the film advance mechanism and start this screw.
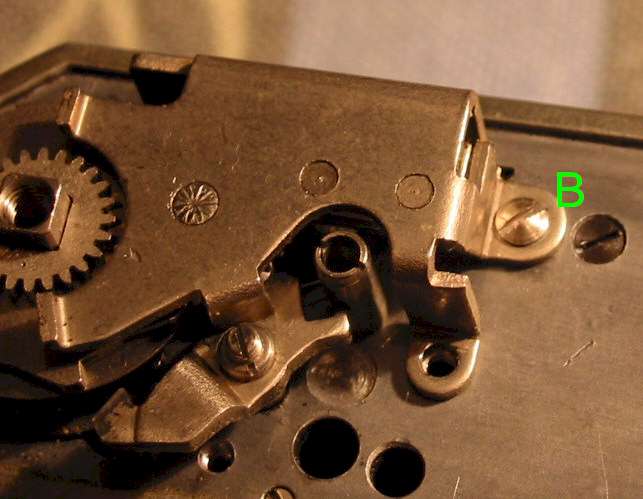
Then start the screw at the position "B" in this picture.
Here you can clearly see the return spring for the shutter release lever assembly along with the third mounting screw for the rack support bracket.
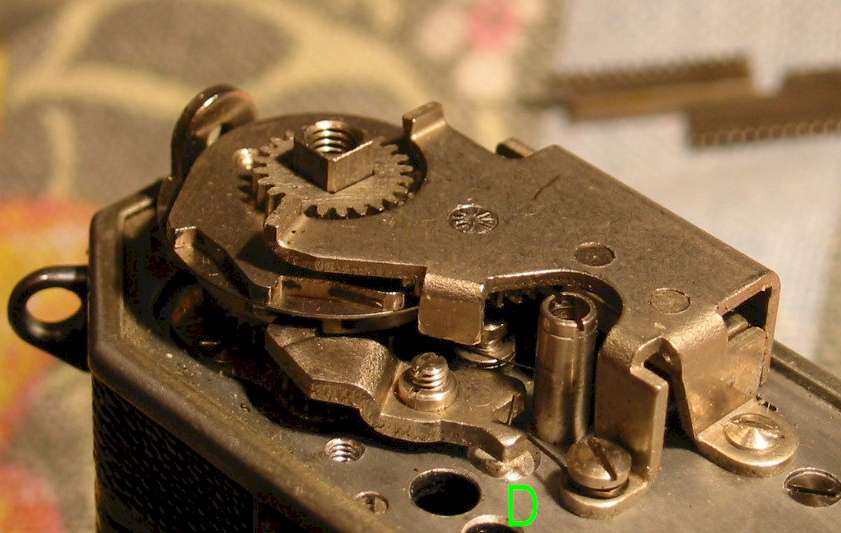
The spring is visible in position at the place marked "D". Tighten all three screws now.
In this picture you can see the film advance is still under no spring tension
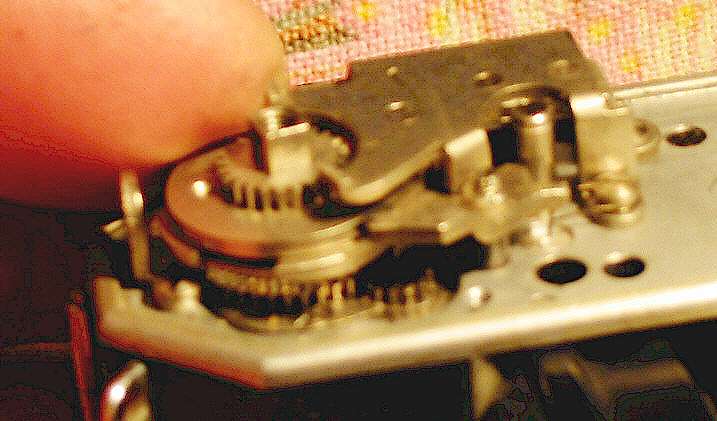
Here I have turned the film advance shaft anti-clockwise (looking down on it) to tension the return spring for the film advance lever. Note the position of the cut-out section on the ratchet on the film advance shaft. Next you should put the film advance lever in place as in the picture below while stopping the ratchet from turning with your finger.
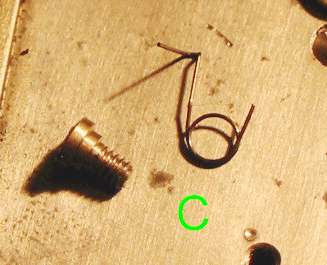
If the return spring doesn't act as expected, perhaps it is broken. Look here to see instructions for removing the film wind shaft and return spring.

The film advance lever should be at or near it's forward swing position at this stage. Once the lever is fitted you can allow the film advance lever to return to it's rest position. You should reinstall the shutter release shaft, film release button and their associated springs and collar at this time.
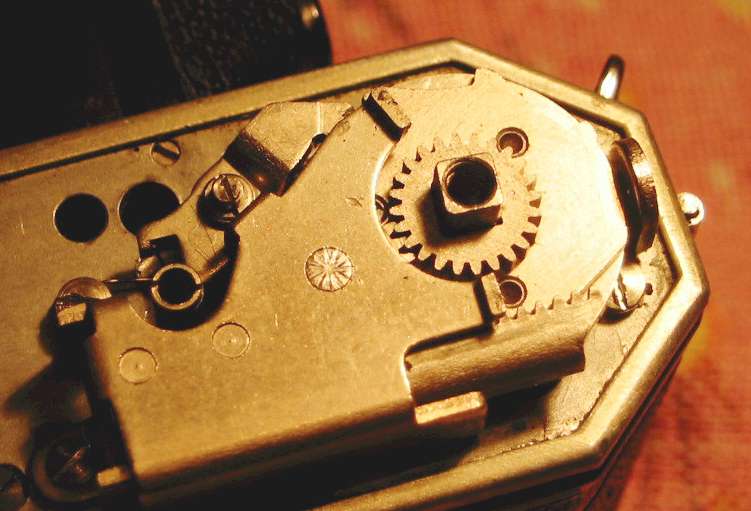
Here you can see the correct position of the ratchet on the film advance shaft when the film advance lever is returned to the rest position. (The lever has been removed for this picture for clarity). In this picture the shutter release lever assembly is in the shutter cocked position. The shutter release lever assembly is resting against the upper section of the advance shaft ratchet.

In this picture the film nothing has changed from above except that the shutter release has been depressed and the shutter release lever assembly can be seen to be resting against the lower section of the film advance ratchet. With the film advance lever fitted you will be able to watch the action of the shutter release lever assembly. As you swing the lever film advance lever forward the shutter release lever assembly rides along the lower section until at the forward point of the swing the shutter release lever assembly can pop up on it's spring through a cut-out on the thin disc seperating the upper and lower sections and as you allow the advance lever to return to the rest position the shutter release lever assembly rides against the upper section and returns to the shutter cocked position as in the previous picture.
Next task, reinstall the shutter cocking rack. Turn the film advance levere to it's forward most position. This is beyond the usual stroke length and in this position you can insert the rack from the end of the bracket and while keeping gentle pressure on it allow the film advance lever to return to the rest position. You may have to repeat this operation until the rack is in the correct position with as shown in the picture below.
position of the shutter cocking rack with the film advance lever ( removed for clarity) in the rest position. At this stage the film advance mechanism should be working correctly.
This example has the accessory shoe fixed from the inside. While you still have the top off you should check that the screws are tight.
Before putting the top back on turn the film advance through 45 degrees or so , remove the film advance lever and then fit the the top. Re-fit the screws at both ends and the rewind knob.
Put the film advance lever back in place, remember it should be out around 45 degrees. Put the frame counter spring back in place and reinstall the frame counter dial. Check that the dial turns smoothly in the direction of the arrow, you should feel the ratchet spring click over the teeth. To finish tighten the pin-head screw.