Chris's camera pages
How to strip down a Pentax 50mm f/1.4 Super Takumar lens to clean the fungus out.
Start with putting a soft cloth on the table to work on. Leave the rear cap on the lens while you work on the front of it, this will save you damaging the rear element which sticks out further than on most lenses you will encounter and the glass is not protected by the mount.
The first thing to remove is the decorative trim ring around the front lens element. This is the bit with "Super-Takumar 50mm f/1.4" or whatever printed on it. This ring is threaded into the filter ring and you can unscrew it with a friction tool , I use a rubber crutch tip or a rubber stopper to do this.
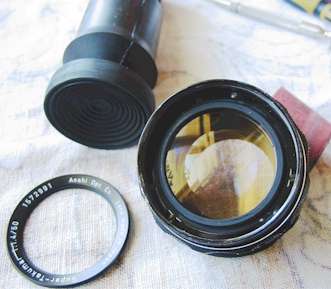
Once this is removed you will see six screws around the inside. You need to remove the three smaller screws only at this stage. This will allow you to lift off the filter mount ring.
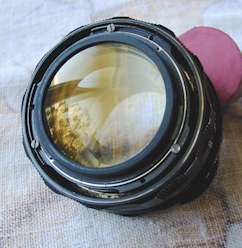
The front group can be removed at this stage using a lens spanner in the two small slots visible in the picture above. (Or by using two-pronged tool of some other type, I use a pair of large needle-nose pliers with the tips ground down to fit the slots.)
The next thing to do is remove the three screws holding the focus ring to the lens mount. These are not the three obvious ones here on the top , but are deeper inside visible on the brass ring. With the focus ring lifted away the next thing to remove is the black ring with the depth-of-field scale on it. This is held by three screws (one visible here in the middle of the photo below).
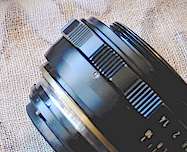
After lifting the depth-of-field ring away, you can then lift off the aperture setting ring. Be careful not to loose the ball-bearing detent for the click-stops. It is visible here as the bright spot in the fuzzy picture below left.
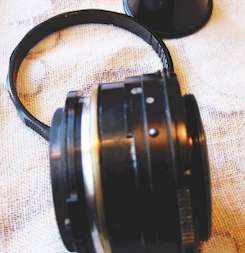
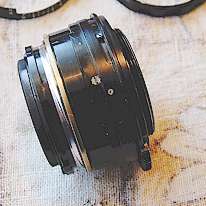
There are three bright slotted screw-heads now visible in the picture above right, remove these and the main lens tube can be lifted from the lens mount.
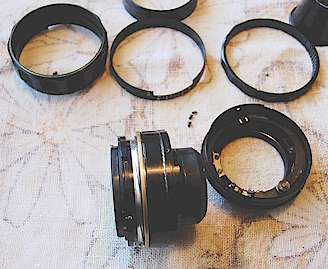
Now the lens tube is completely free from the mount you may unscrew the rear group from the lens, grip it with your fingers, wrap a piece of rubber around it to increase your grip if neccessary.
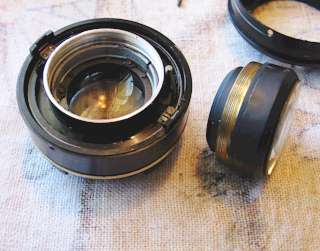
The front and rear groups can be dismantled to get at any interior surfaces as required. Where the rings holding the individual lens elements are sealed in place with a lacquer you may need to disolve this with a little acetone to allow you to unscrew the rings. I didn't have to do any more dismantling except to remove the very front lens element, which is held in place by a screwed on cover ring.
Reassembly is just a reverse of dismantling, special attention should be paid to making sure the diaphragm post on the lens tube fits into place in it's correct place in the lens mount. Make sure the ball-bearing detent is in place before re-installing the diaphragm setting ring.
Focus is set by adjusting the position of the focus ring relative to the brass ring it is held to by the three screws. Put the lens on your camera and use a distant target, a radio mast, tv antenna or similar as a suitable infinity target.
Good luck.