Chris's camera pages
Retina Reflex S strip-down
This was given to me recently to use as parts, or perhaps to repair and resell if I thought it was worth the effort to make it work correctly
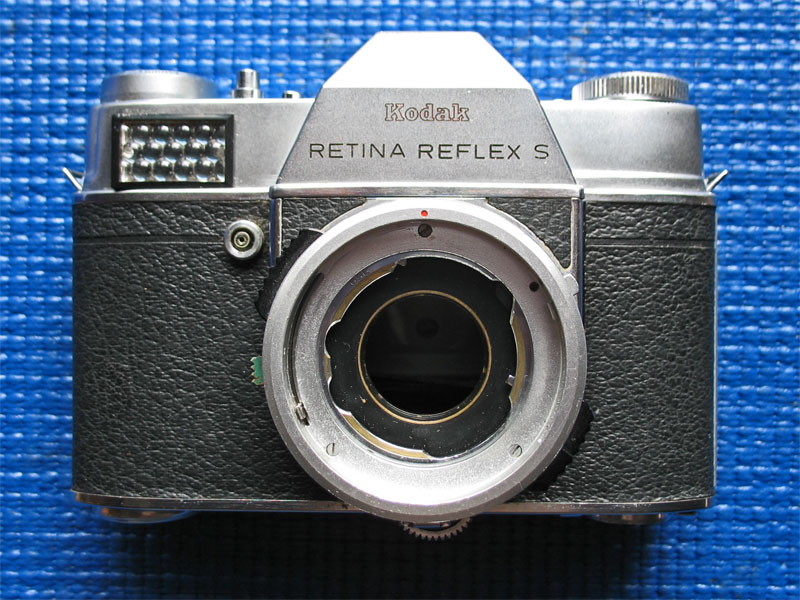
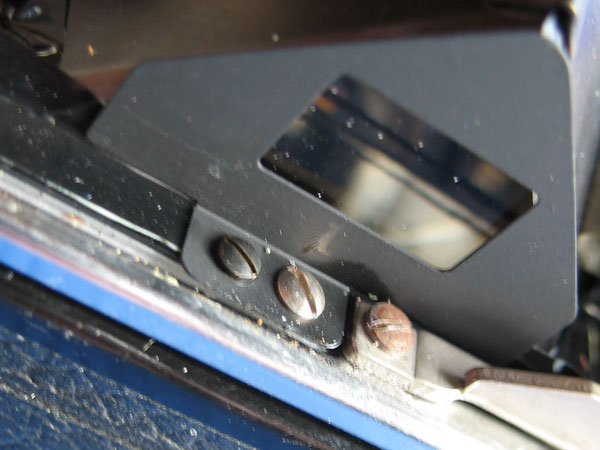
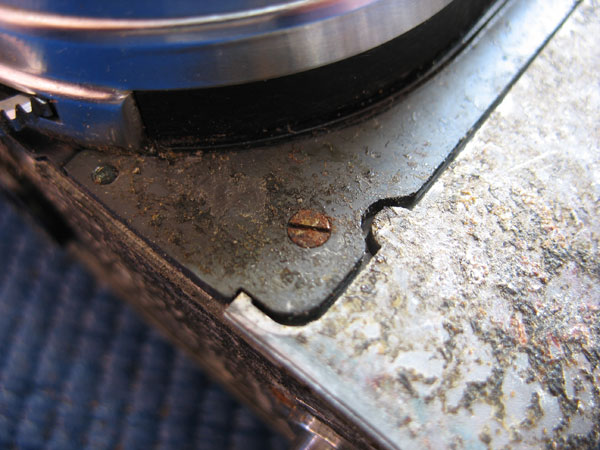
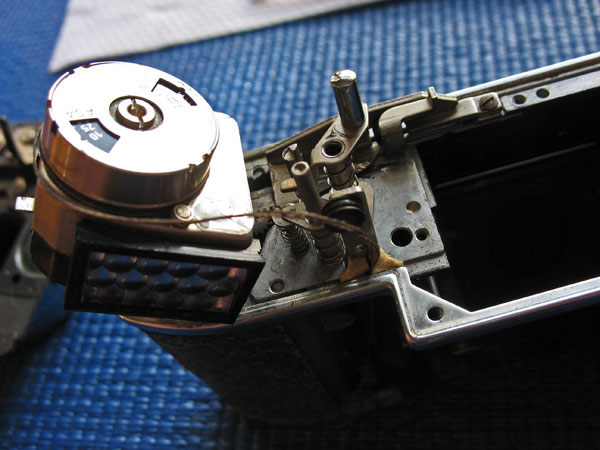
I checked it over to see what faults were apparent and made these brief notes, as it happens other problems were hidden inside. "This is a tidy-looking Reflex S body I was recently given. The shutter is stuck open, and appears to be cocked. The tab that opens the diaphragm on lenses is down at the bottom of the slot, and stays there. The mirror is down in the viewing position, and never swings up. The capping plate sits half-way up, against the back of the mirror. When the film advance lever is used, the capping plate swings down, but not all the way to the bottom, and so never locks into position. The mirror is not fixed to its backing plate, but floats up and down. Will need to be glued into position I expect. I suspect the capping plate has been pushed in by someone, bending the setting lever in the process. The camera has a distinct rattle, either the loose mirror, or the capping plate. The aperture ring seems reluctant to rotate when moving the setting wheel. Chrome screw missing from bottom of shutter chrome trim plate in front of meter setting wheel. Accessory shoe distorted, drop damage probably. Will require a full strip down, parts may be bent or broken."
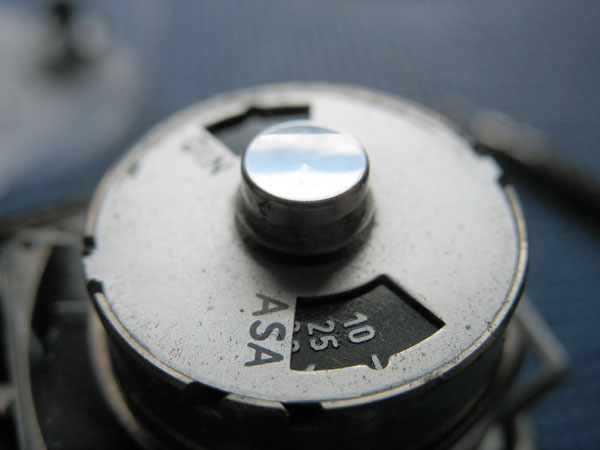
Any shutter work on the Kodak Retina Reflex S requires that the camera is almost completely dismantled. It doesn't matter if the retard gear train just needs a slight adjustment, the whole front of the camera has to be removed to access the inside of the shutter.I've repaired lots of these cameras, and so I don't have any trouble knowing what screw goes where. I would advise you to take care to lay out the parts carefully in the order you remove them, and to group any screws or washers with each assembly. There is nothing quite so disturbing as finding a part left over once a camera has been reassembled. I usually start by removing the top cover. Since any time the shutter is removed you need to consider the timing of the meter with the shutter, you should always set the meter to ASA 10. This is not strictly necessary in this case since I'm going to completely dismantle the camera, but is good practice.
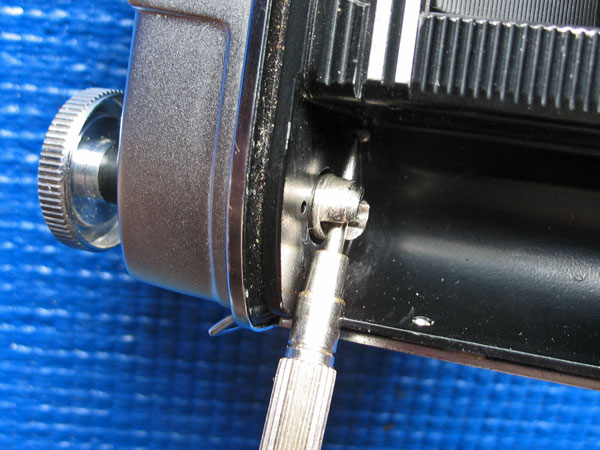
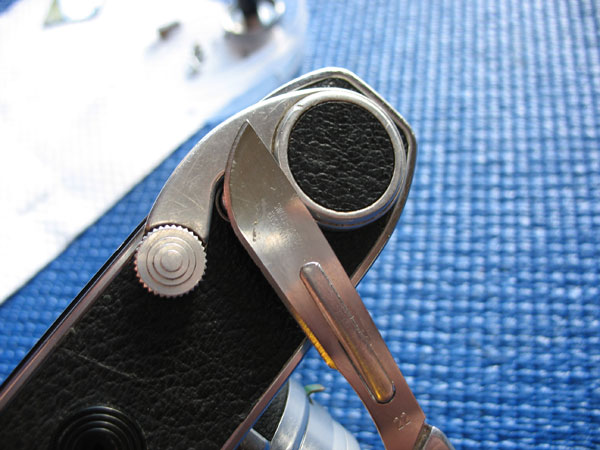
First remove the rewind knob, just put a screwdriver through the fork of the rewind shaft and unscrew the knob with your fingers.
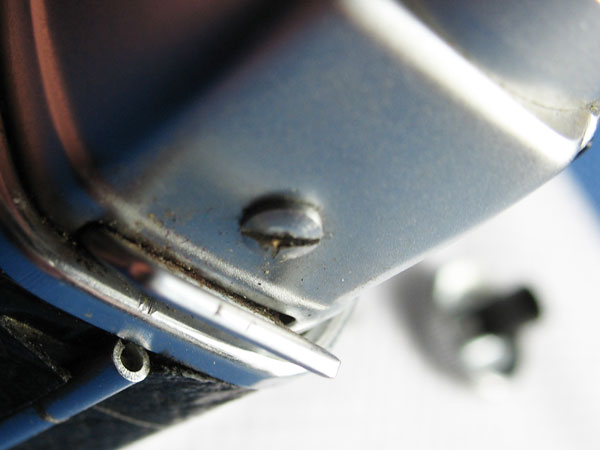
Remove the two screws under the rewind knob, and the pin-head screw on the top cover between the prism hump and the rewind knob.
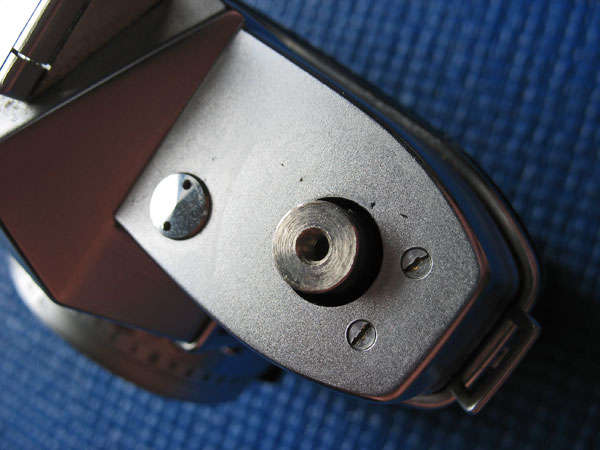
Remove the single screw on the end of the top cover at the right-hand side.
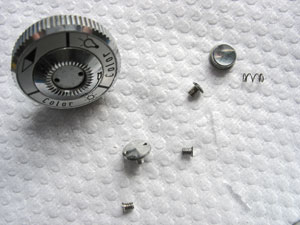
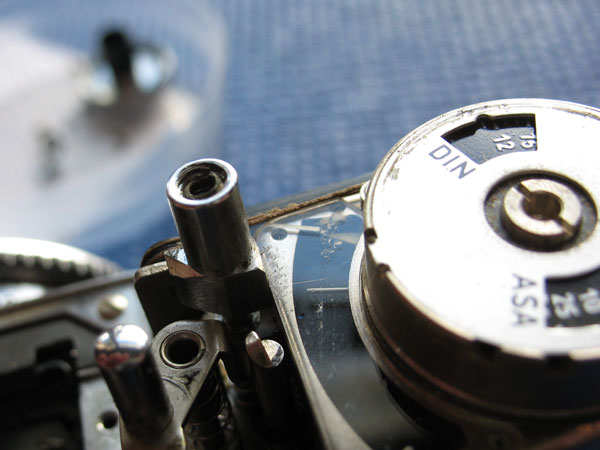
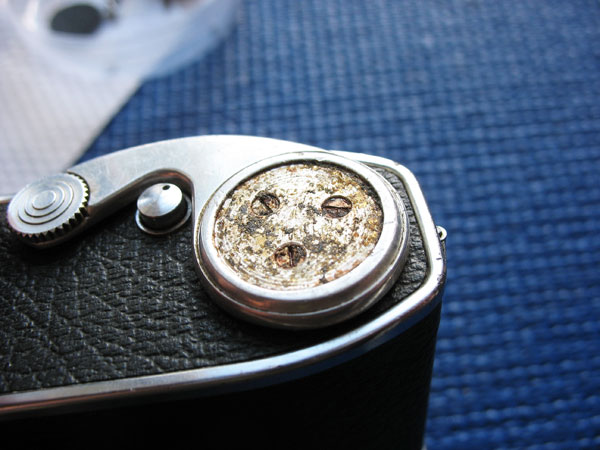
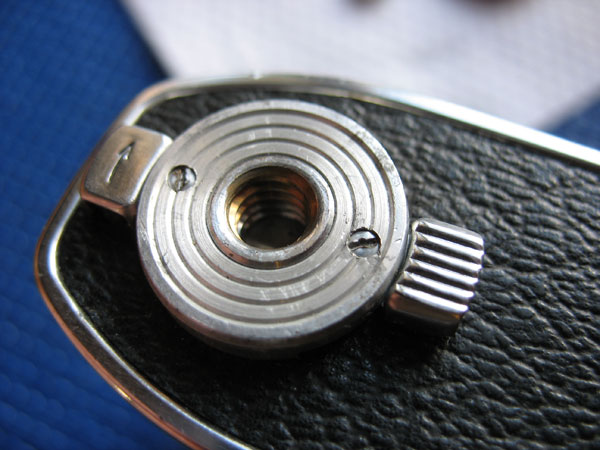
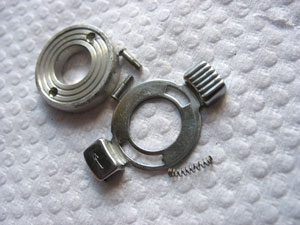
Lift the chrome button and the spring from the top of the meter dial.
Swing the film advance lever about half-way.
Unscrew the three large nickel-plated screws holding the finder assembly in place.

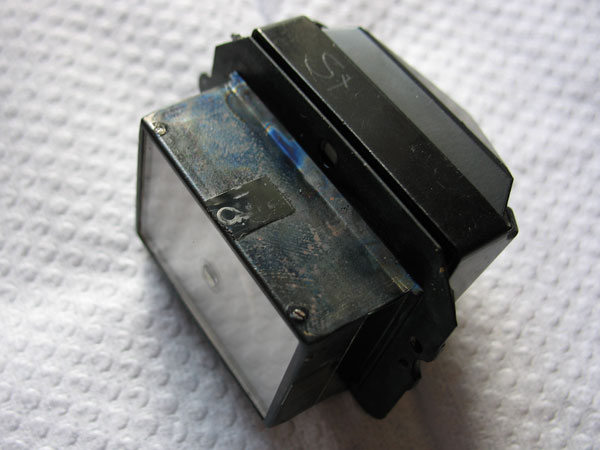
Lift out the the finder assembly and put aside being careful not to damage it. I usually wrap it in soft tissue-paper and put it aside.
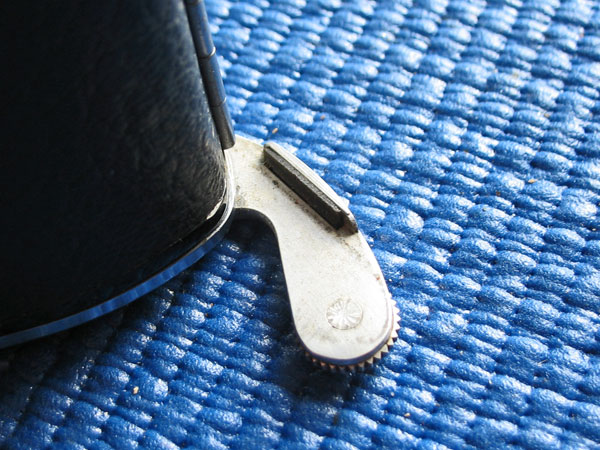
Lift off the shutter release button. There is something clearly stuck inside the cable-release socket of this button. It turned out to be the broken-off tip of a cable-release.
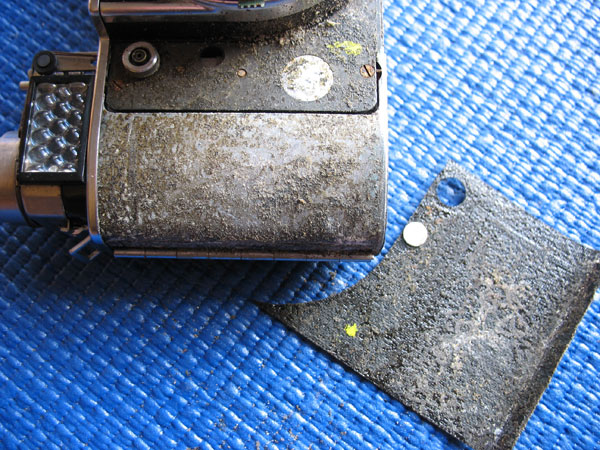
Then I move to working on the bottom of the camera, remove the leatherette disk from the film advance lever.
Remove the three screws holding the lever, lift off the lever.
n.b. Replacement leatherettes are entirely unavailable, so take great care to get the leatherettes off in one piece.
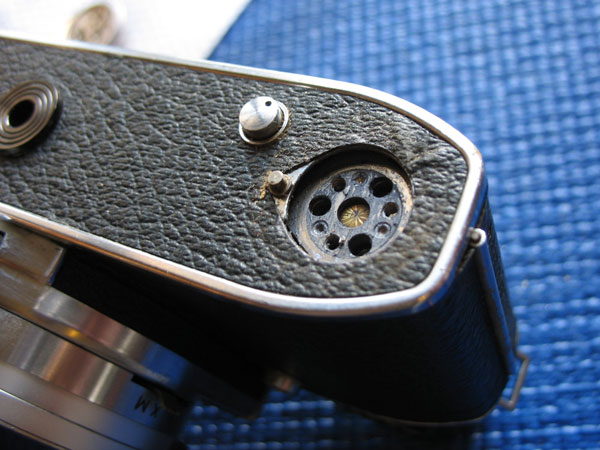
Remove the two screws holding the aluminium ring over the tripod socket. Be careful not to loose the return-spring for the back-catch release cover.
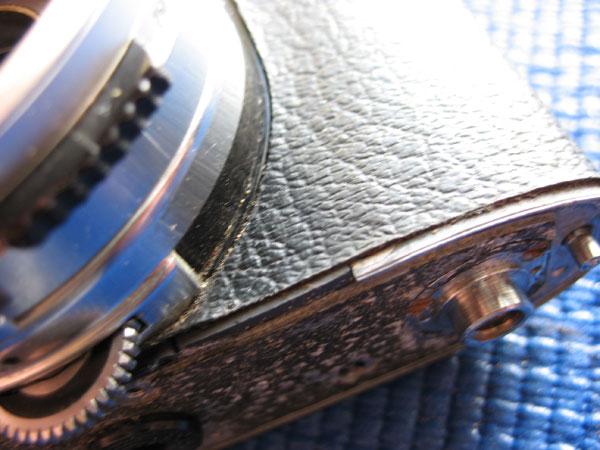
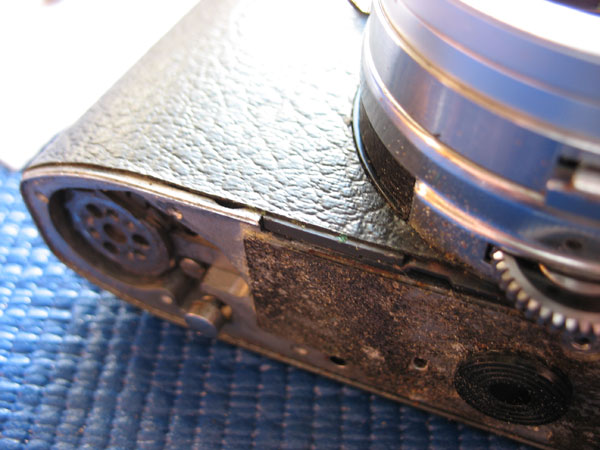
Remove the leatherette from the chrome trim on the base-plate
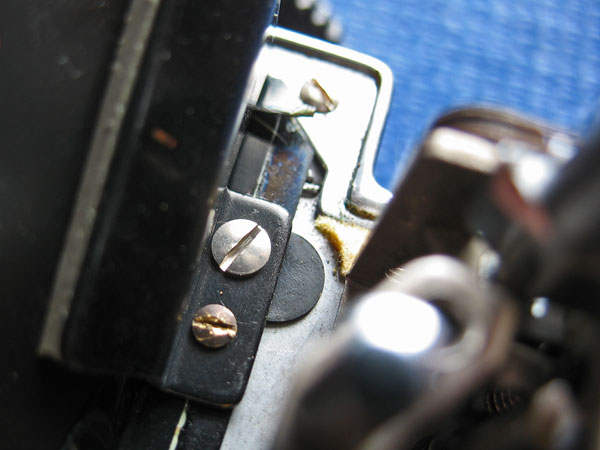
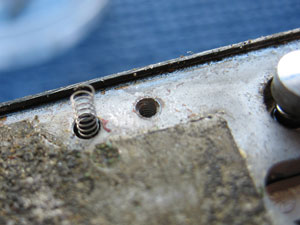
Remove the seven screws holding it to the casting. When you lift off the chrome trim be careful not to lose the small coil spring in a hole in the body casting near the film advance end.
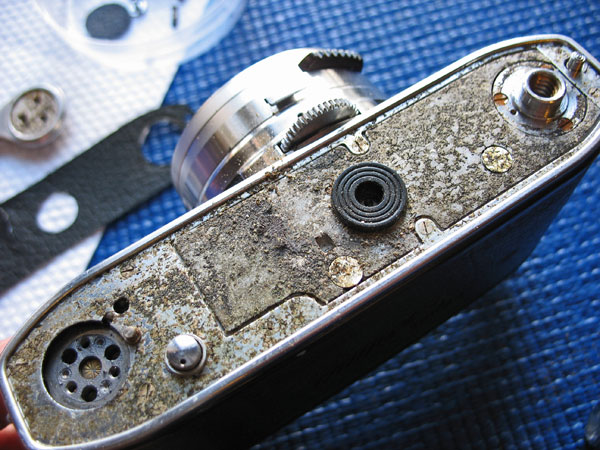
The leatherette must be removed from both sides of the front of the body casting.
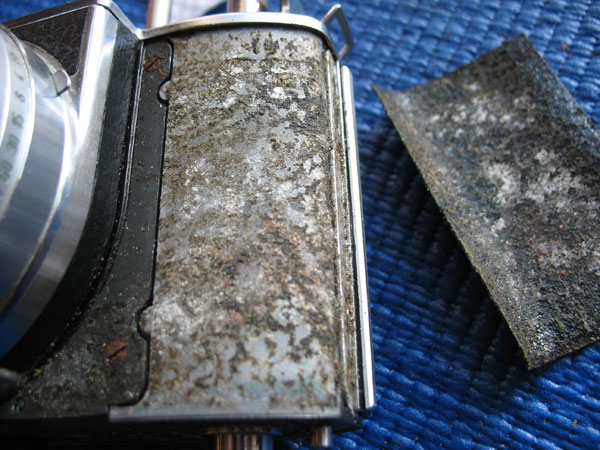
The white patches visible on the exposed body casting are products of corrosion. It is quite common, and would have been caused by moisture penetrating the leatherettes. I would take it as a sign the camera was stored in humid conditions at some stage in its life.
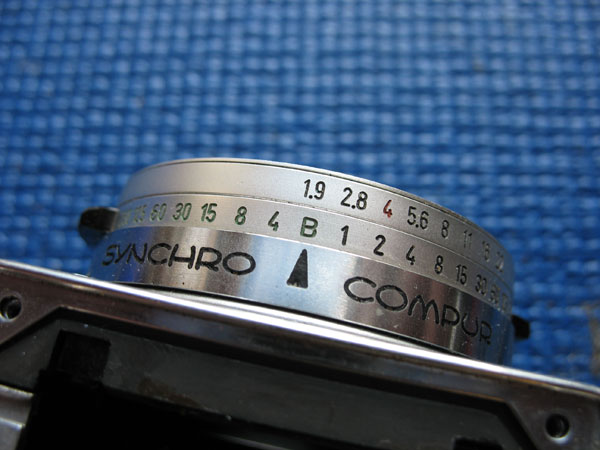
Remove the lens if fitted, check that the meter is still set to ASA 10, set the shutter speed to B and aperture to f/1.9.
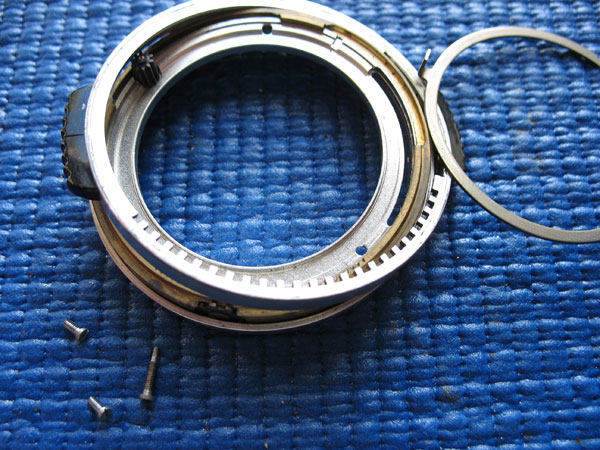
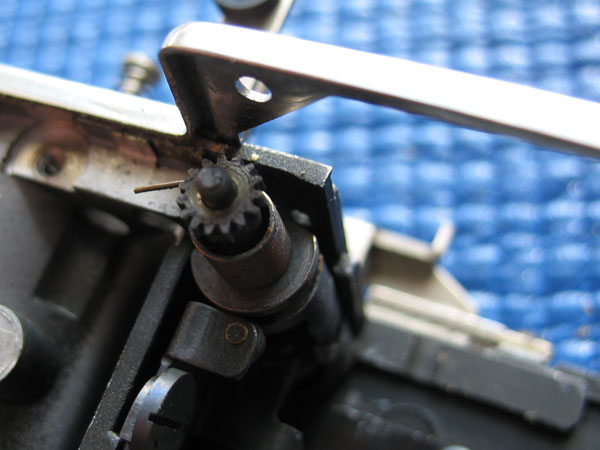
Remove the three screws holding the front shroud assembly to the the shutter and lift off the shroud assembly and lift off the various rings behind it.
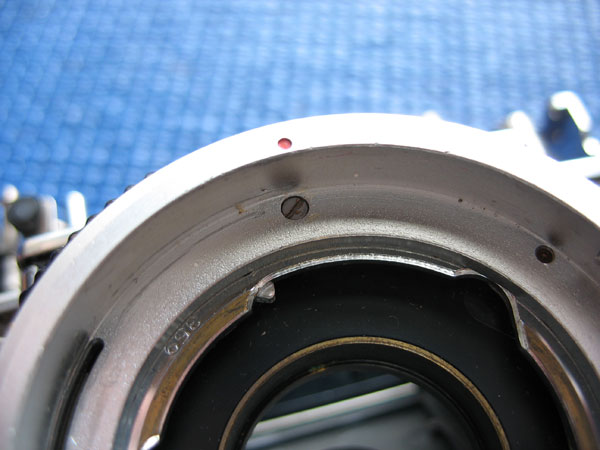
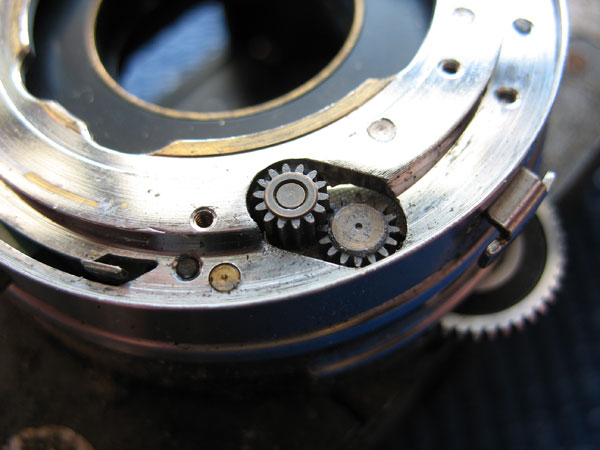
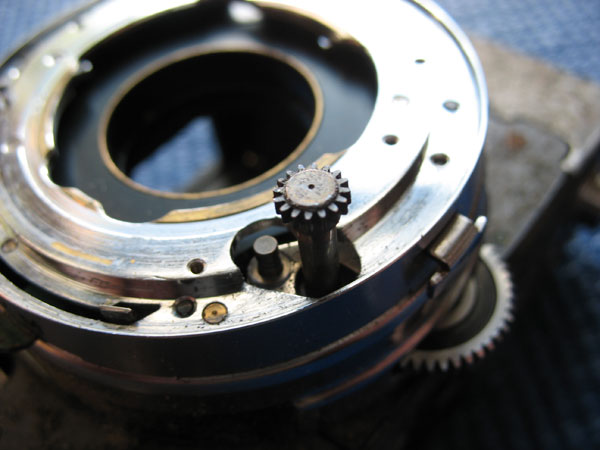
Lift out the pinion assembly and its related gear.
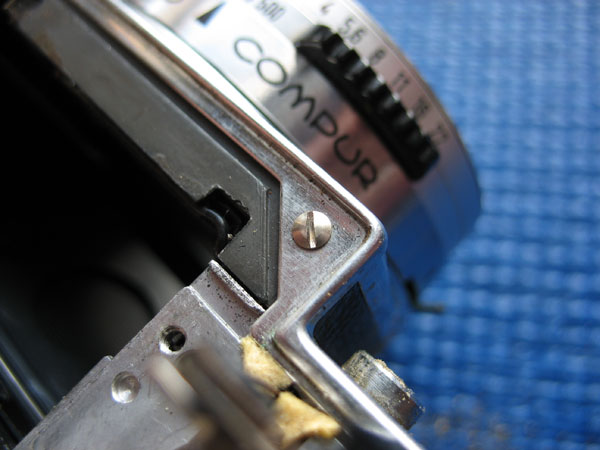
Remove the two screws through the chrome trim at the front of the casting where the finder assembly sits.
Remove the four screws holding the camera front to the main body casting.
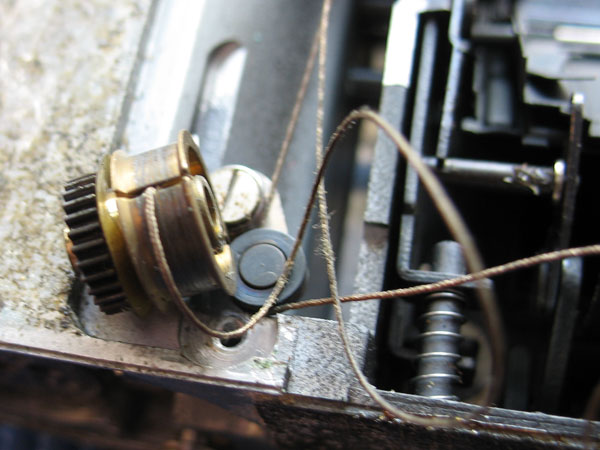
Lift off the camera front, try not to dislodge the meter cord drum below it. Place the front section complete with shutter to one side.
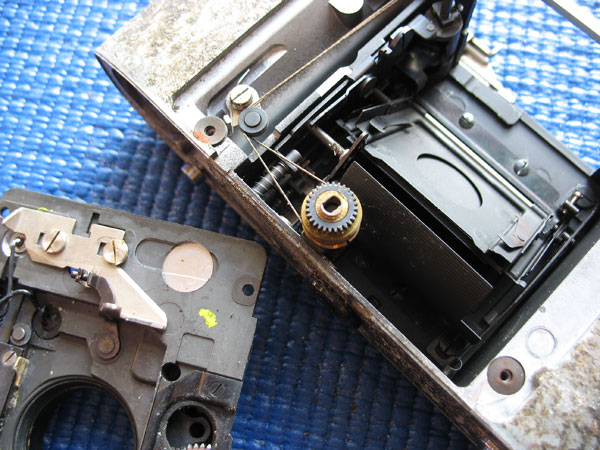
Take care not to touch the front surface of the mirror, marks cannot be easily removed, if at all. Take care not to dislodge the guide plate assembly spring. Of course on this unfortunate example, the mirror has already fallen out. In fact, there were multiple problems with the mirror & capping-plate setting levers and their associated parts on this one, but I have since remedied them and we'll procede as if this were a straight-forward service, not a nightmare.
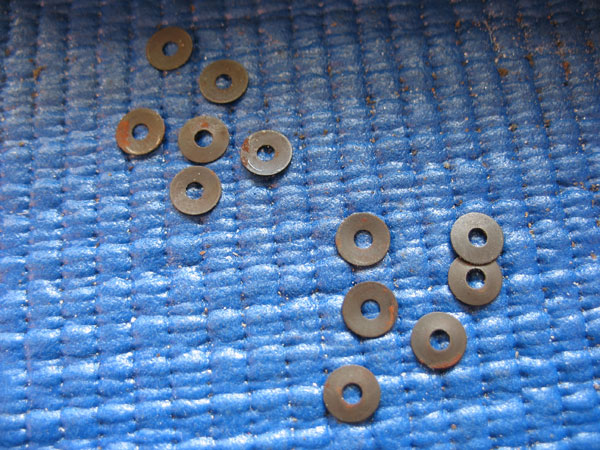
Lift out the eight or twelve spacer washers that were between the front section and the main body casting.
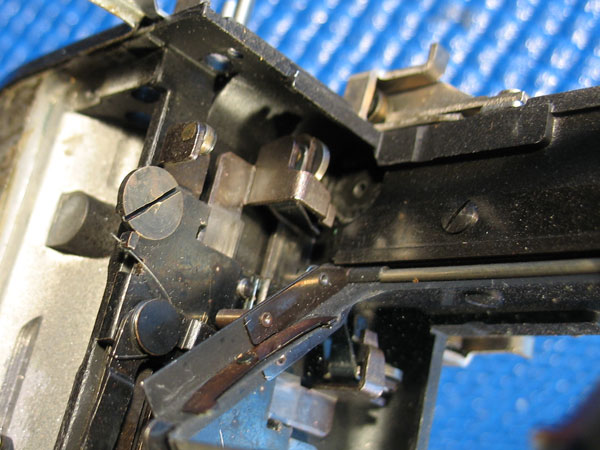
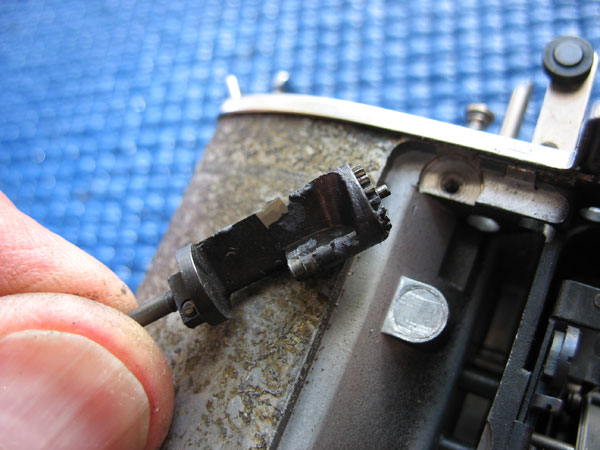
Lift out the cam assembly and control shaft assembly.
Lift off the meter cord drum and remove the cord from it.
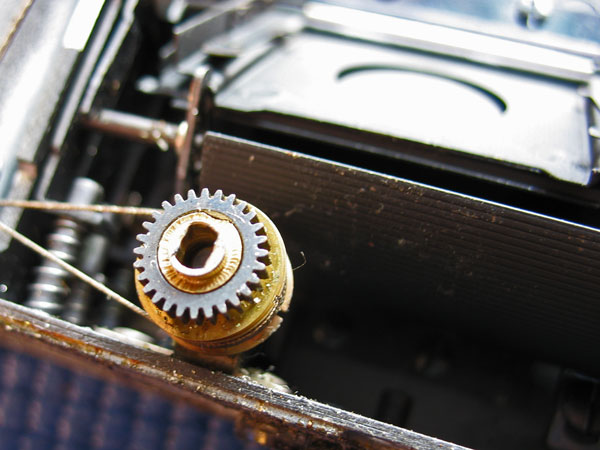
Lift the meter from the top of the body casting and pull the cord up through the casting. Place the meter to one side.
Remove the shutter release shaft and its spring
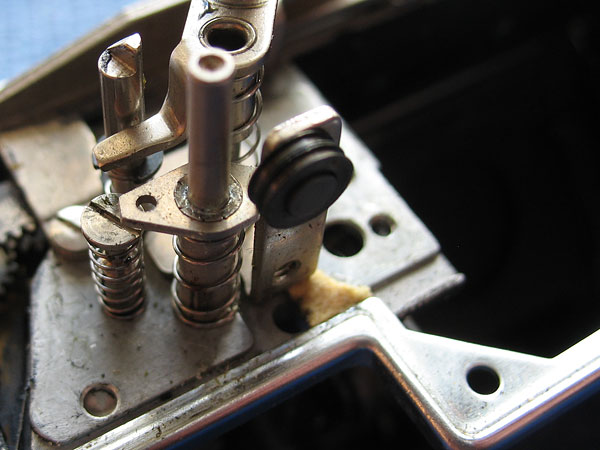
Remove the film release and its spring

Now the 'over-burden' has been removed, and actual repairs can take place.
Next section: Stripping down the film advance mechanism