Chris's camera pages
Retina I type 010 strip-down and service guide.
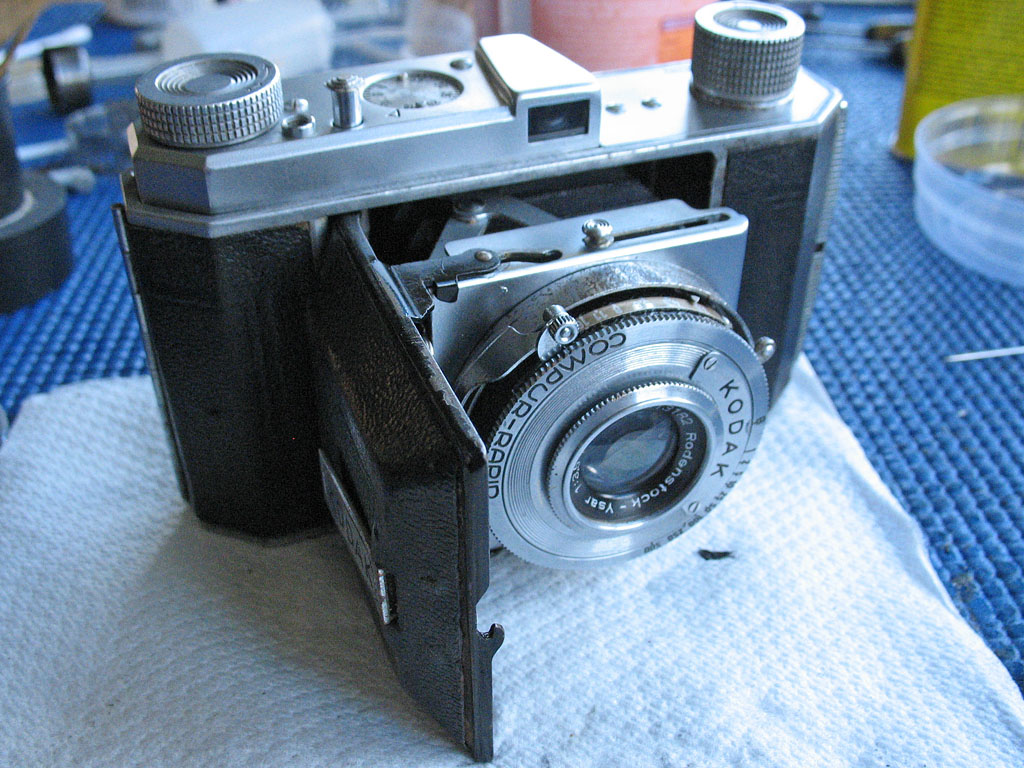
The Retina I type 010 was made from 1945 to 1949. This model was a popular purchase amongst US servicemen serving in post-war Germany, and as result, there are plenty to be found. The type 010 is a simple folding 35mm camera, and the film is advanced is by rotating the film advance knob, and the shutter must be cocked manually for each shot. There are a couple of other things to be aware of if using a type 010 for the first time. First, note that the shutter release mounted on the camera body is only intended to work if there is a film present in the camera. What happens is that the film is drawn forward by the action of the film advance knob. This rotates the sprocket, which in turn locks the film advance, simultaneously unlocking the the shutter release button once the next frame of film has been completely moved into position.The second thing to note is that the focus must be reset to infinity position before pressing the buttons at the top and bottom of the shutter to be able to close the front of the camera.The third thing to note is the A-R lever on the back of the top cover. This should automatically swing over the the Advance position when the film advance knob is turned in the direction of the arrow. To rewind the film this lever must be manually set to the Rewind position. This unlocks the ratchet on the film advance mechanism, and so allows the film to be rewound into the cassette.
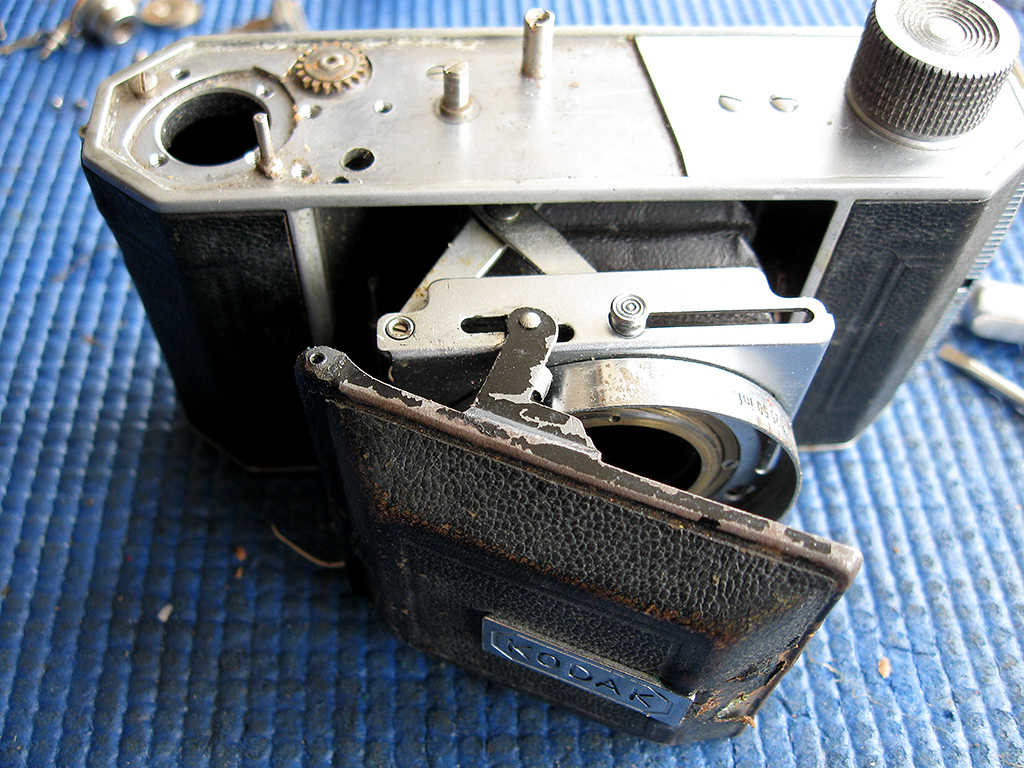
With all that behind us, and assuming that the camera does in fact need repairing, let's look at what is involved in stripping the camera down for repair.
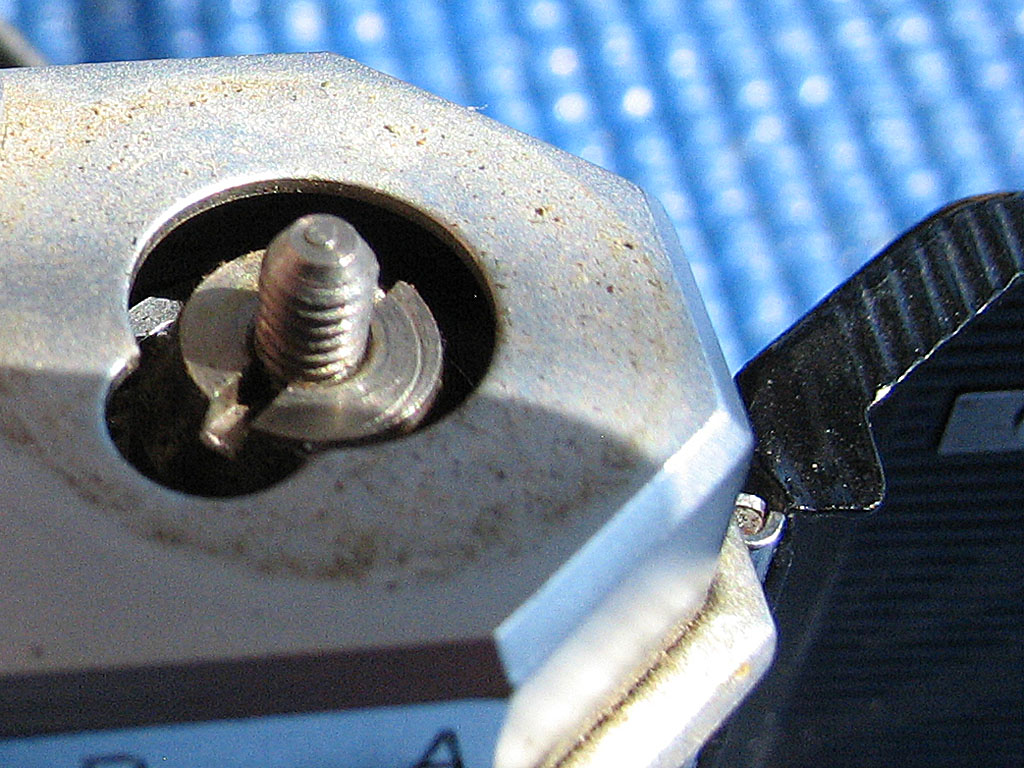
Before removing the top cover, we first have to remove the film advance knob and the tip of the shutter release button.
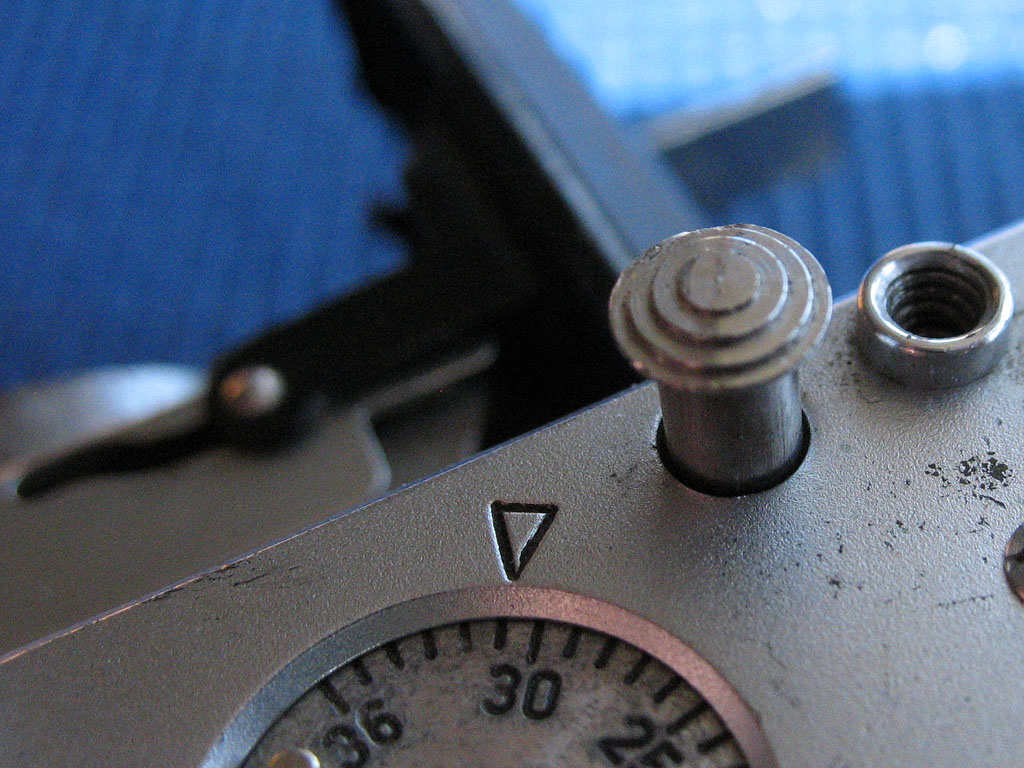
The tip of the shutter release button is simply screwed in place. If it cannot be unscrewed just using your fingers, then more drastic measures are needed. As the part damages very easily, it is important not to just grip it with normal pliers. I have a pair of pliers especially modified for this purpose, which you can see here, but a good alternative is to use some cheap crimping pliers like these ones, with the jaws padded with a piece of leather or rubber.
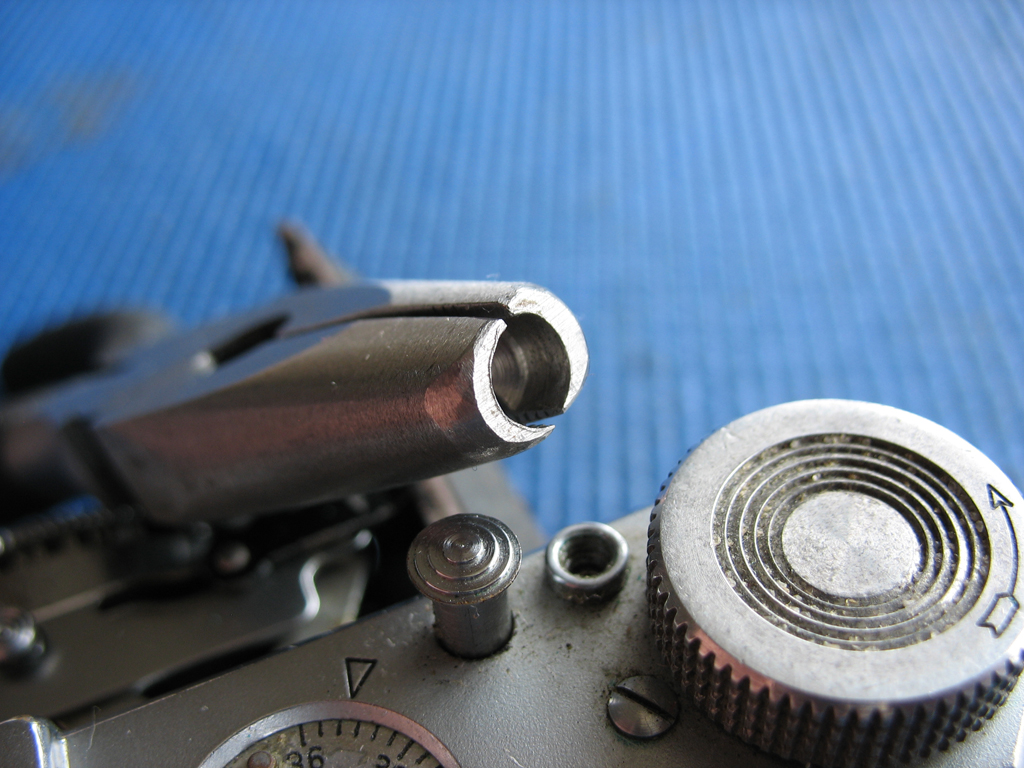
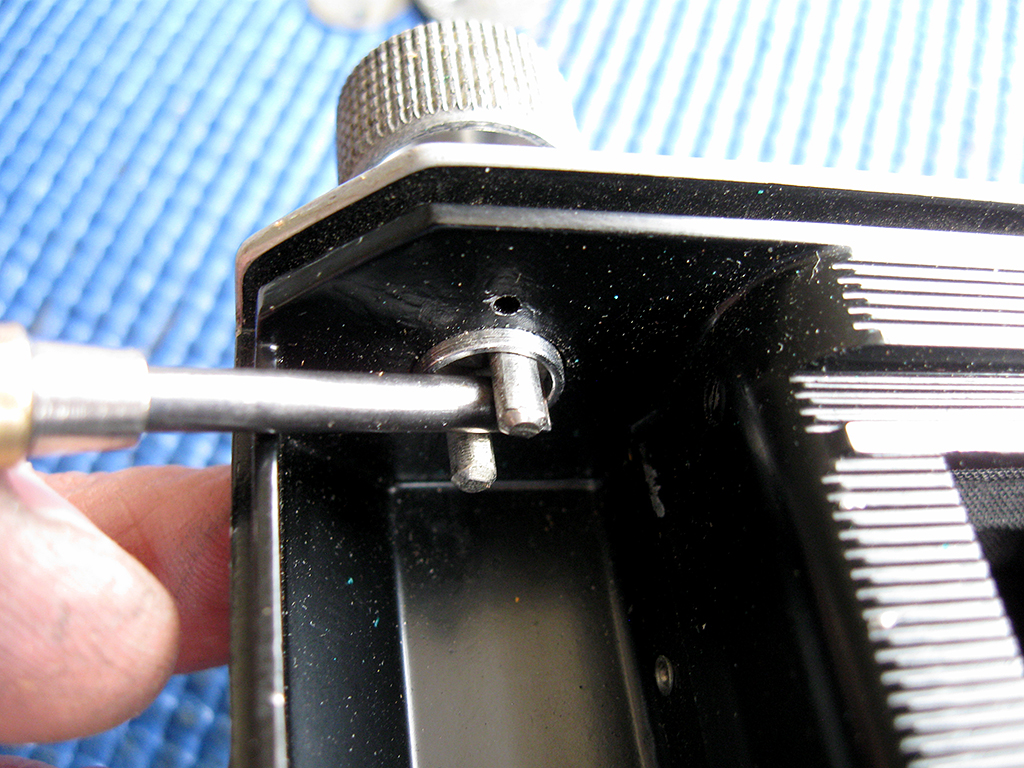
The film advance knob is left-hand threaded. To unscrew the advance knob it is first necessary to hold the shaft to prevent it from turning. This must be done otherwise the load will be taken by the ratchet in the mechanism, and parts will likely be broken. There are two flats visible above the film take-up spool inside the back of the camera, this is where the shaft must be gripped.
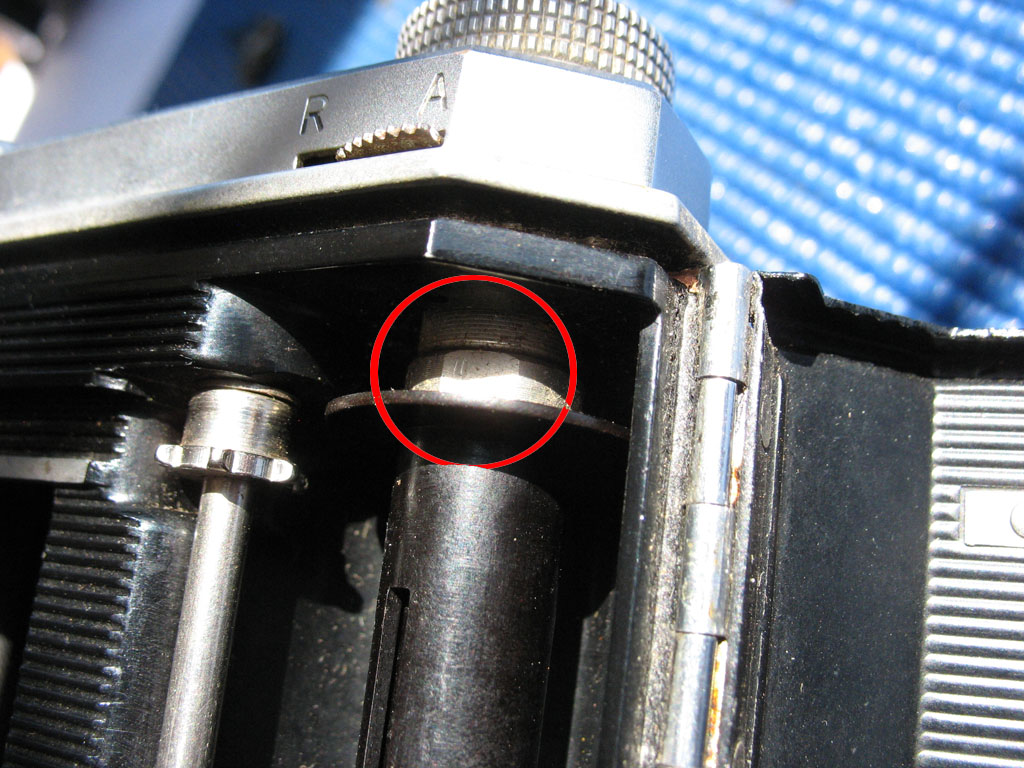
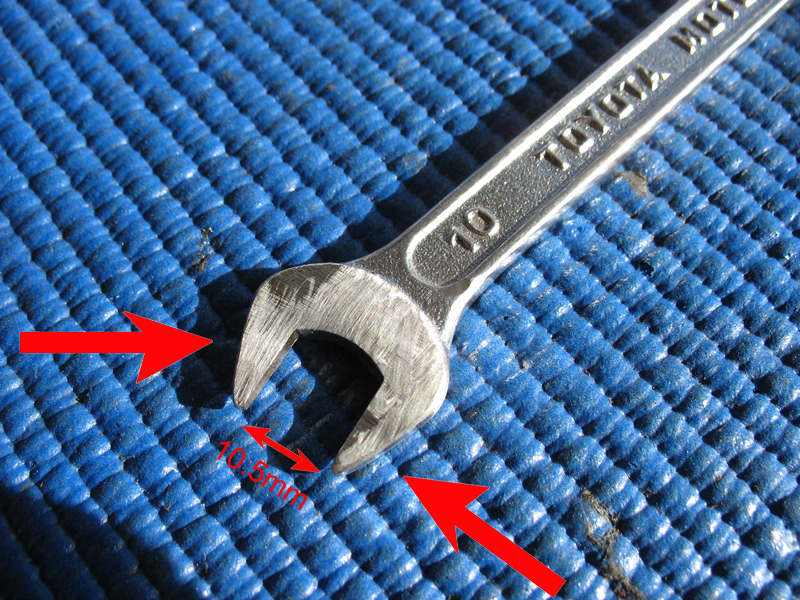
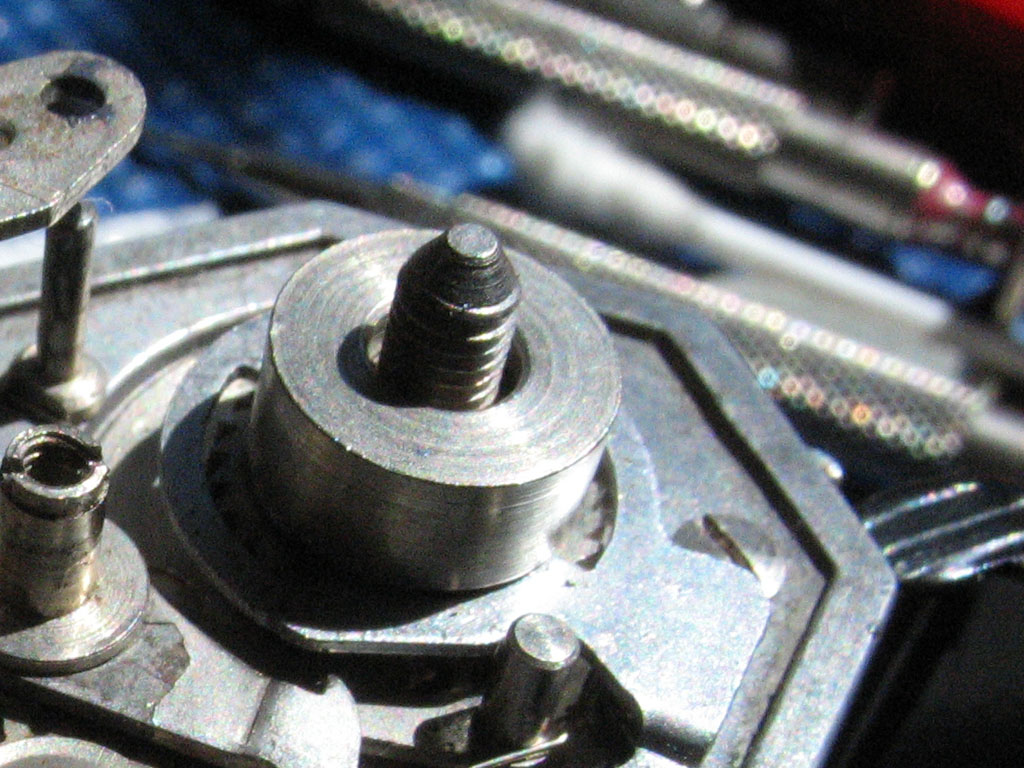
It may be possible to grip the shaft sufficiently well using needle-nose pliers in some cases, but a much better alternative is to make a custom-made spanner. This one began life as a cheap 10mm size spanner. It has been ground down in thickness to around 3mm, the slot widened to around 10.5mm to fit the shaft, and it was also necessary to grind some of the outside of the spanner away so it would slide into the film chamber.
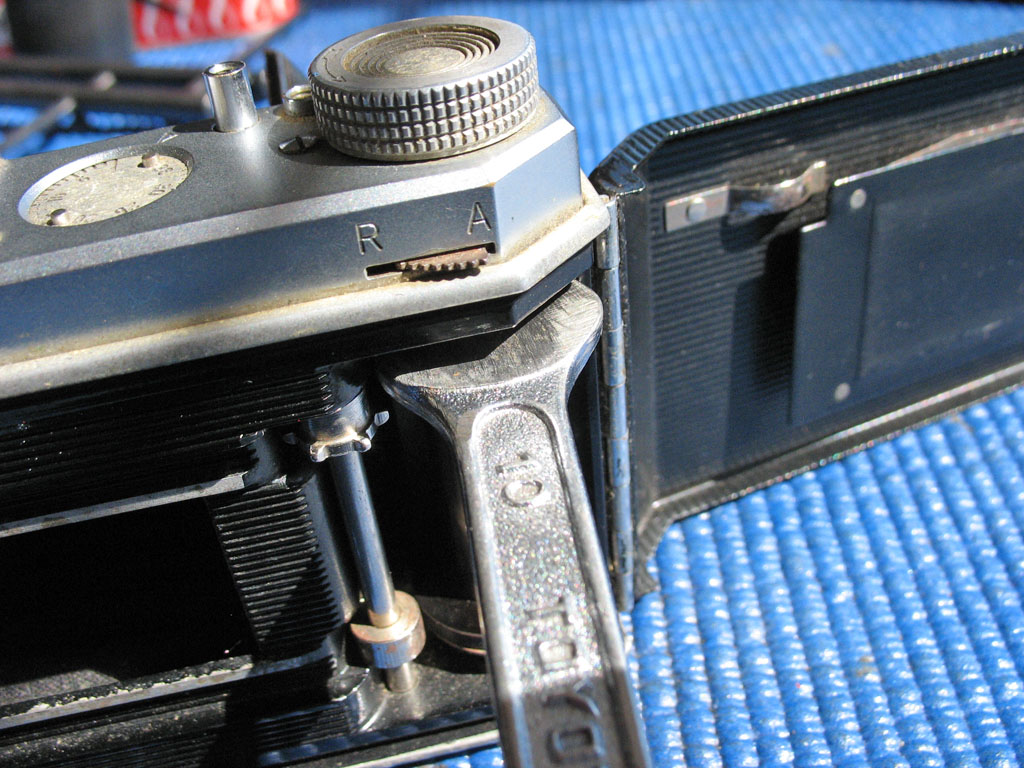
With the spanner holding the shaft, unscrew the advance knob with your fingers by turning it clock-wise. If the knob is very tight you may need to use more desperate measures, but don't just grip it with pliers because that will scar the knob.
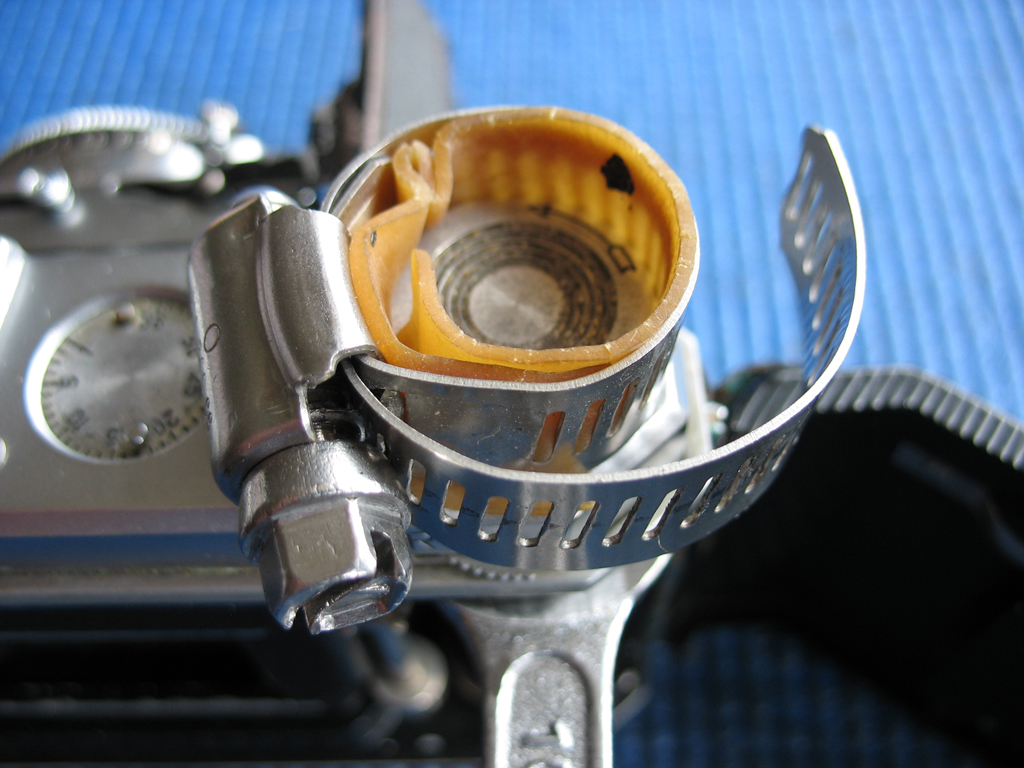
A good option is to tighten a hose-clamp over the knob. Make sure you have a layer of something useful between the clamp and the easily-scarred knob. Leather, rubber, or even multiple layers of tape may do the job.
There were minor changes made throughout the production of this model, so you may find the A-R lever held firmly in place with a screwed-on collar, which should now be removed. Use the spanner to prevent the shaft rotating as before, and unscrew the slotted collar clock-wise using a suitable tool. A pair of needle-nose pliers with the tips ground down to fit the the slots will work well.
Alternatively, on your camera the A-R lever may simply be held down by the pressure of the film advance knob acting on a loose collar fitted below it. So, if the collar has no slot, it may be simply lifted or tipped out.
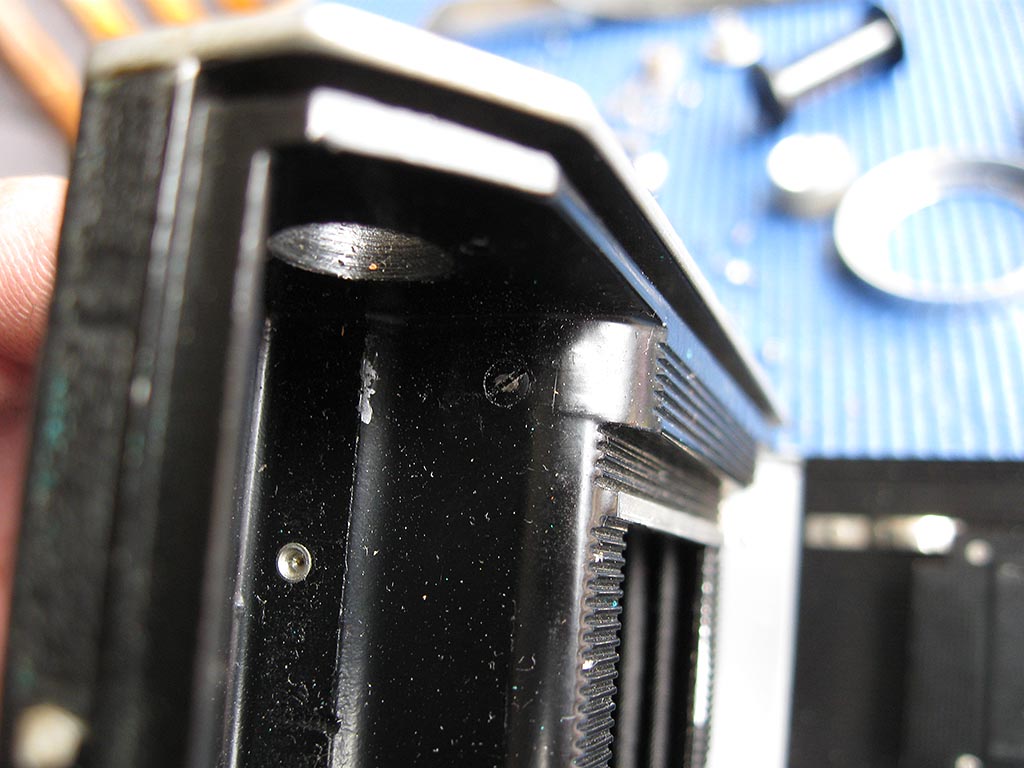
In either case, the top cover will be fixed with two screws, which should now be removed, and then the cover may be lifted off.
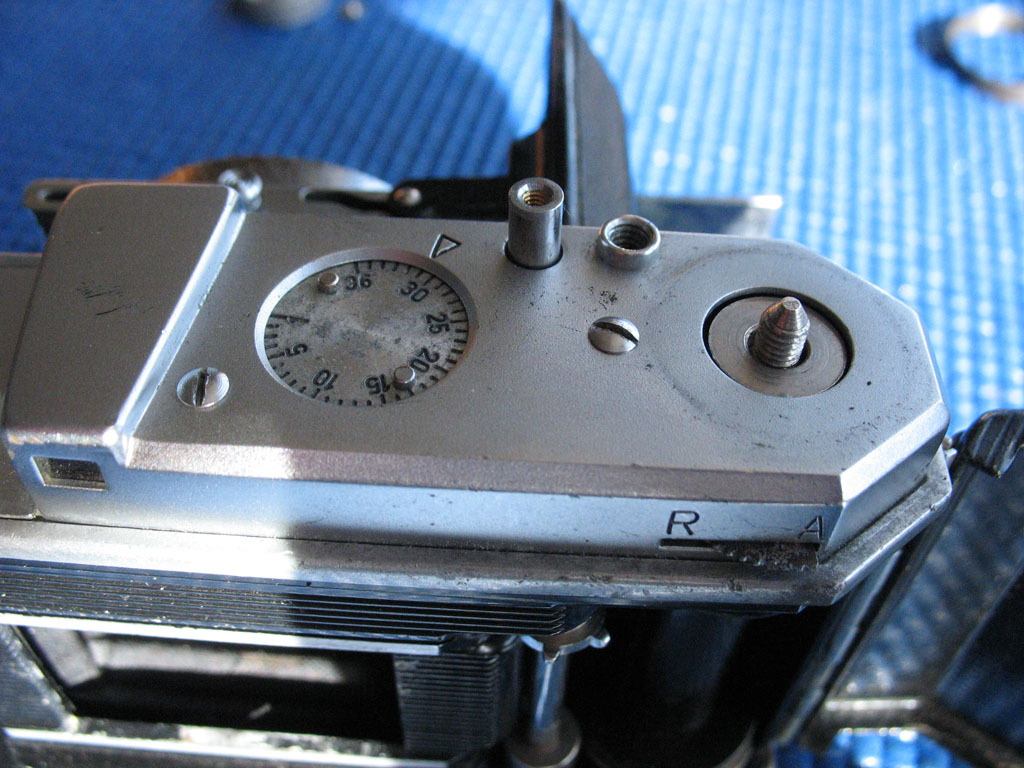
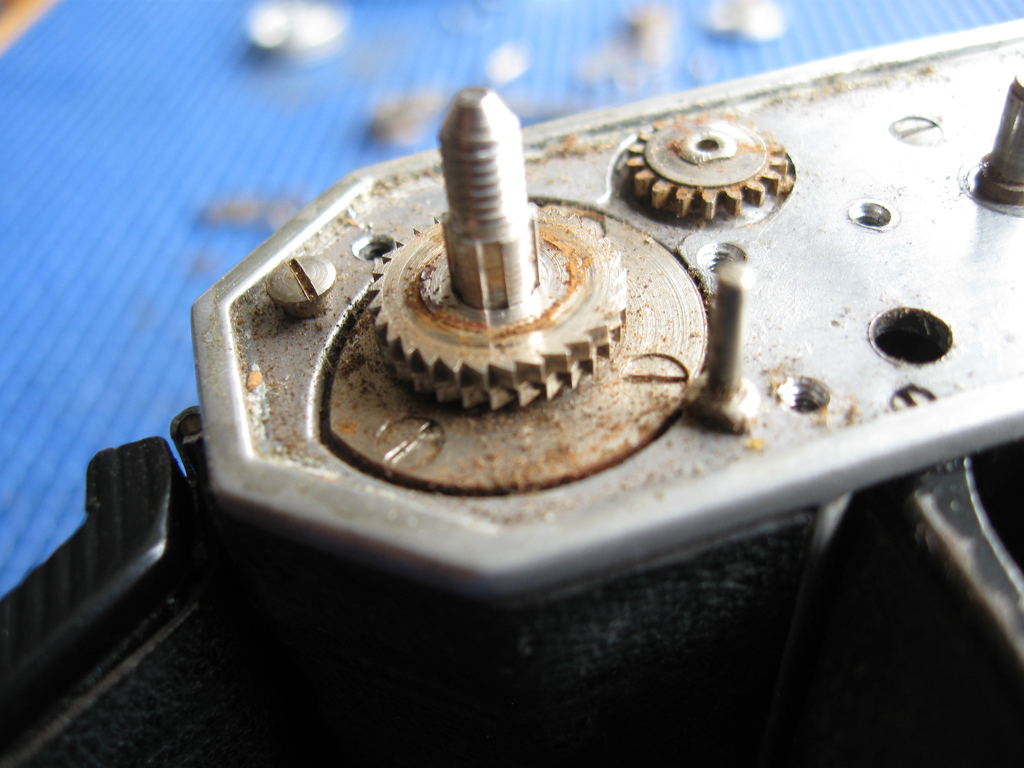
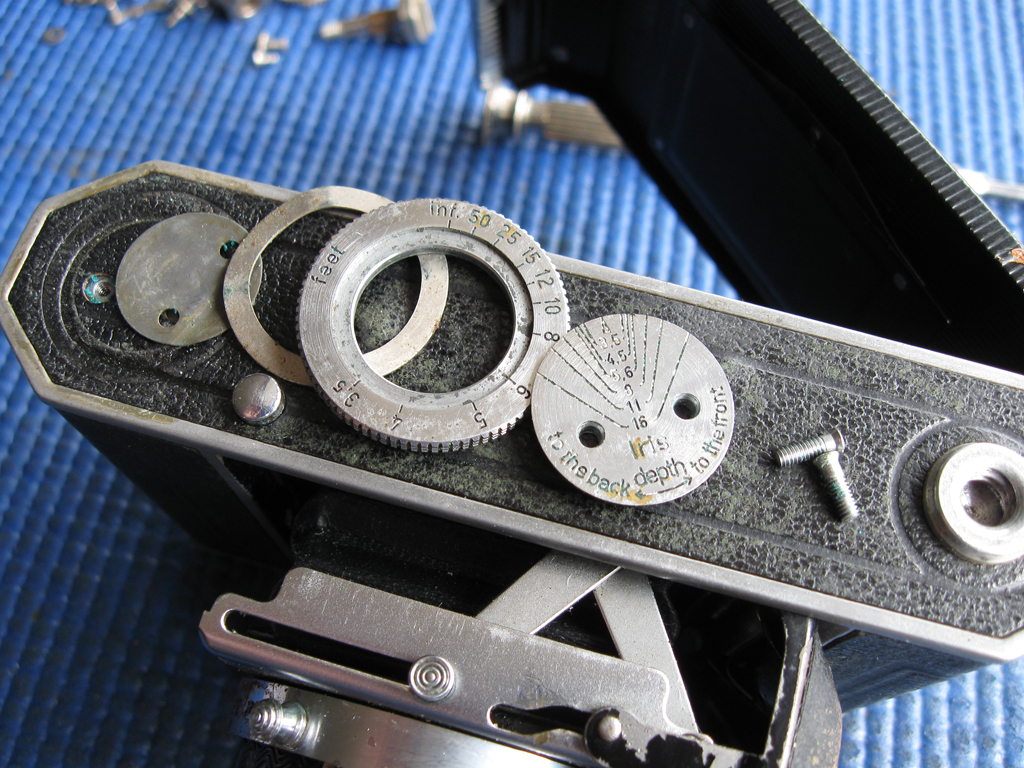
Here the top cover has been removed and you can see the components of the film advance below. The frame counter dial may fall off at this point.
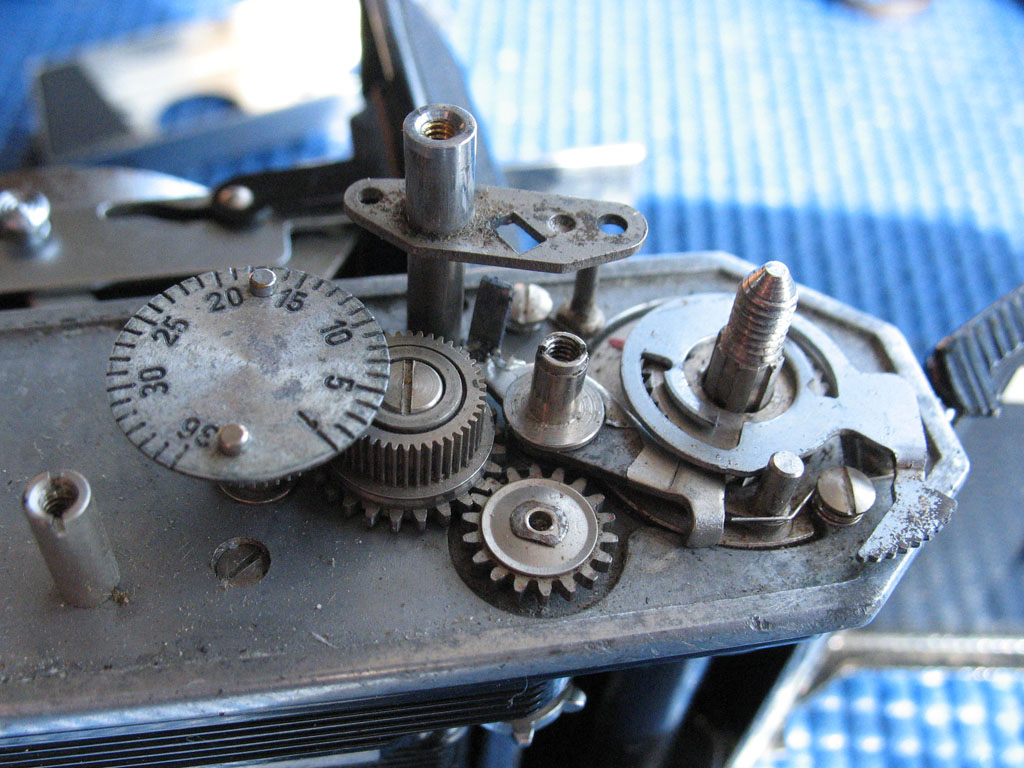
Lift off the frame counter, be careful not to lose the spring.
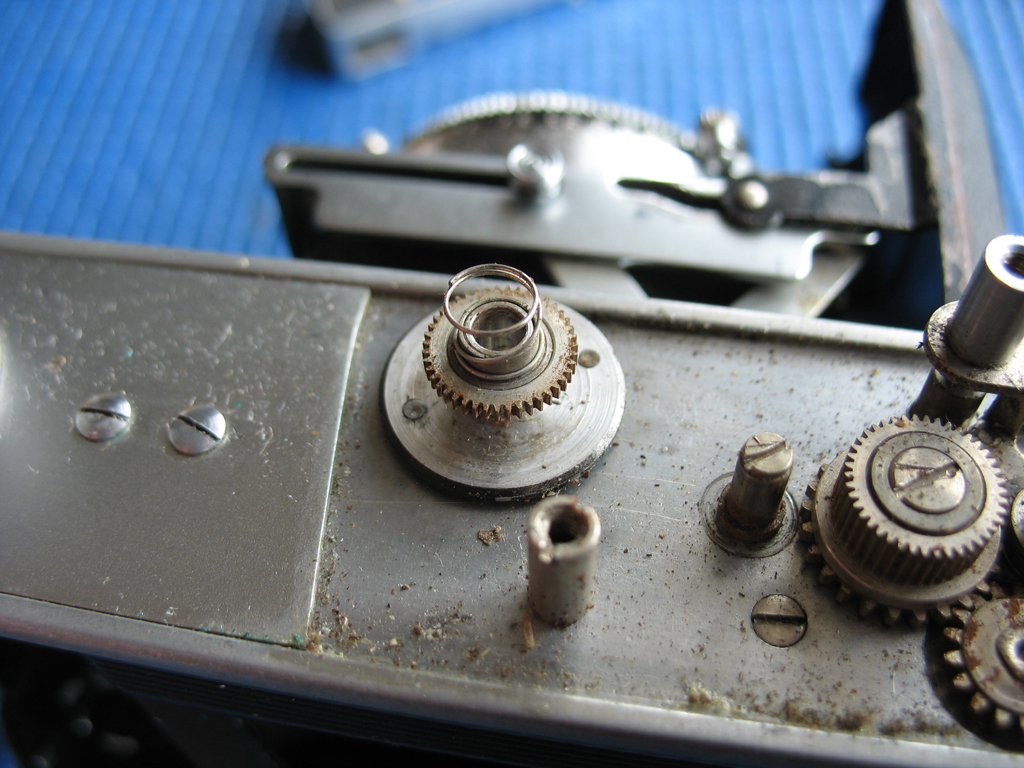
Remove the screw holding the counter gear assembly to the top plate, and remove the gear.

Lift out the shutter release shaft.
Note the shape and orientation of both of these springs. Unhook the springs to release their tension, then remove the central screws holding them to the top plate.
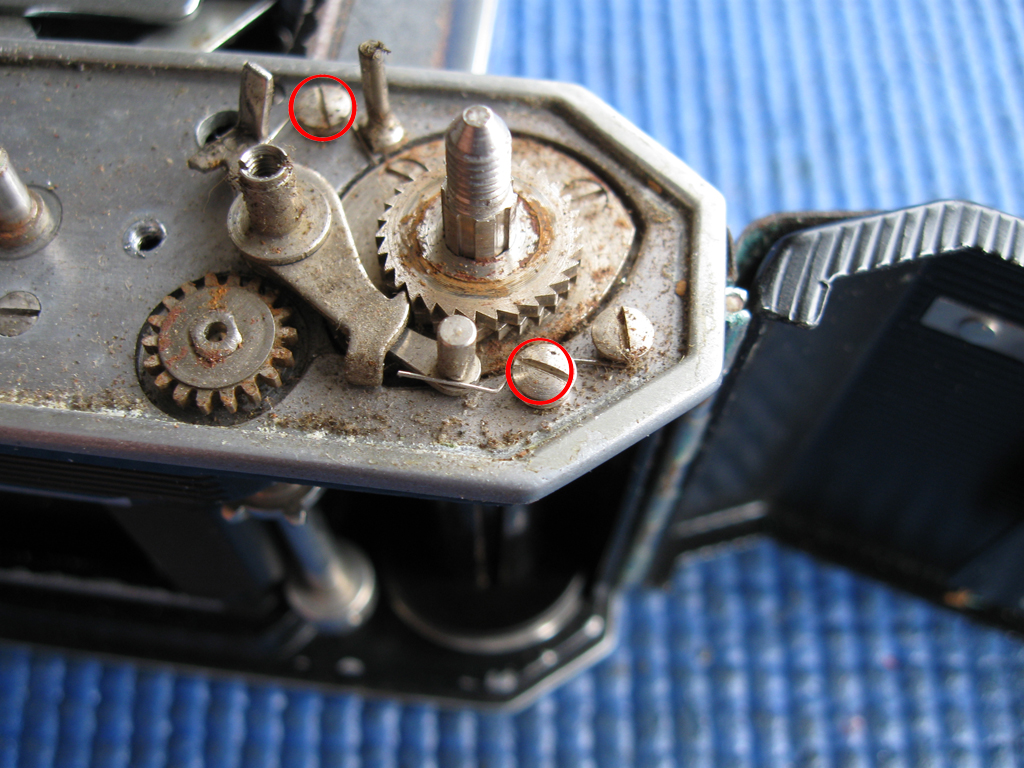
Take a broad-bladed screwdriver and unscrew the post holding the leverts to the top plate.
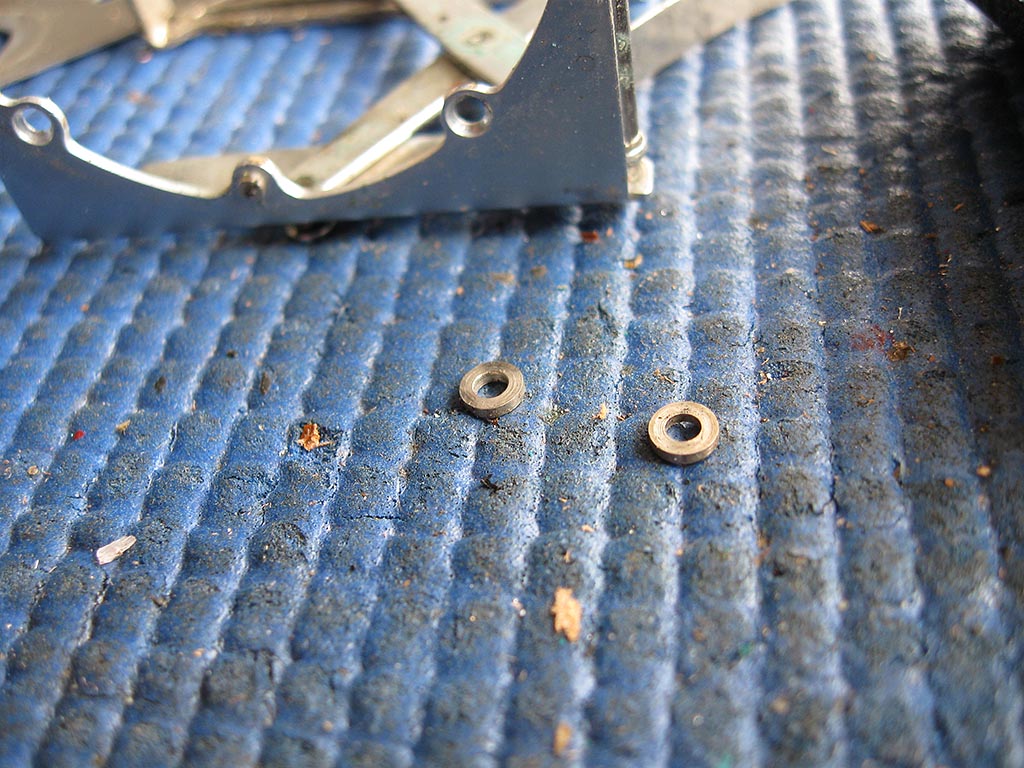
Note the position of the levers and any washers.

The two ratchet wheels can be levered up off the post. Be careful not to damage the teeth.
Note the direction of the teeth on the ratchet wheels.

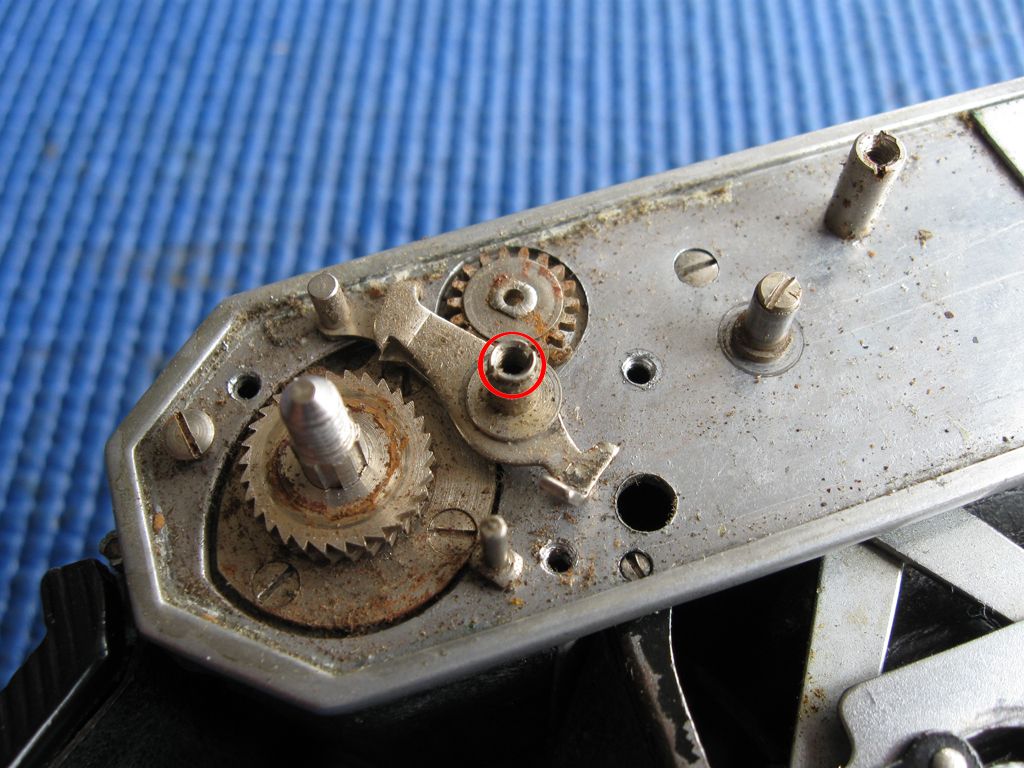
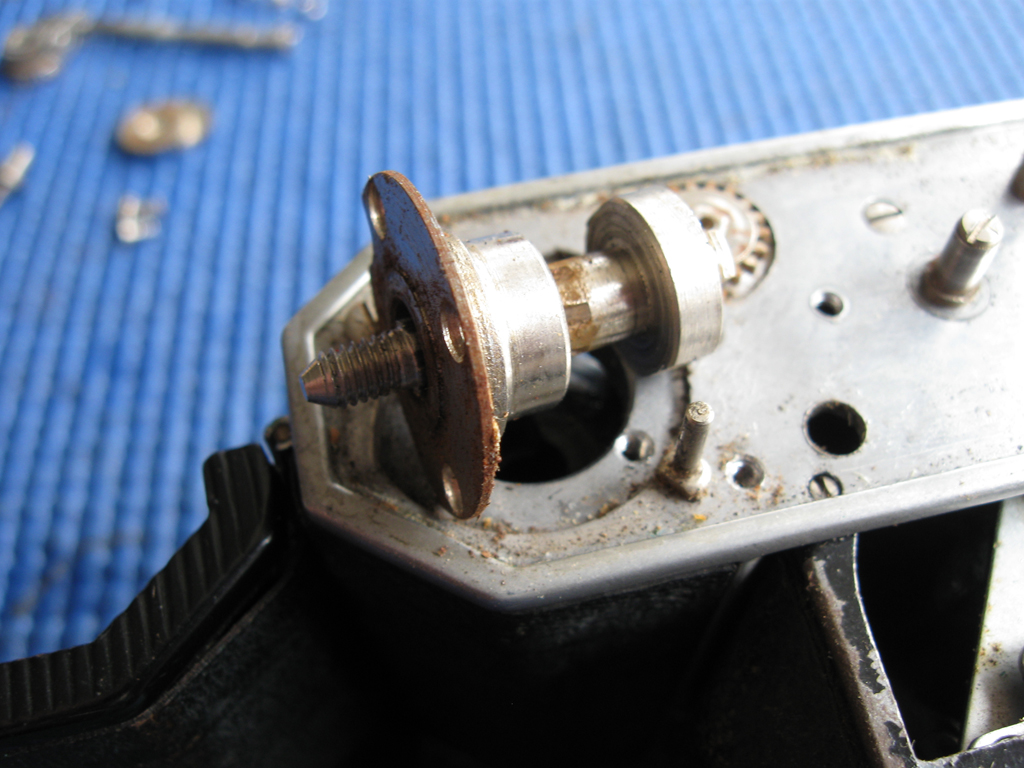
Remove the three screws holding the bearing down to the top plate.

Lift out the post and bearing.
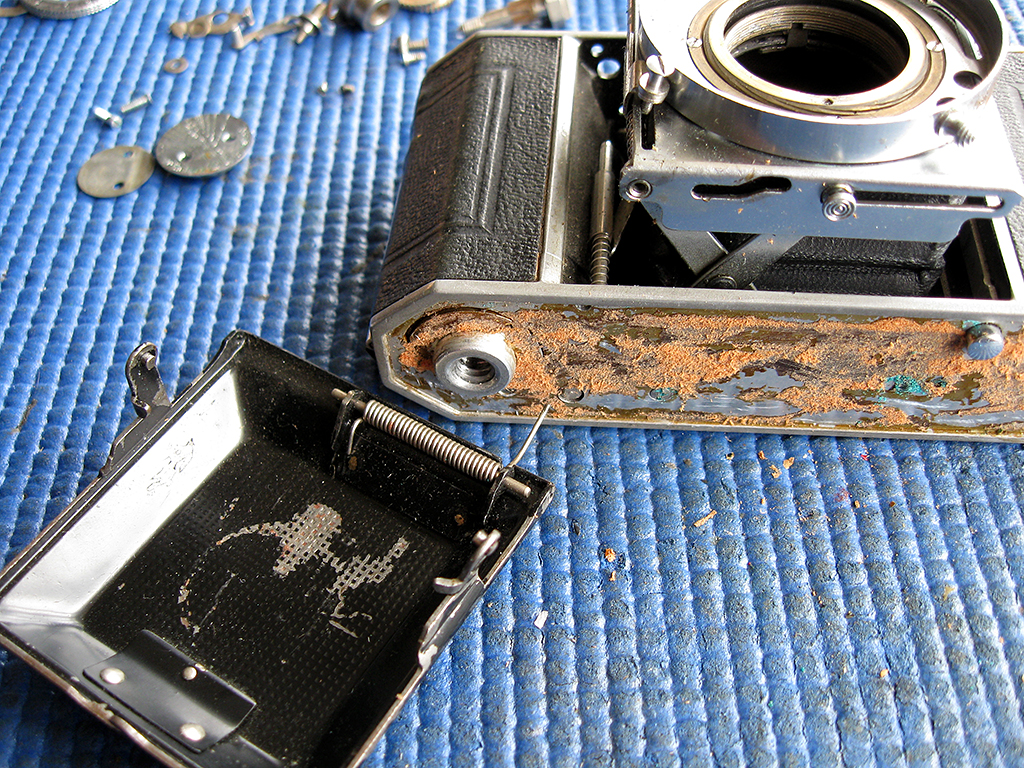
Open the camera back and remove the take-up spool.
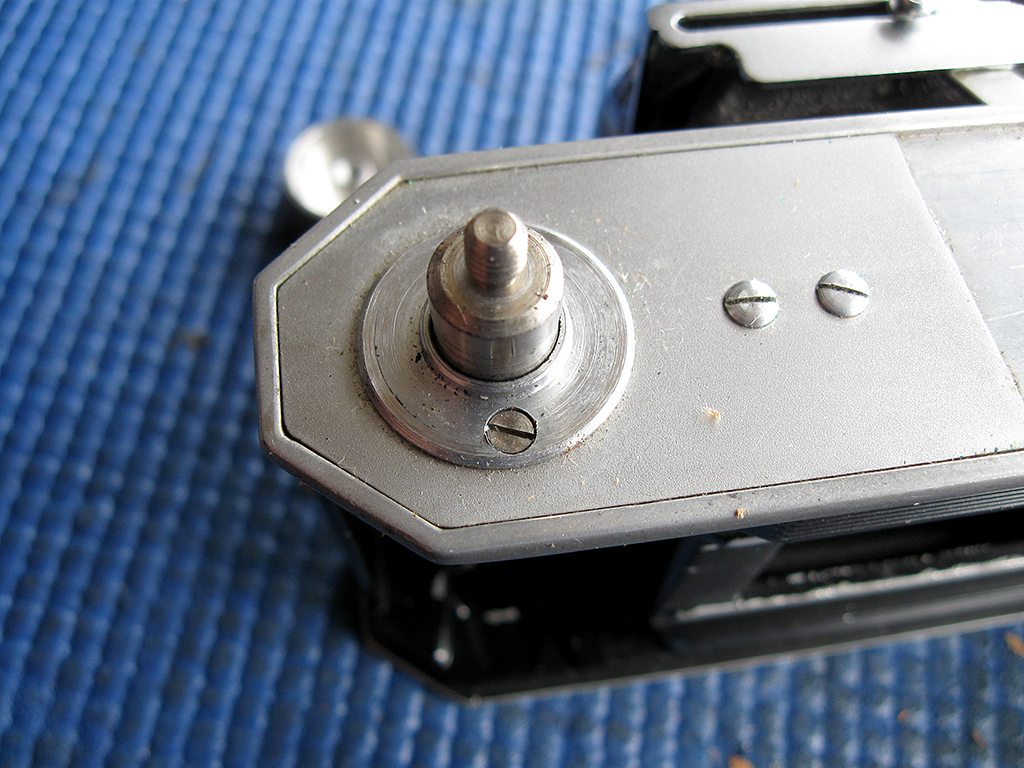
Remove the two screws holding the depth-of-field calculator to the base plate.
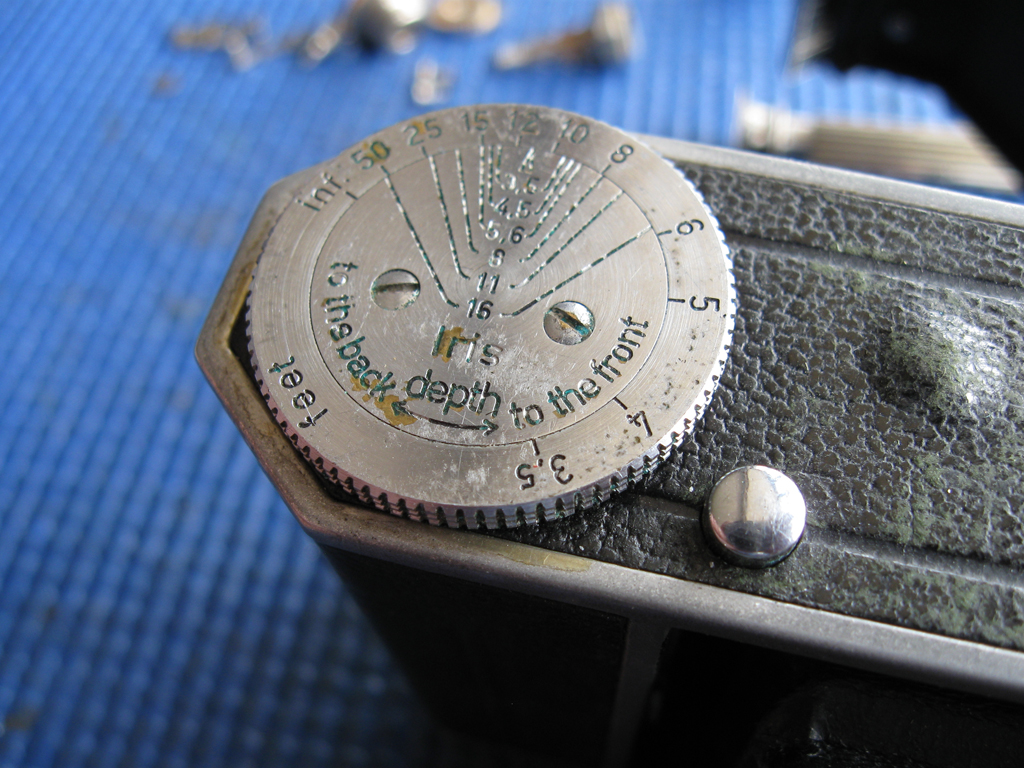
Note the various compnents and how they are arranged.
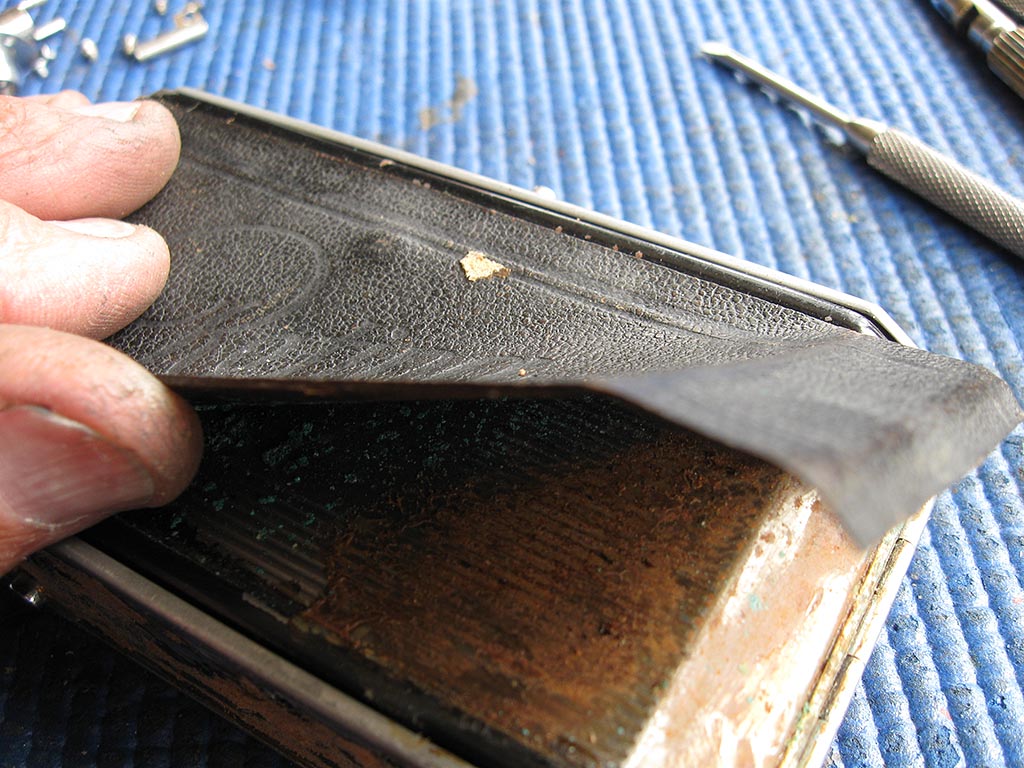
Use a scalpel to carefully lift the leather off the base plate.
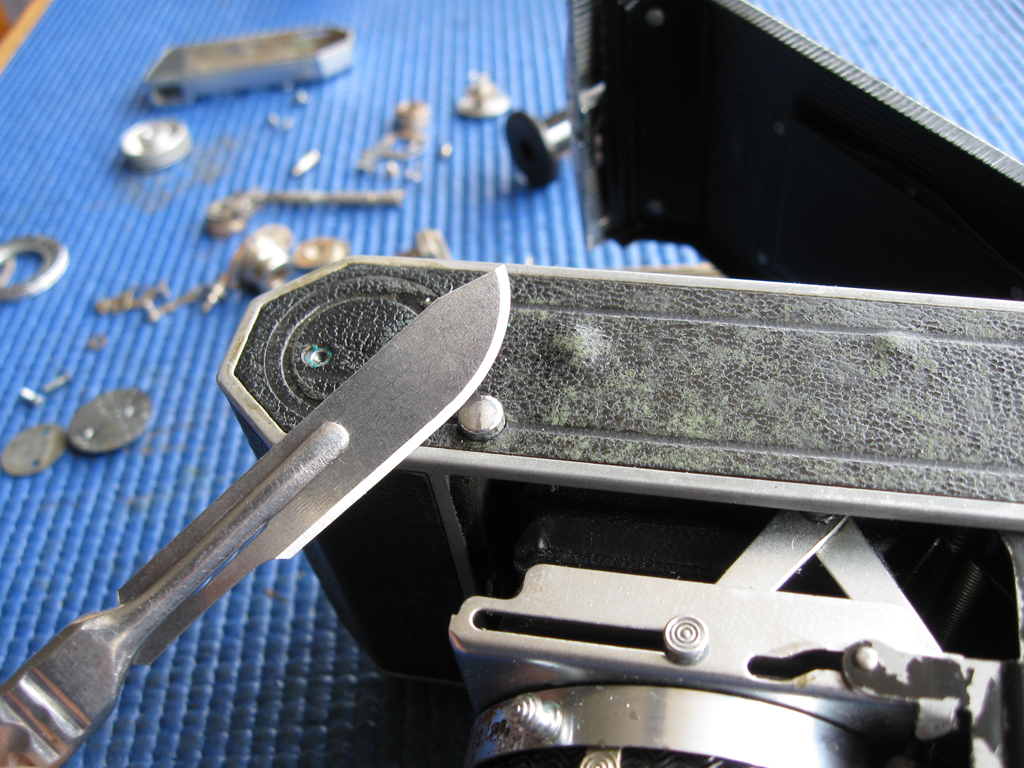
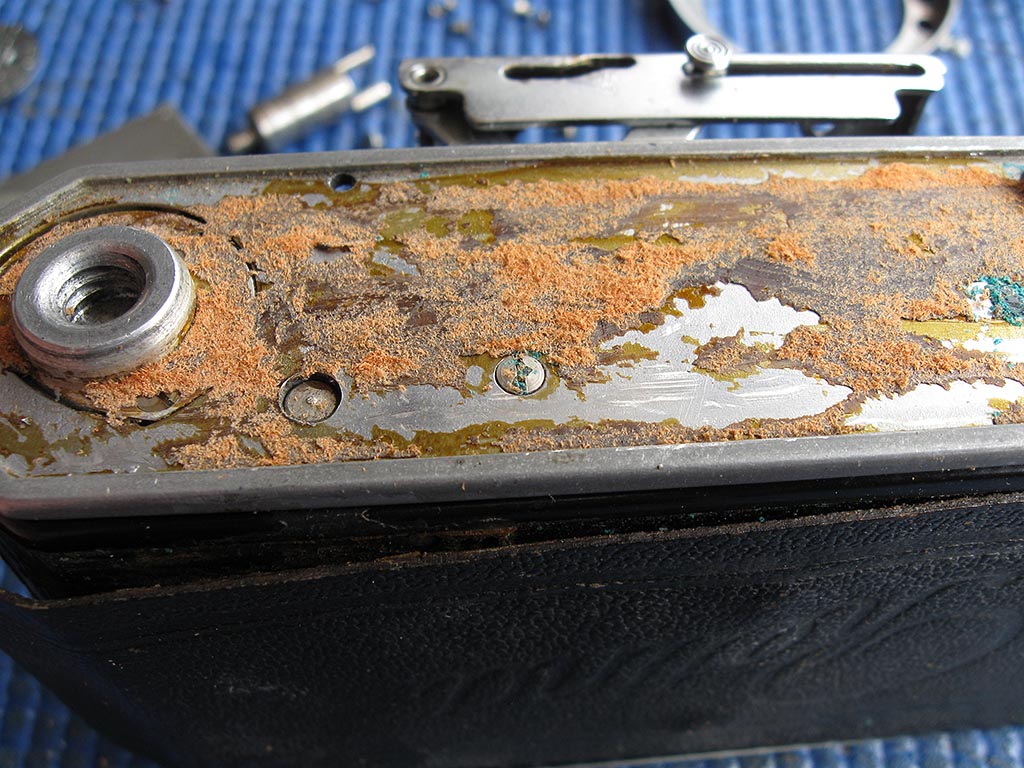
Note the green lump of corrosion visible here. This corrosion is the cause of 'Zeiss bumps'. Corrosion sets in where a brass rivet meets the aluminium body. Chemicals from the leather promote the reaction.
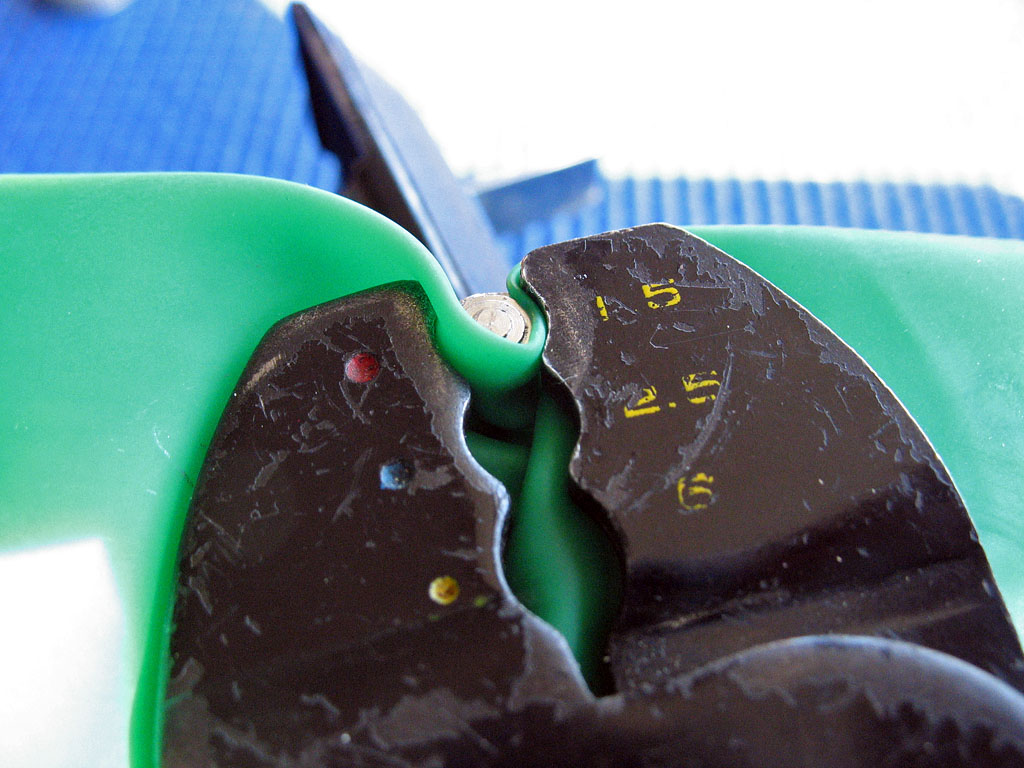
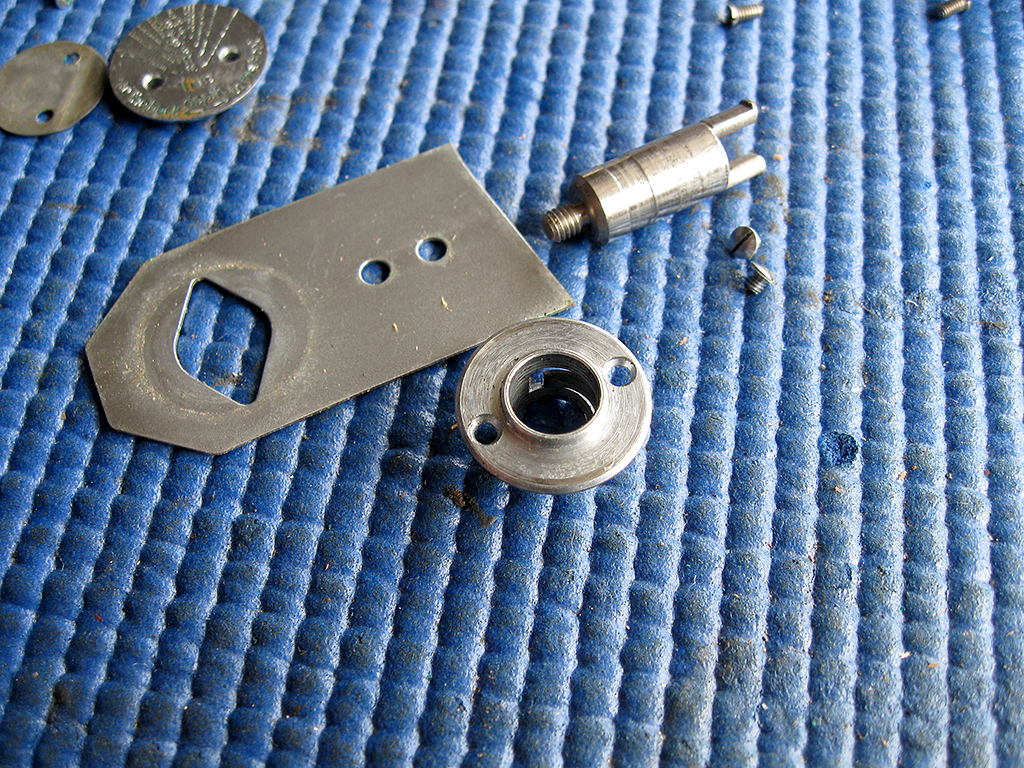
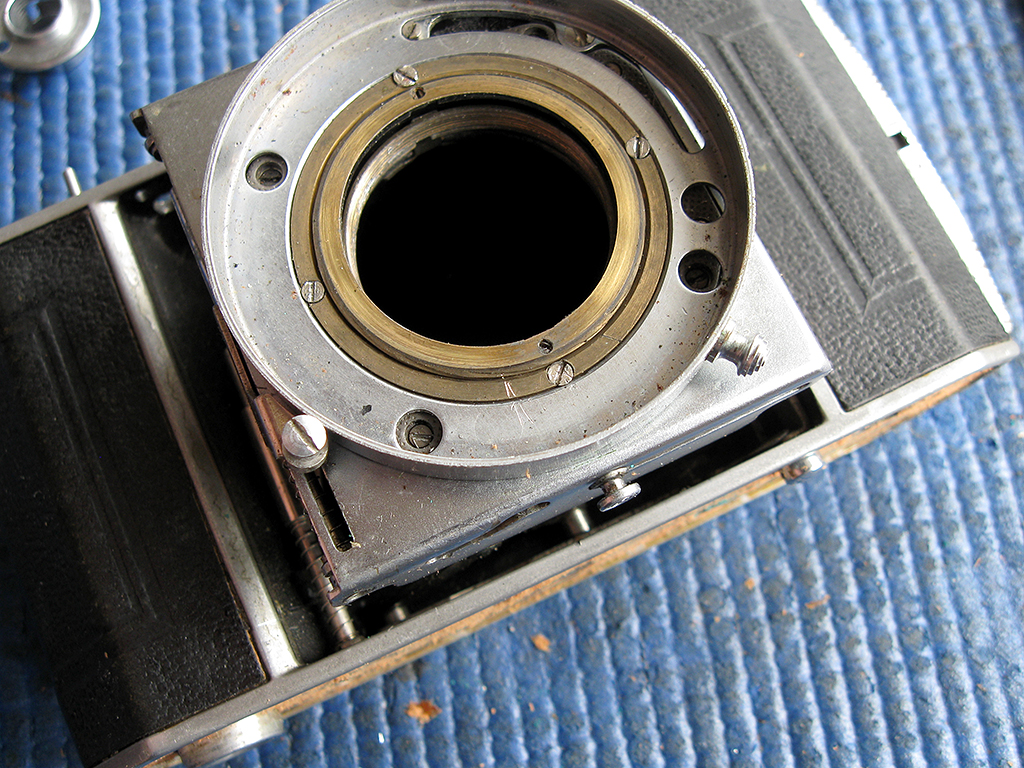
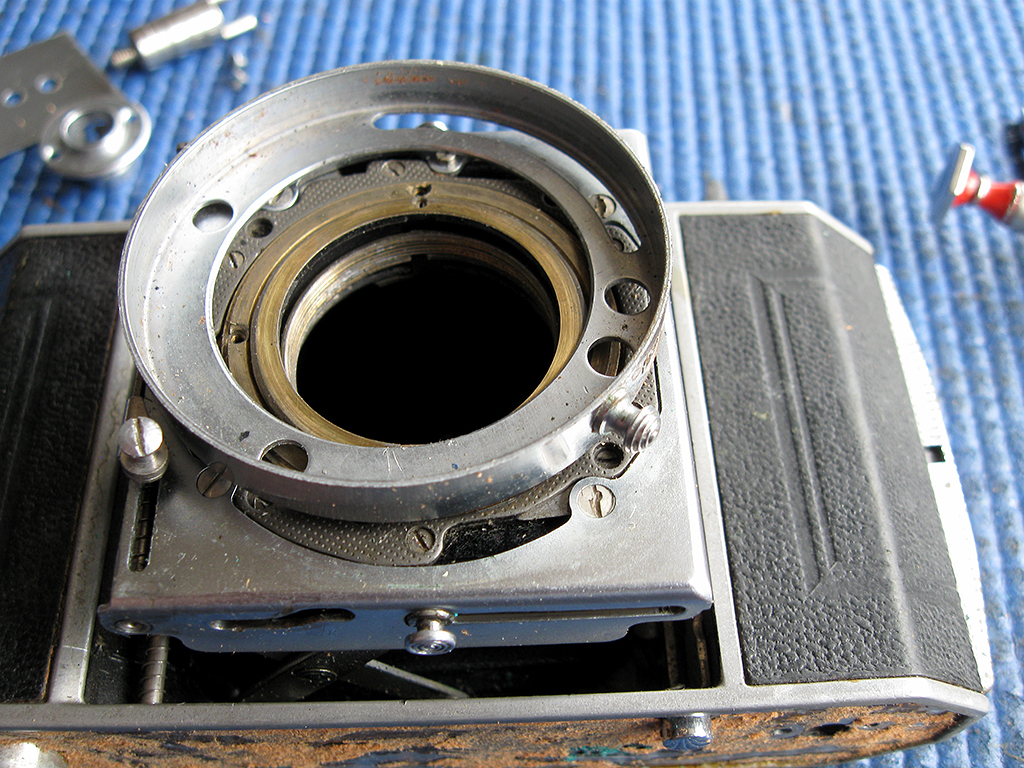
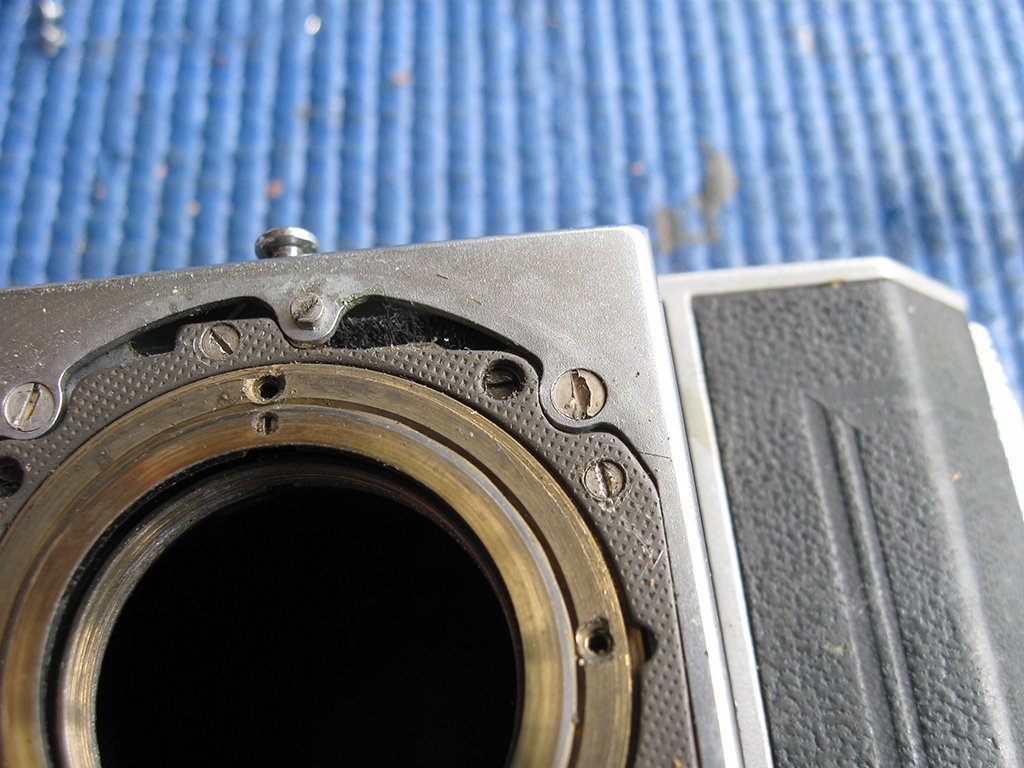
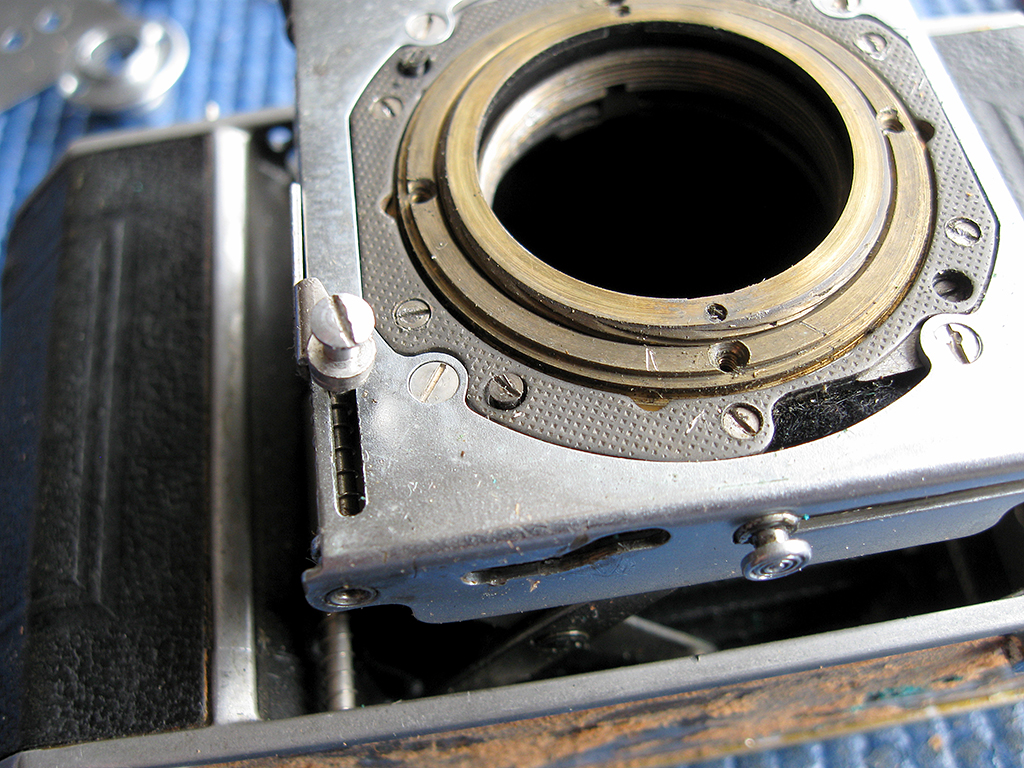
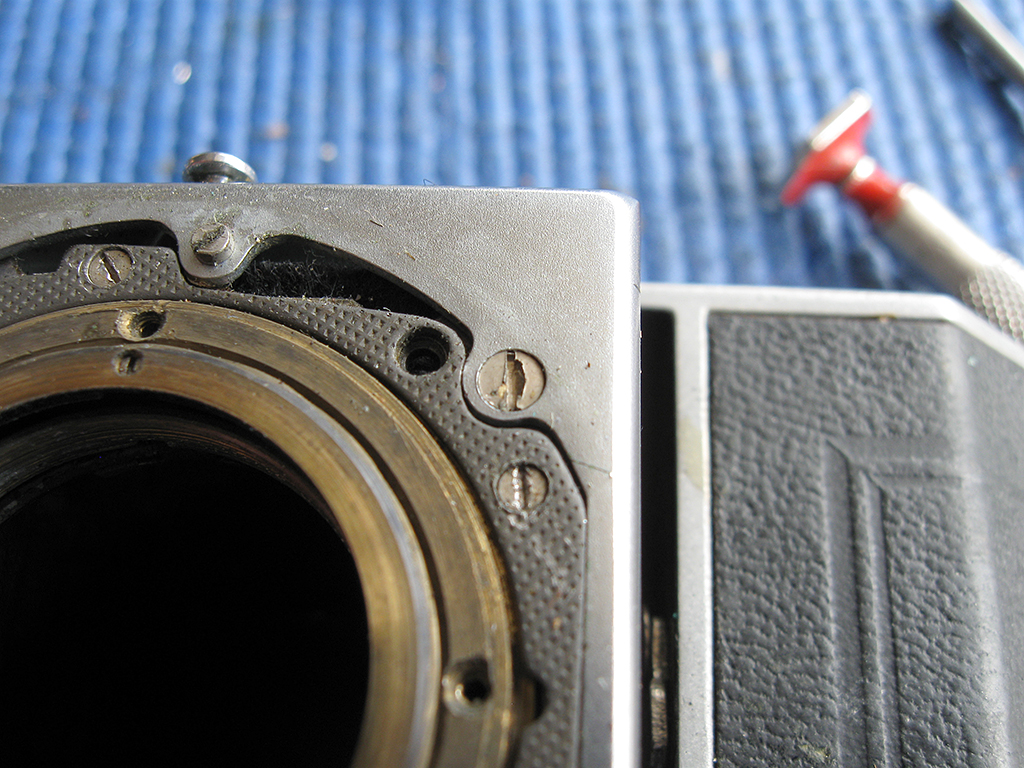
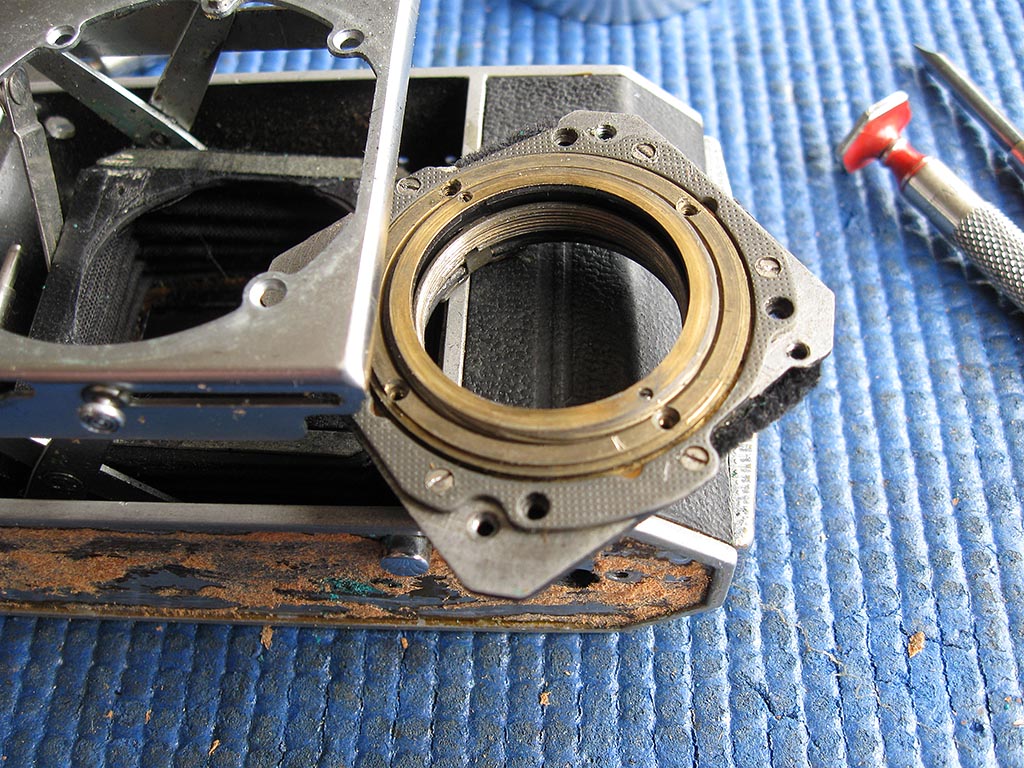
Remove the shutter retaining ring. The process is much as described here.
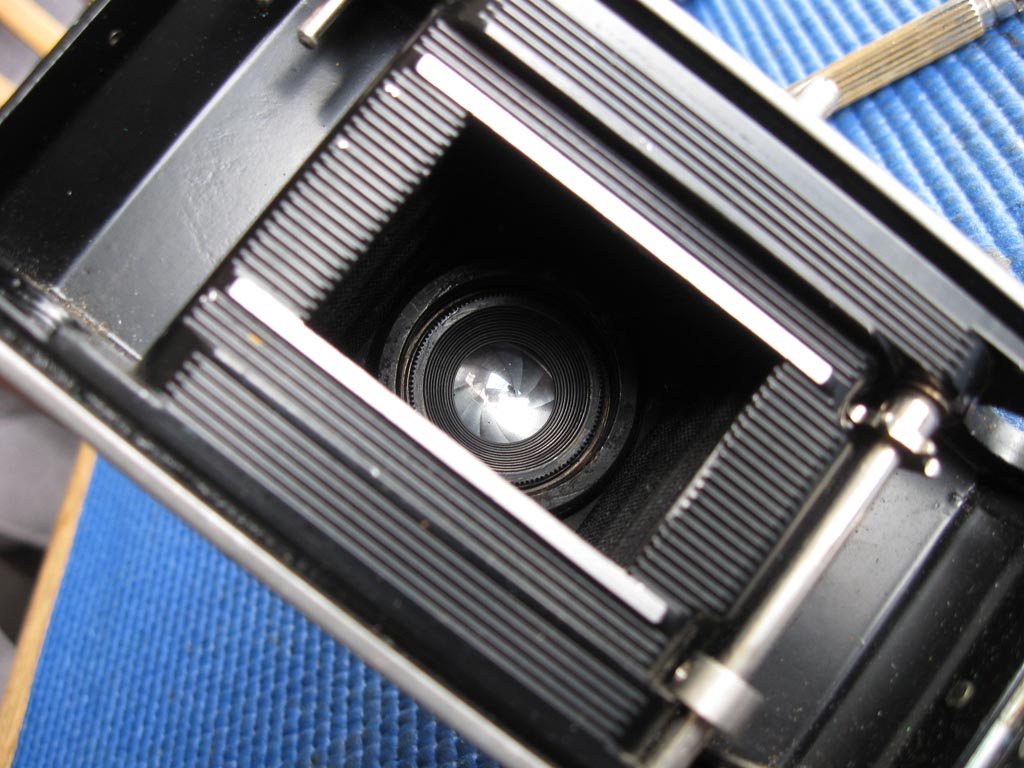
Unscrew the shutter release connection screw and lift the shutter & lens assembly clear. That can be put safely aside for later work.
Replace the shutter release connection screw to stop the release components floating loose.
Remove the upper door pivot screw.
Remove the lower door pivot screw.
Stretch door slightly to unhook pins from slots in the front standard.
Lift away the door.
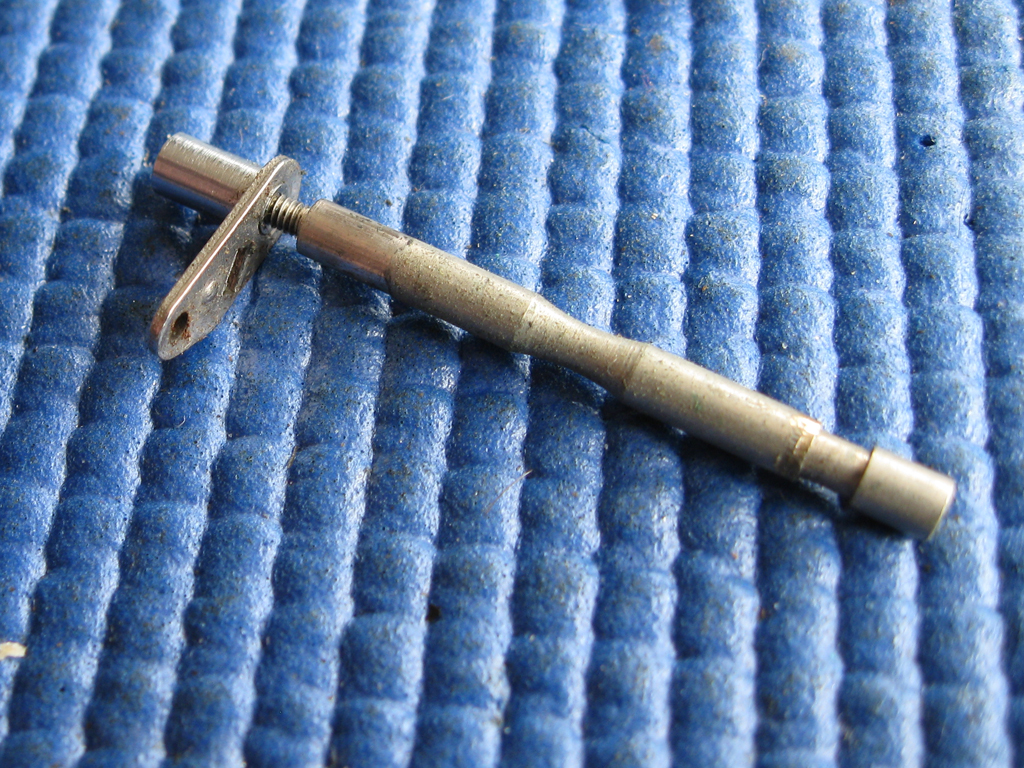
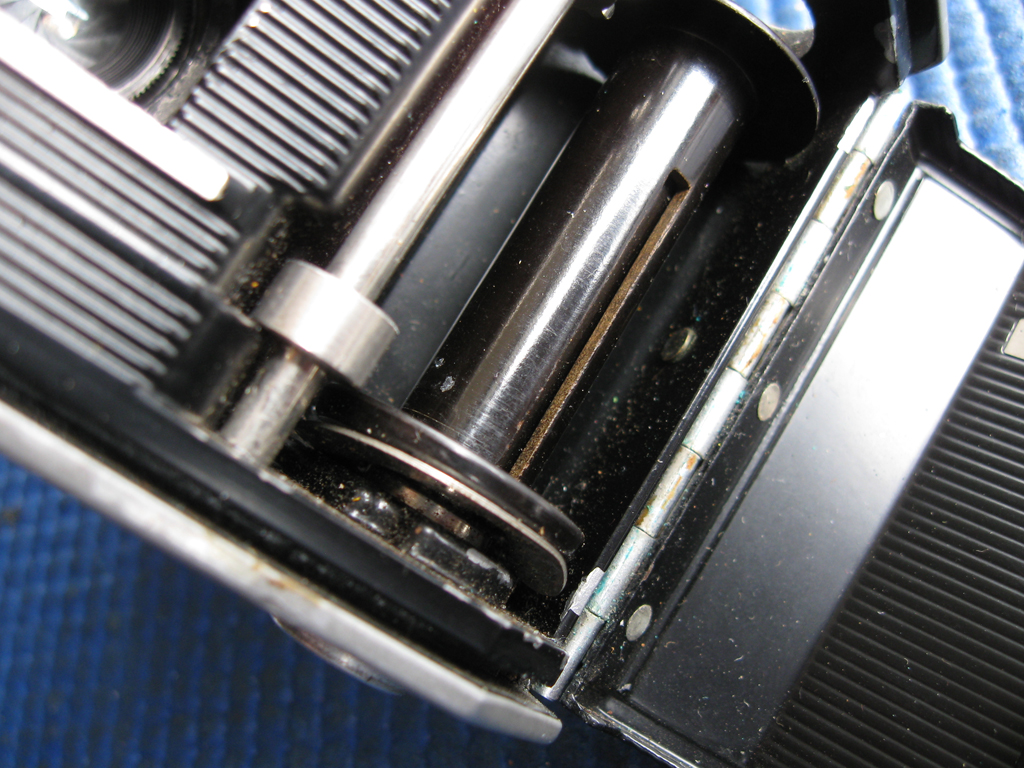
Put a tool through the fork of the rewind shaft to prevent it turning and unscrew the rewind knob with your fingers.
Remove the two screws holding the rewind bush, and the two holding the chromed top plate.
Seperate the shaft from the bush.
Scratch an alignment mark across the focus scale ring and outer focus helical to facilitate alignment on reassembly.
Remove the three screws and lift off the focus scale ring.
Loosen the four small black screws that hold the bellows in place.
The bellows should now come away from the back of the front standard.
Remove the four larger flat-head screws holding the focus mount to the front standard.
Lift out the focus mount complete with inner and outer helical and front retainer.
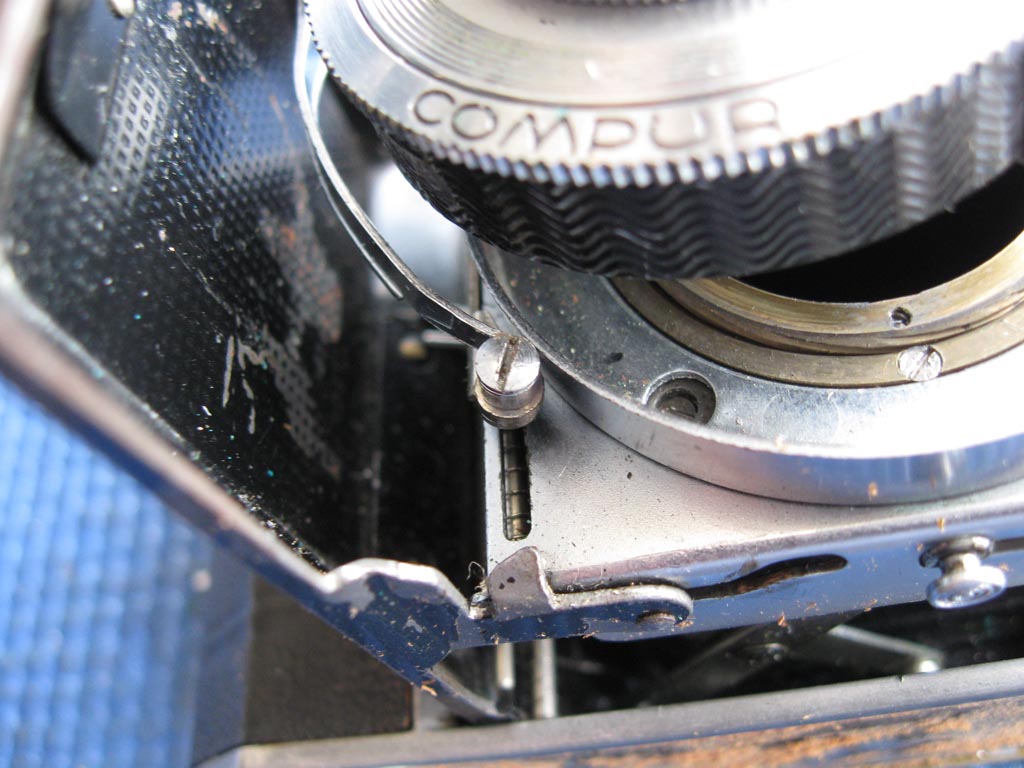
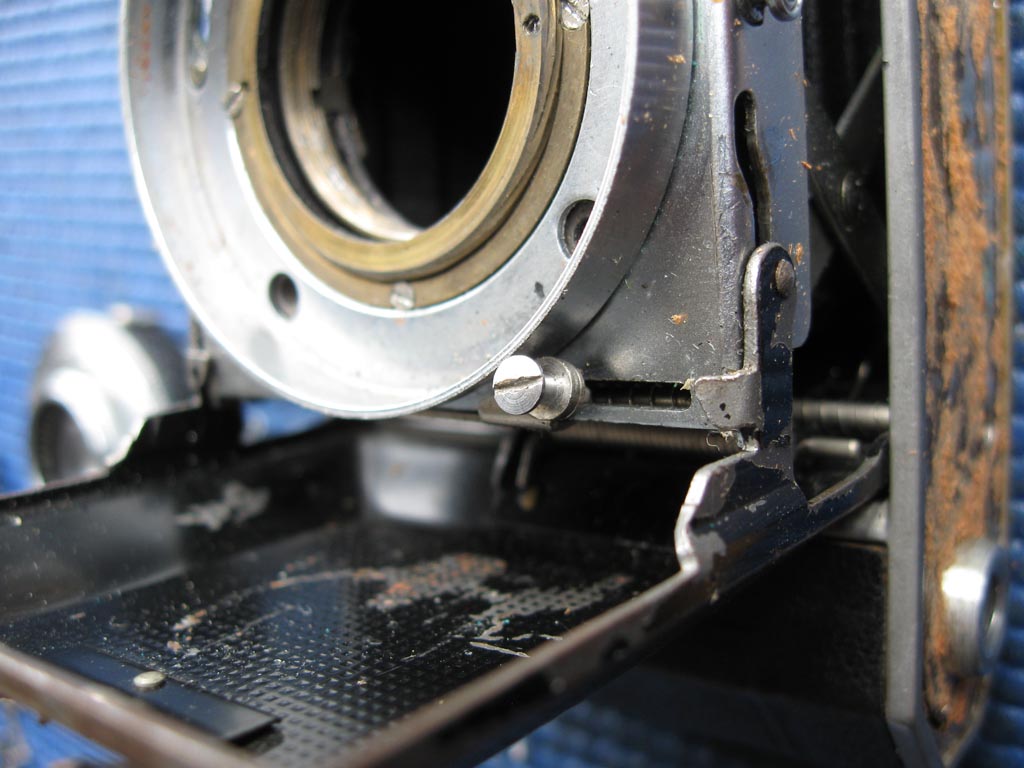
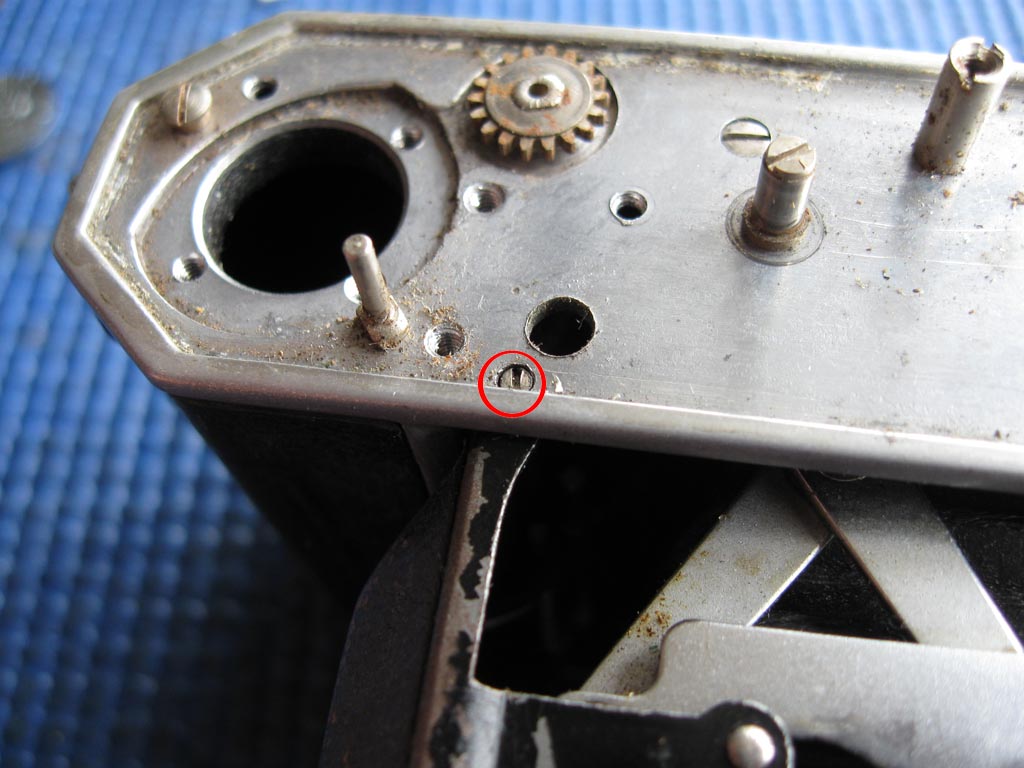
Remove the small screw recessed into the top plate.

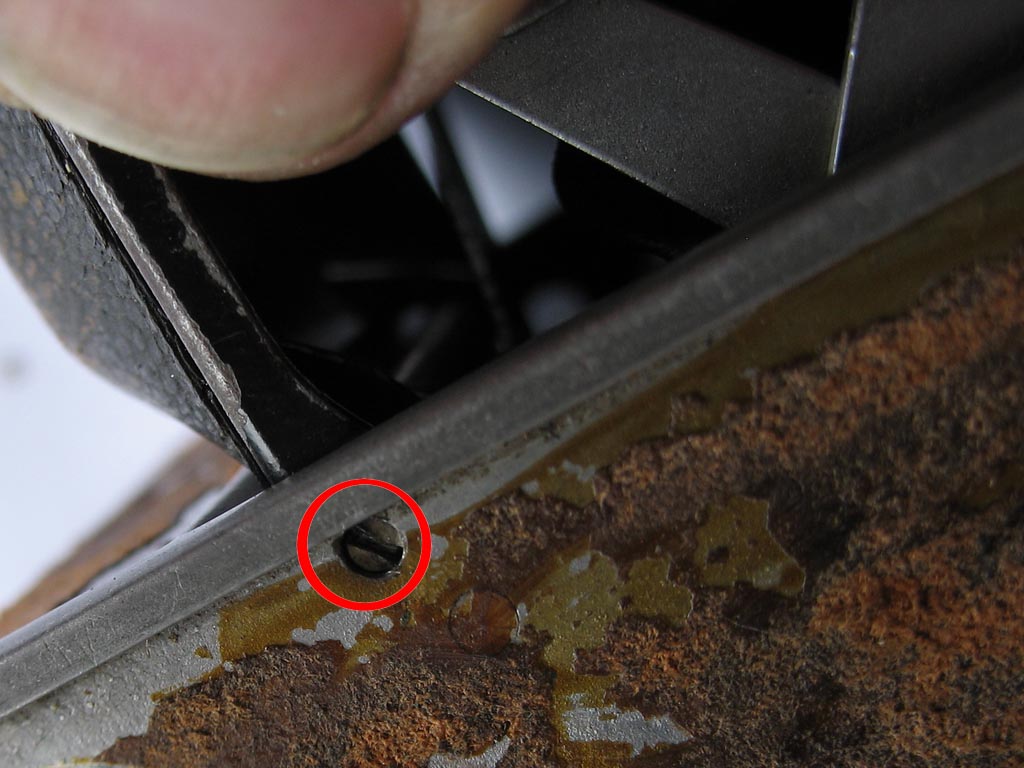
Remove the screw in the similar position in the base-plate of the camera.
Remove the two screws visible in the film cassette chamber.
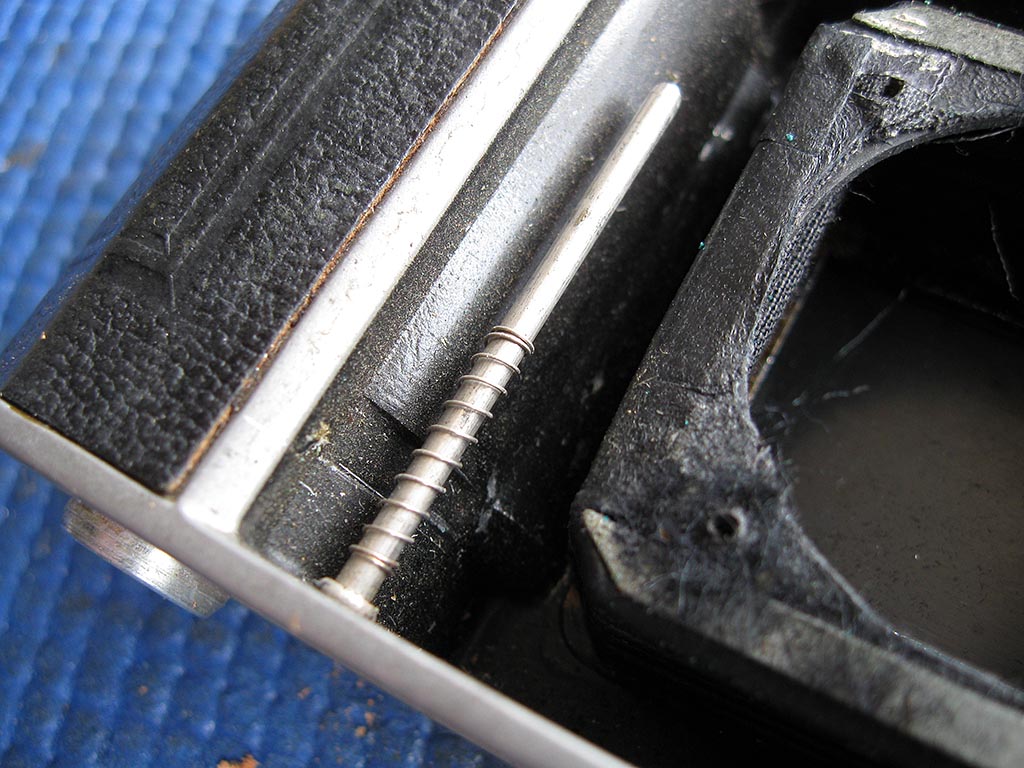
Lift out the front struts mechanism. Note the two spacer washers.
Lift out the return spring for the shutter release.
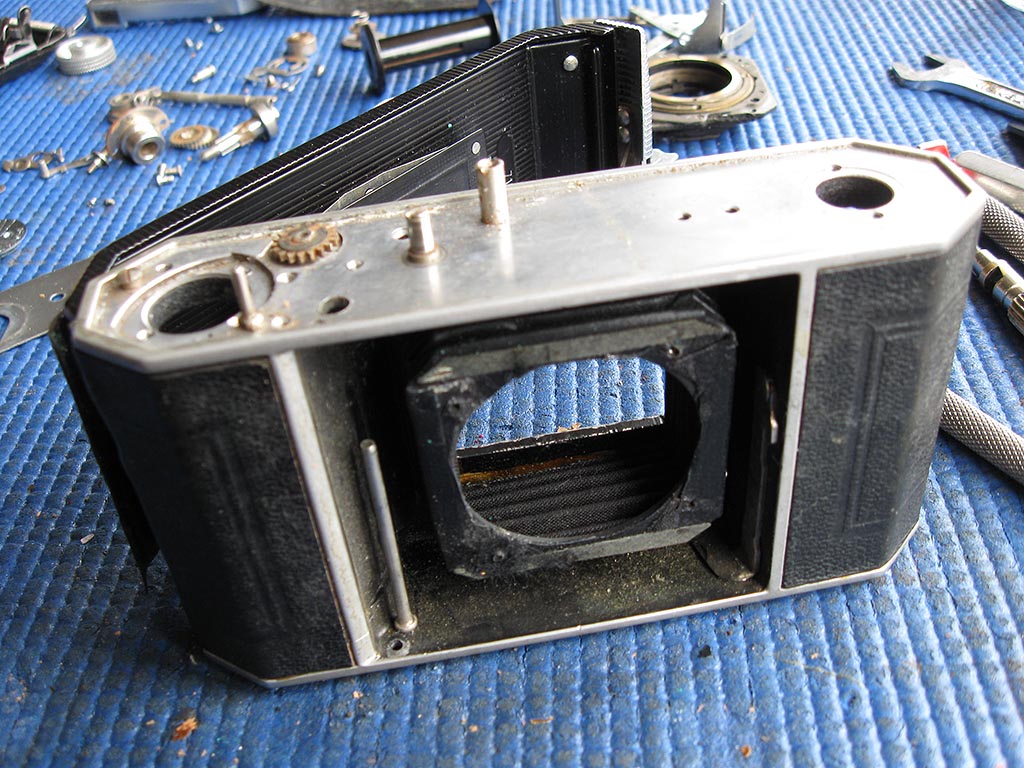
With all the mechanical components now removed for cleaning, any repair of the leather can begin.
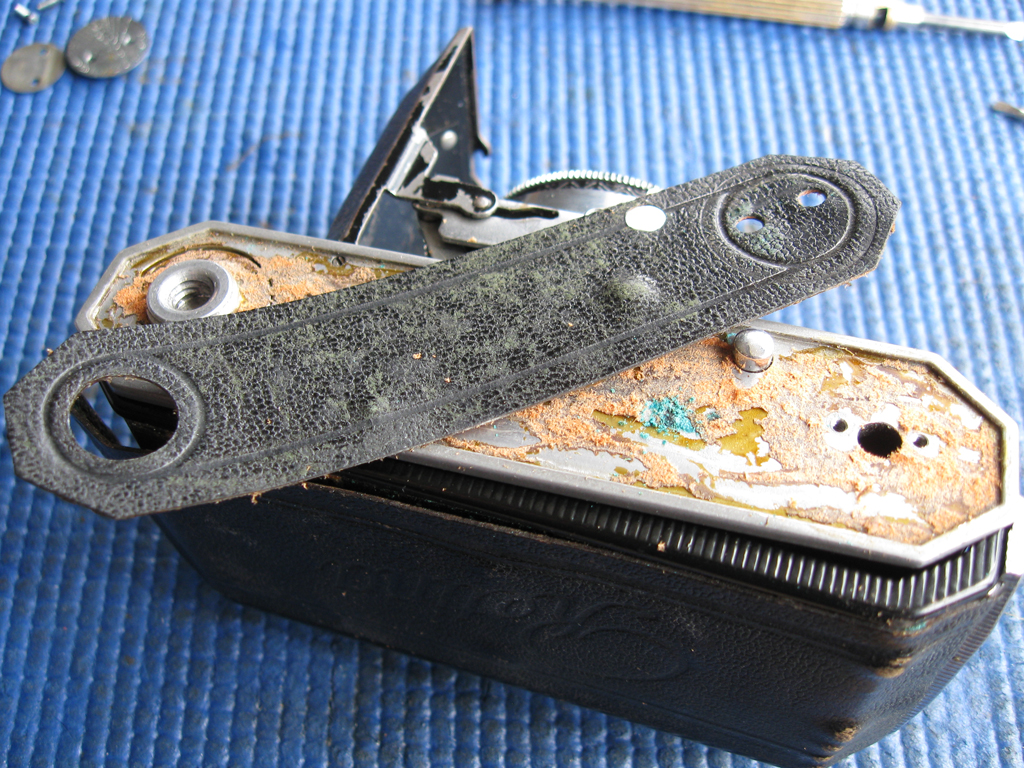
Here I am peeling the leather from the camera back to deal with the Zeiss-bumps.
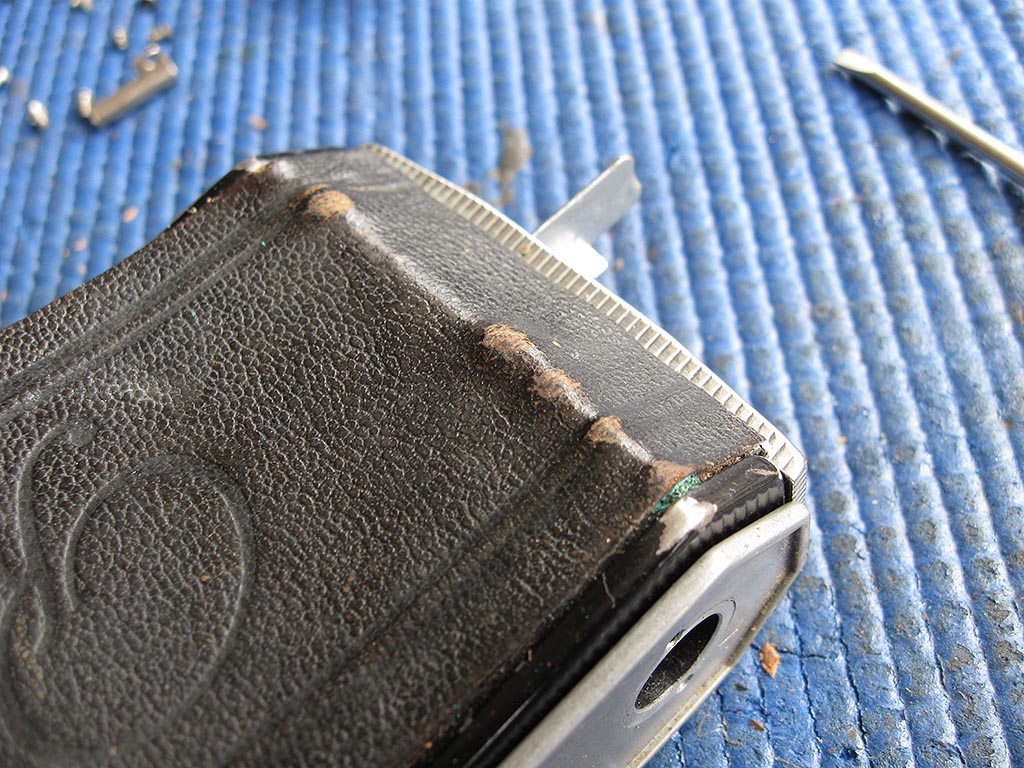
More bumps visible at the rear edge.
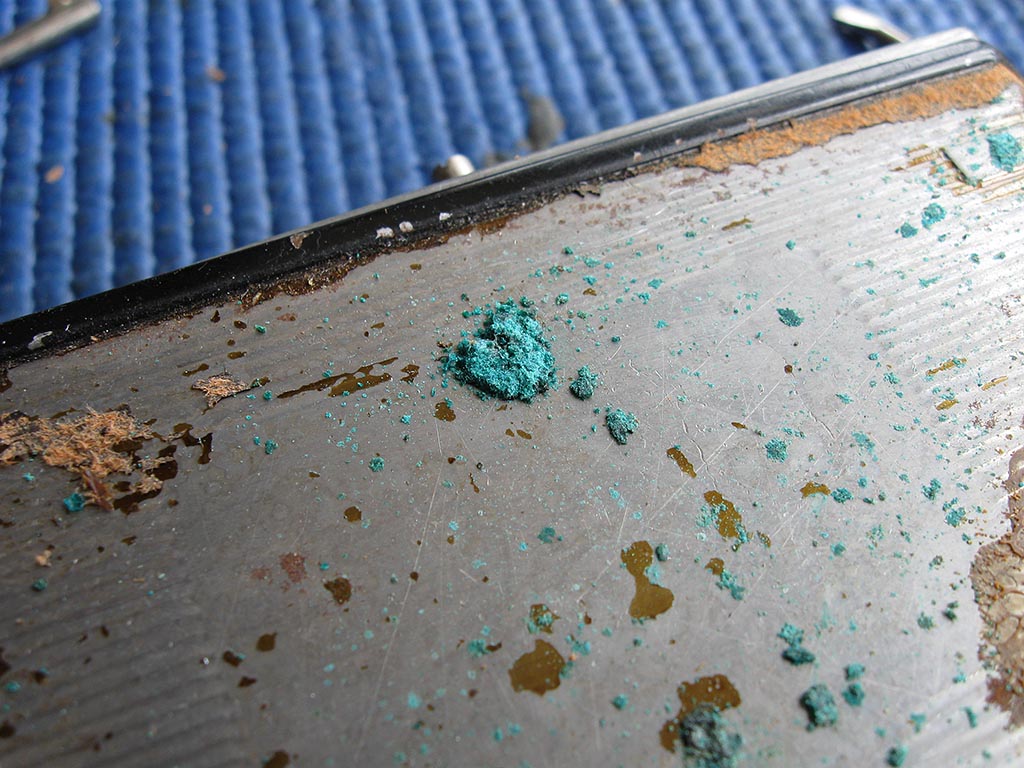
Here is the culprit, the green stuff is a corrosion product caused by a combination of dissimilar metals, chemicals in the leather, and moisture.
More to come as I find time...
text