Chris's camera pages
How to strip-down and service the Synchro-Compur shutter on a Kodak Retina Ia or IIa camera: continued
Disassembling and cleaning the diaphragm assembly
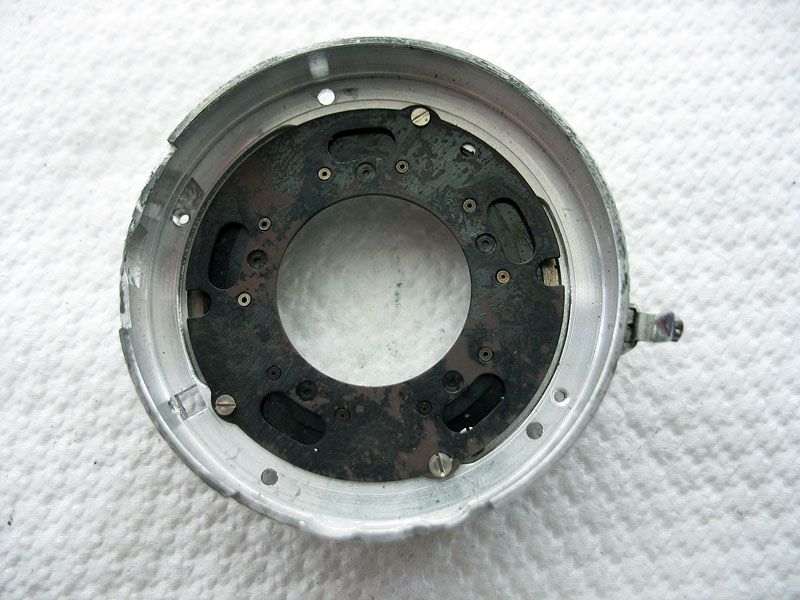
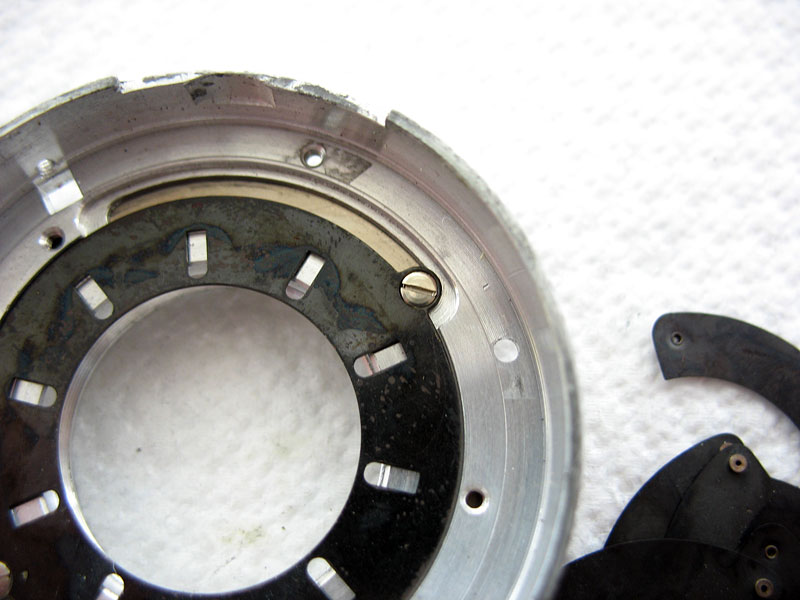
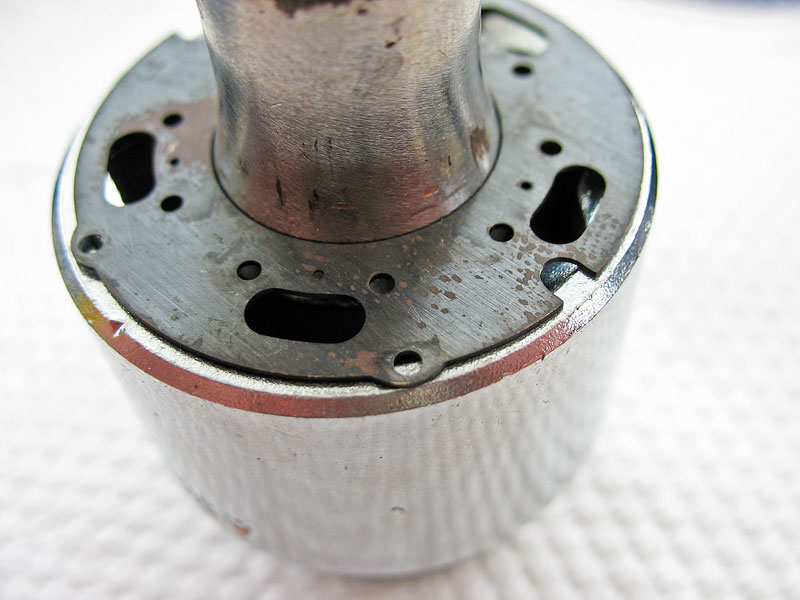
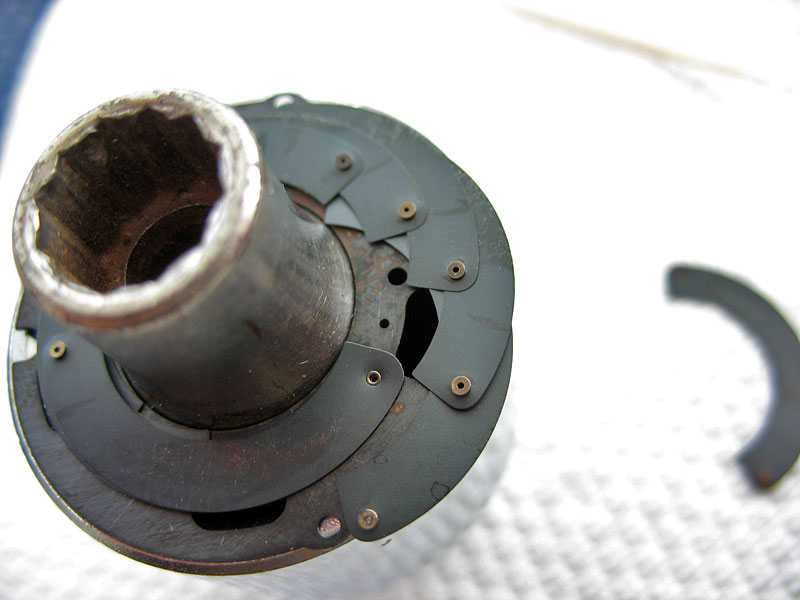
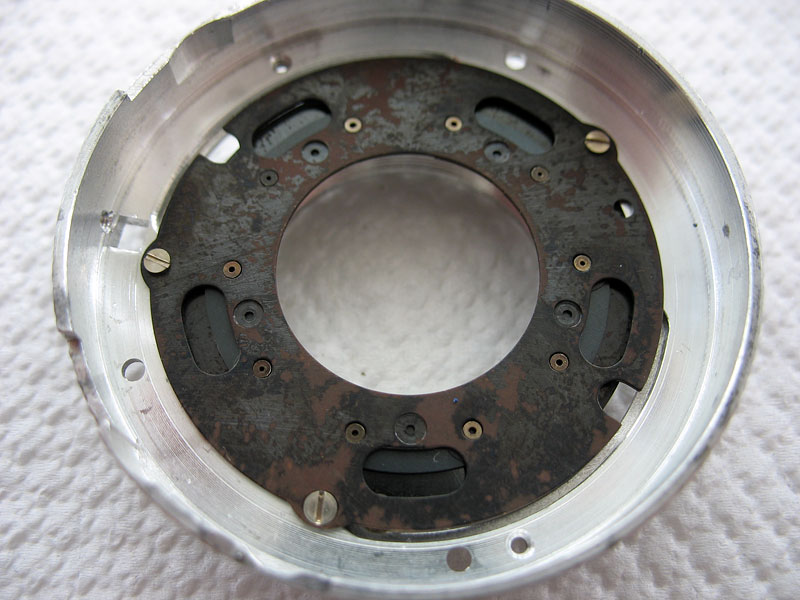
Here we have the shutter case itself, with the diaphragm blades still fitted.If they are not particularly contaminated with oil, you may decide not to disturb the diaphragm and simply clean the blades in place, otherwise please follow these instructions for dismantling and reassembling the diaphragm.Remove the three screws holding the diaphragm retainer plate. One is different from the other two, having a counter-sunk head.
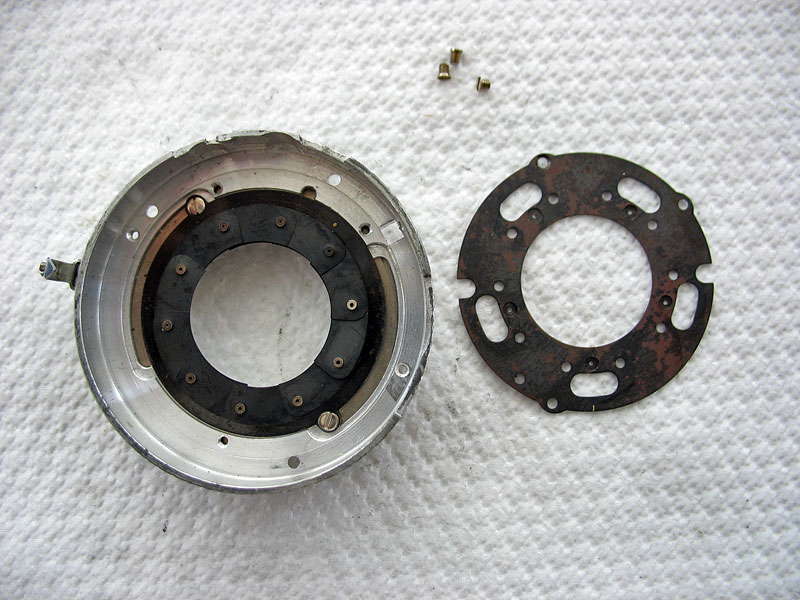
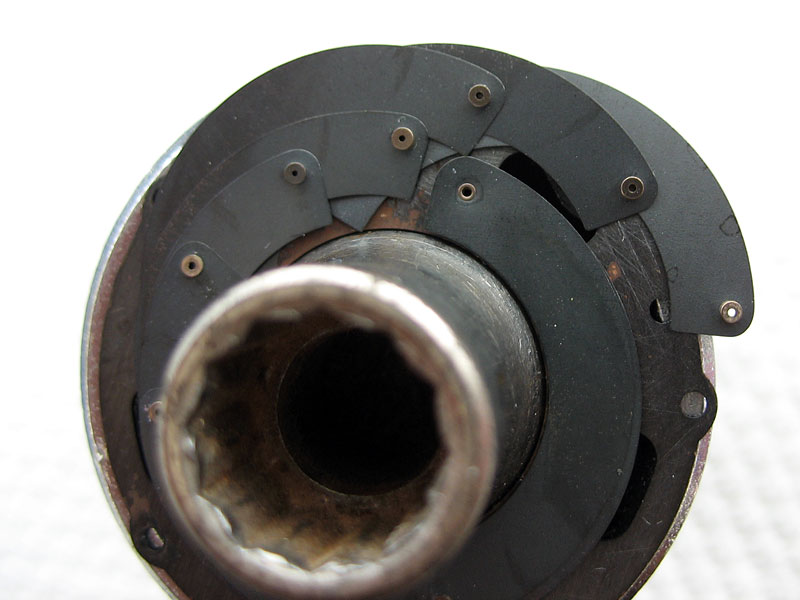
Lift off the retainer plate to reveal the diaphragm blades.
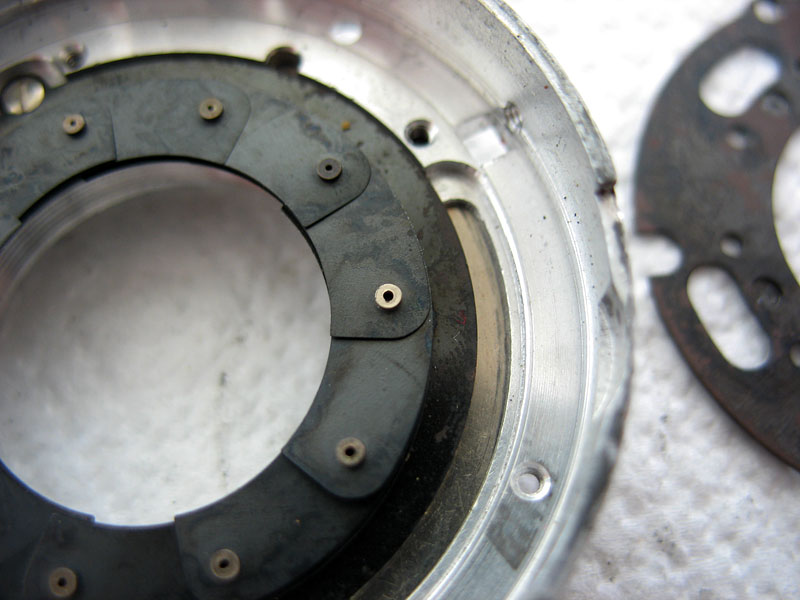
Note the way the blades are interleaved.
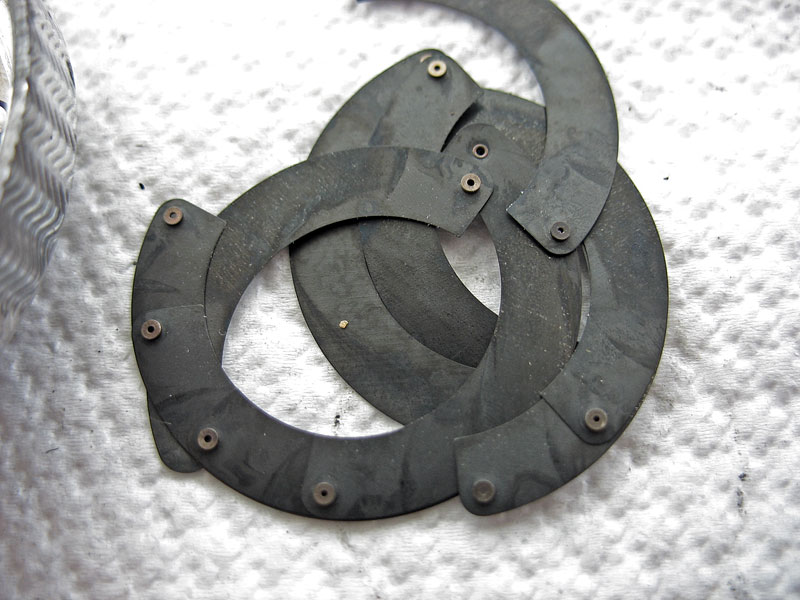
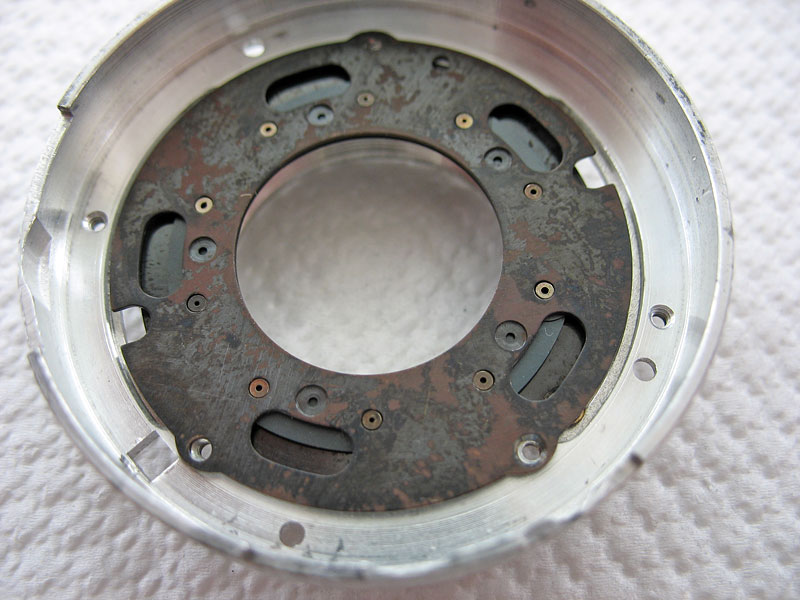
Tip the diaphragm blades out of the case.
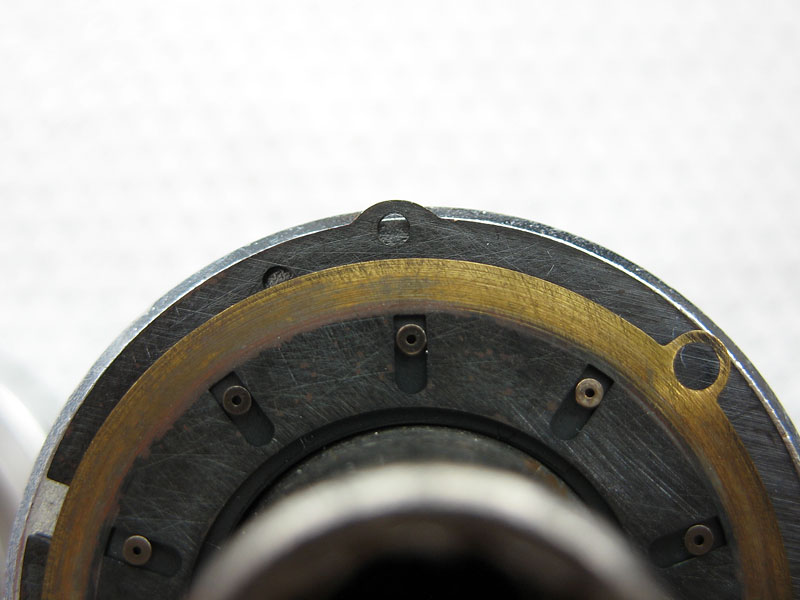
The diaphragm control plate is held to the outer ring with the two screws visible here. Remove them and lift out the control plate, the outer daphragm ring with the pointer will fall away.
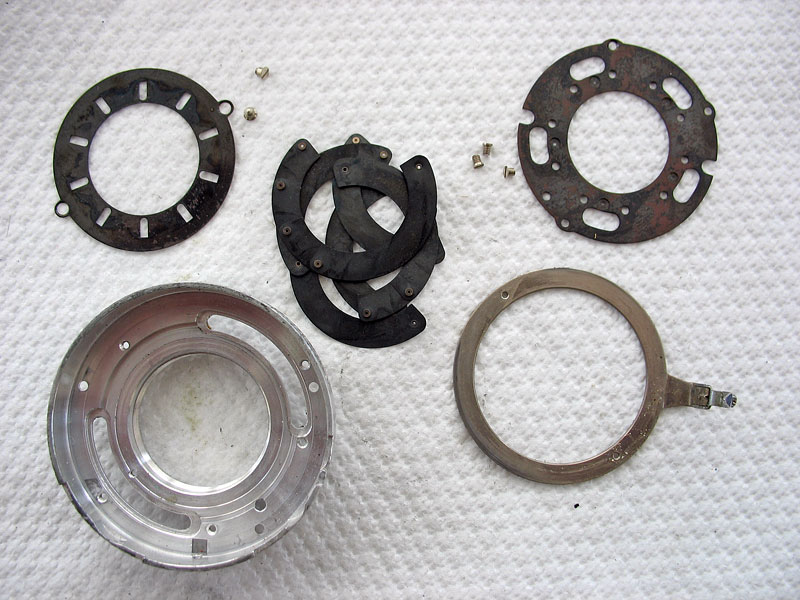
Clean all of the components of the diaphragm carefully to remove all traces of dust and oil.

It is easiest to reassemble the diaphragm on a jig. Deckel sold a jig, or perhaps they just published drawings to allow a repairer to make their own. Rather than turning one from solid, I have used two sockets to do the same job.
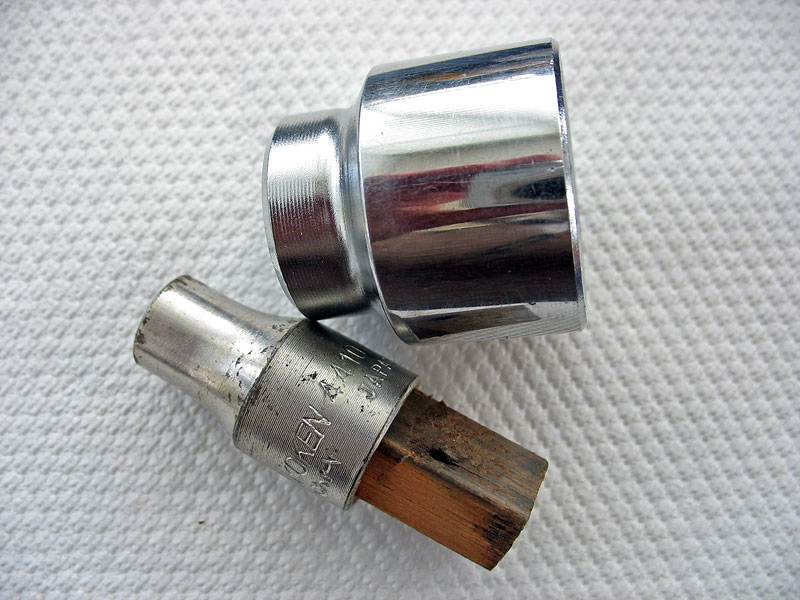
Here you can see how it is comprised of two sockets joined by a small piece of squared-off timber.The sockets are 1/2" drive, and are 10mm and 27mm in size.
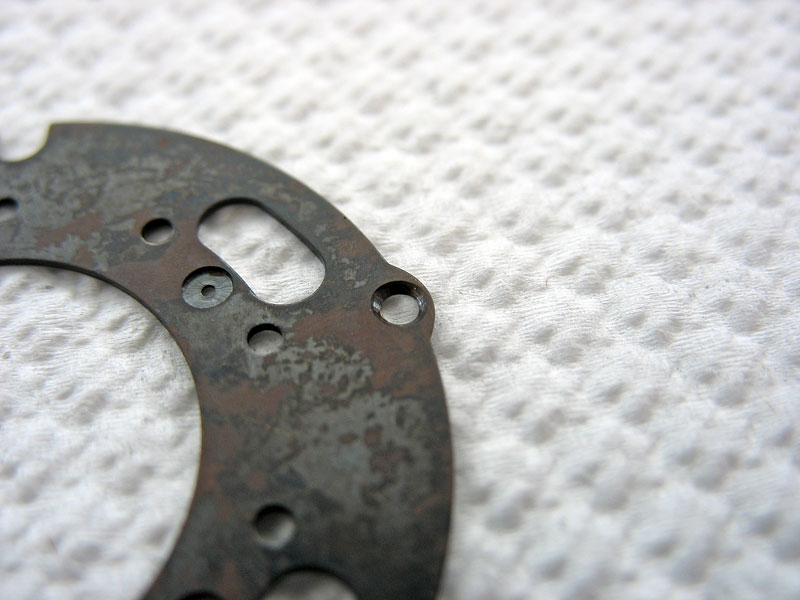
Note that one side of the retainer plate has one of the three outer screw holes countersunk for the head of the fixing screw.
The side with the countersink faces down towards the jig.
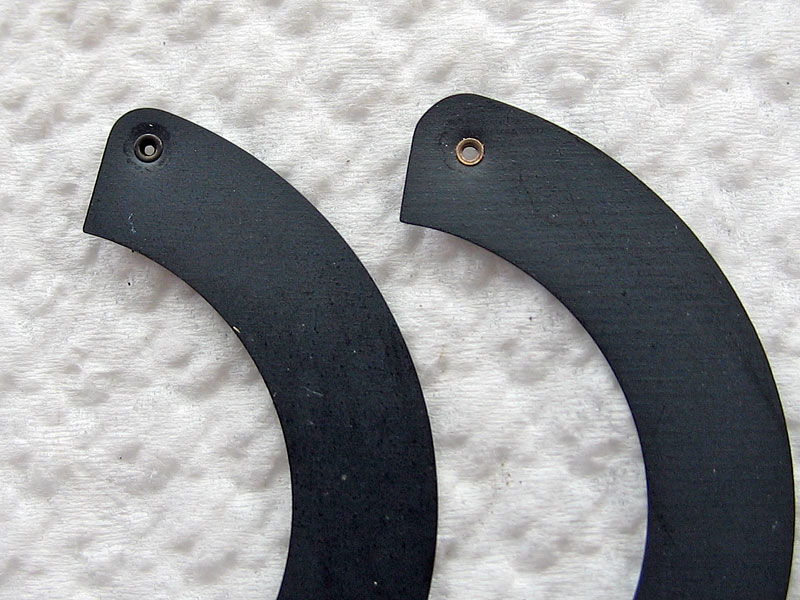
The diaphragm blades are not symmetrical, the rivet is closer to the outer corner on one end. The blade shown here on the right is in the correct orientation for assembly.
The blades are placed so that the rivet fits into one of the holes in the retainer plate.
Lay the blades in place proceeding anti-clockwise.
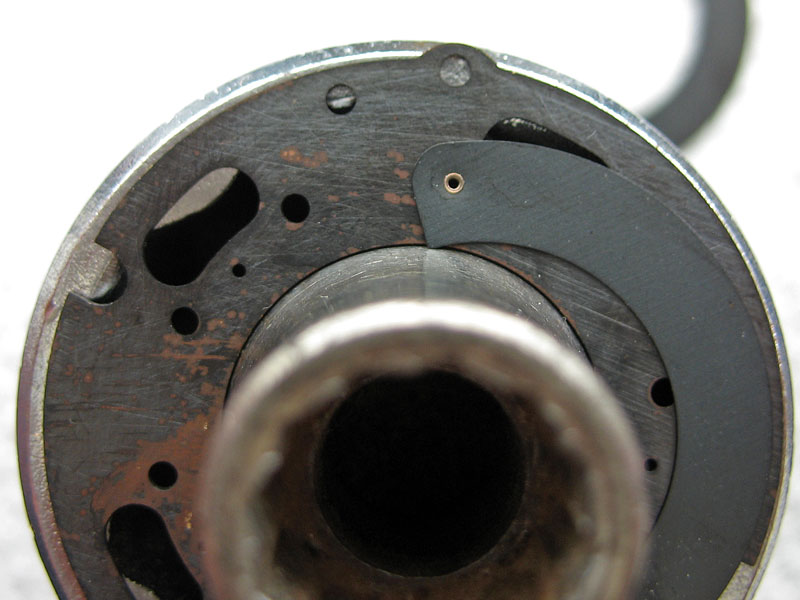
When it comes to placing the last few blades, the holes for the rivets are hidden.You must swing the first blades out far enough to uncover the holes.
Here you can see the last blade placed in position.

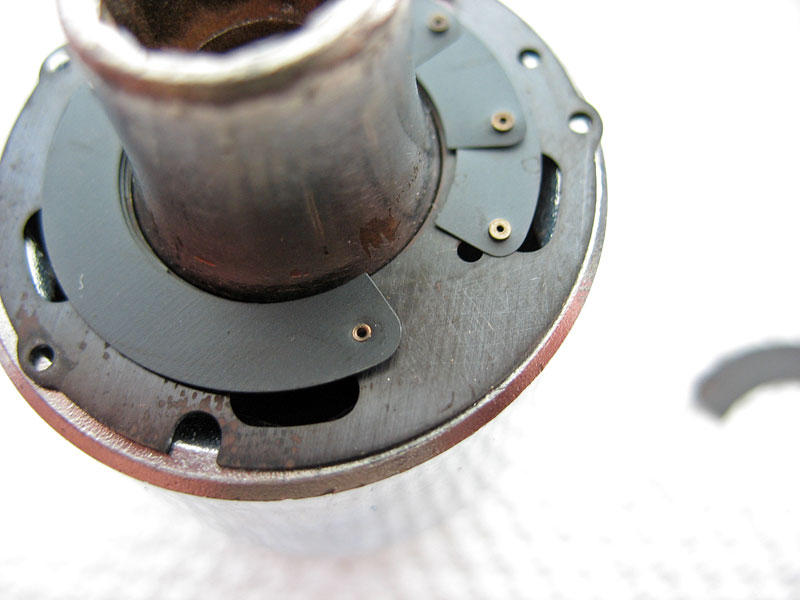
Carefully swing the first blades back over the last blades you installed.

Fit the blade control plate over the exposed rivets.Note the relative positions of the control ring and the cover plate.

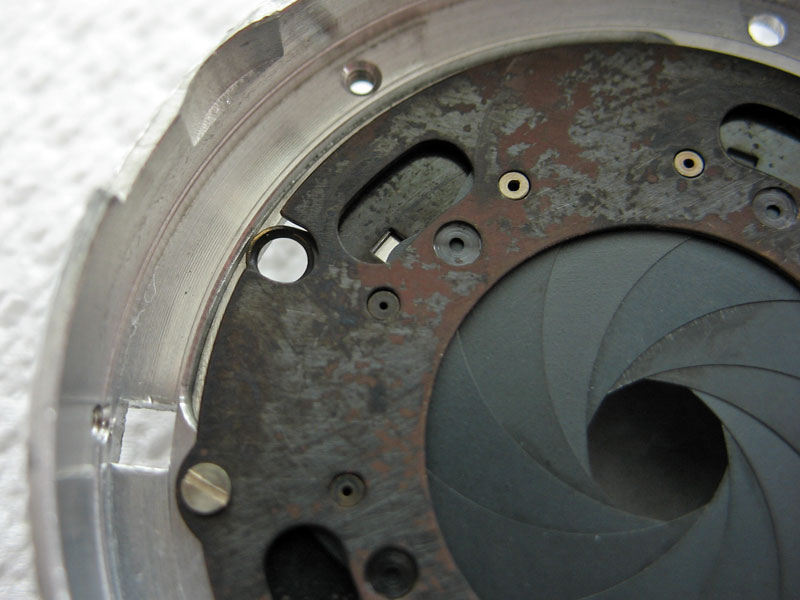
Align the outer case and the diaphragm assembly. Use an easy to see landmark like this screw hole at the top of the cover.
Align the diaphragm assembly to match the case.

Carefully lower the case over the diaphragm assembly.
Turn the case back over and carefully lift off the assembly jig.Check that the screw holes are correctly aligned.
Fit and tighten the three screws. Take care that the countersunk screw goes in the right place.
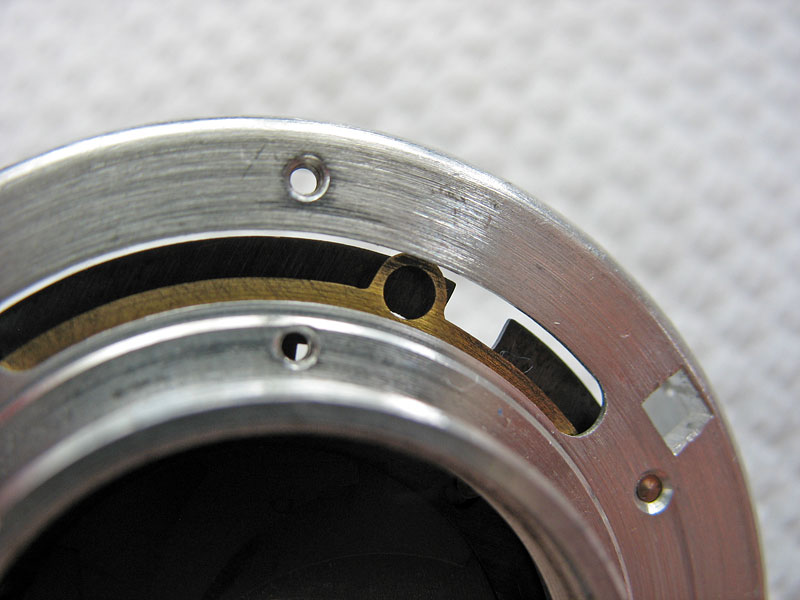
Note the slot through which you can fit the screws holding the blade control plate to the diaphragm ring.
Align the fixing hole with the slot.
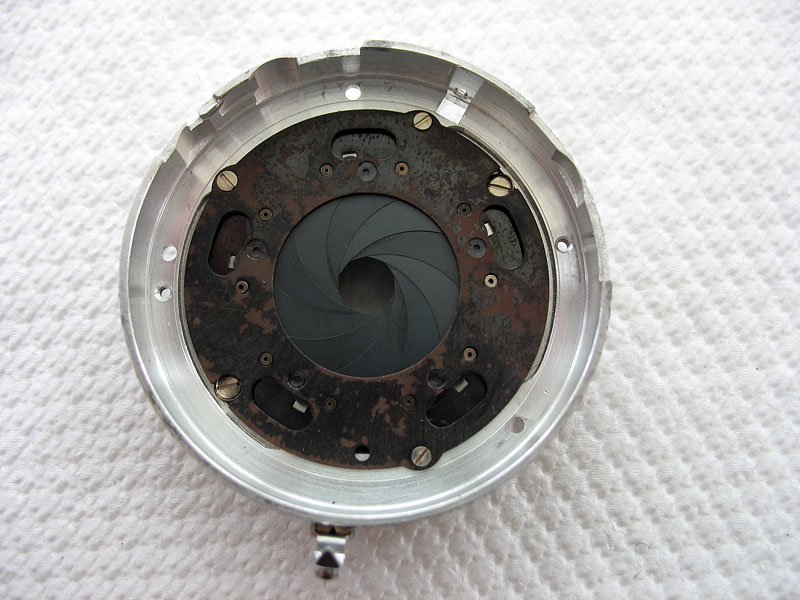
Fix the diaphragm ring with the two screws. Note the correct alignment of the pointer at the bottom of the shutter case.Check that the diaphragm moves smoothly when you adjust the diaphragm ring and that the aperture formed is round, indicating that the blades are all moving correctly and have all been put in the right way around.That is all that is required for the diaphragm.
Third part: Reassembling the shutter
Questions? Please contact Chris Sherlock