Chris's camera pages
Retina Reflex S strip-down continued...cleaning and reassembling the shutter, part one.
One of the most important tasks involved in reassembling the shutter is to remove all traces of old lubricants first.I start with the shutter case, and then mechanism plate, which is the chassis on which the shutter is constructed.
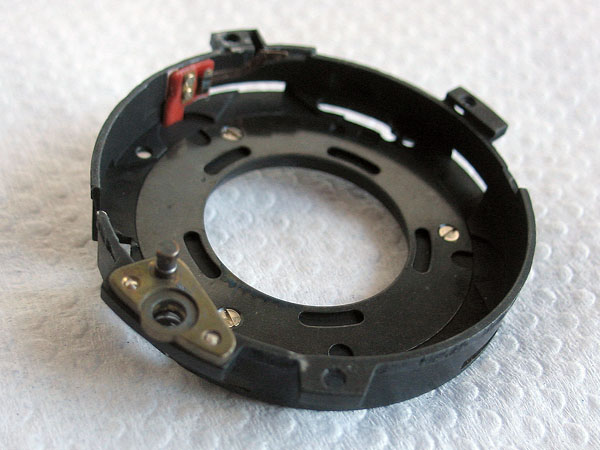

I clean the parts completely with cotton buds (Q-tips) soaked in a suitable solvent. Cigarette lighter fluid, Ronsonol, or whatever you pour into your Zippo is ideal.

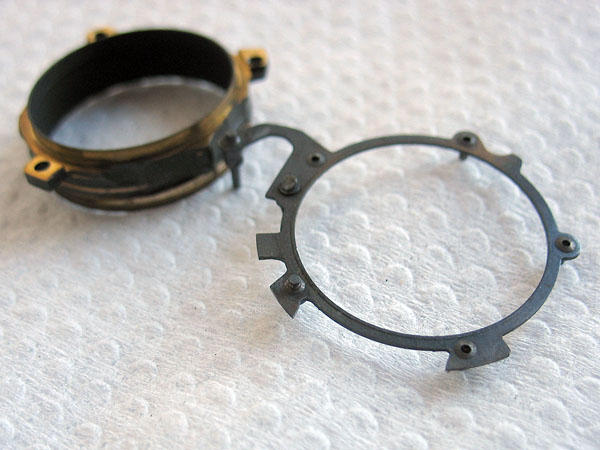
The blade control ring and the tube assembly should then be cleaned in a similar fashion.
Which brings us to the shutter blades. The blades should be swabbed clean on both sides with solvent to remove all traces of oils. If once that has been done there are any obvious marks left on the blades, scuff marks from where the blades overlap, or perhaps a water spot mark, then the blades should be polished with a suitable metal polish. I use 'Brasso' for this job. Polish the blades held flat on a fine cloth over a firm surface.Take great care not to catch your polishing rag on the edge of a blade. If you bend one they are almost impossible to flatten successfully.
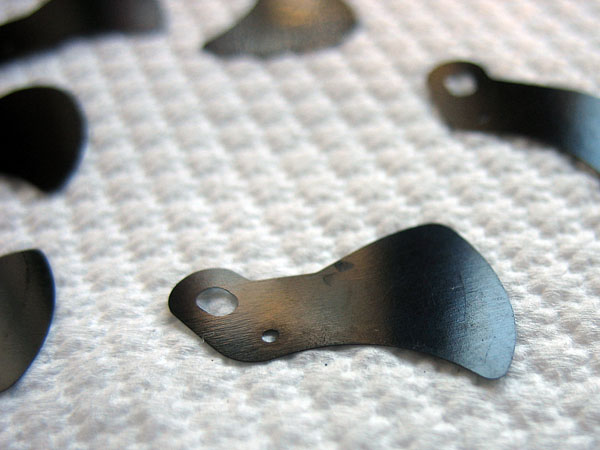
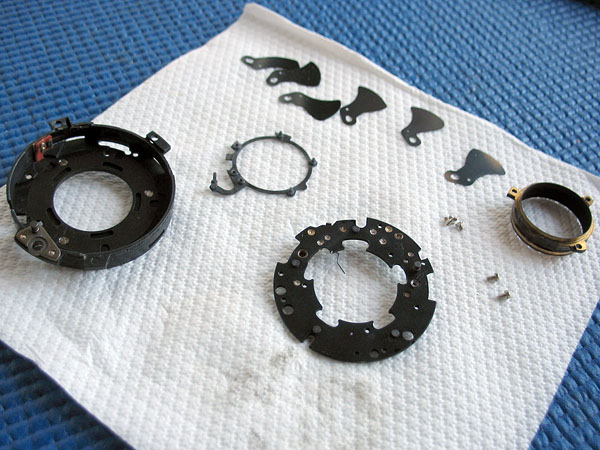
After using the metal polish, swab the blades clean with solvent to remove any traces of the polish. Some leave a waxy residue, probably intended to slow tarnishing on brass or copper. Now all the core shutter parts are clean ready for reassembly.
First some notes on lubrication: I usually first assemble this sub-assembly dry, and then lubricate with a little graphite powder. I work the ring back and forwards a number of times before blowing any loose graphite powder away. It is important than any loose graphite is blown out of the shutter as soon as possible, otherwise it will only find its way out later when it has the chance to end up on the lens.A very suitable alternative to using graphite powder for this task is to use molybdenum lubricant instead, as I have in this particular case. You might even use a very soft graphite pencil to apply a thin layer to the contacting surfaces instead, but I suggest you don't use an oily grease under any circumstances, as the oil will likely promptly transfer its allegiance to the shutter blades as soon as your back is turned. Either that, or the lubricant will go sticky and gum things up.
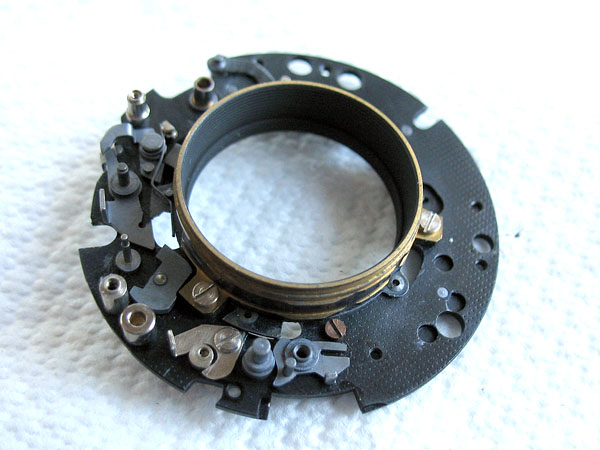
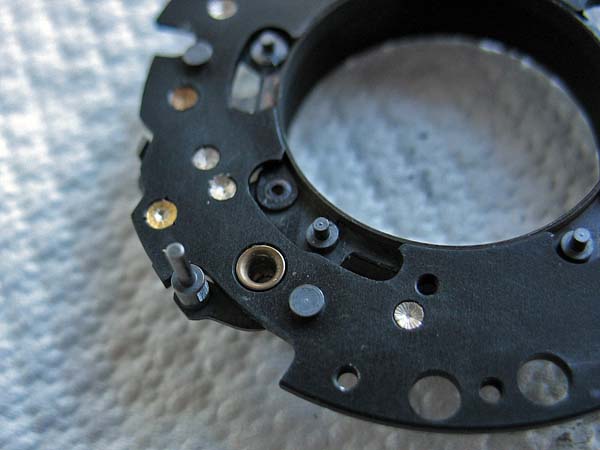
I have here lubricated the contact areas on the blade control ring with molybdenum lubricant, very sparingly applied on the end of toothpick.

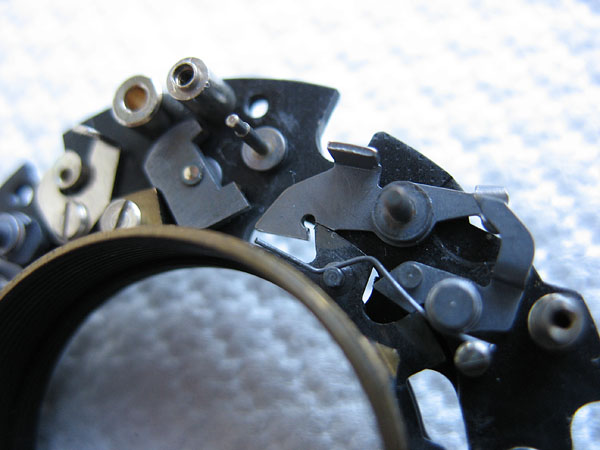
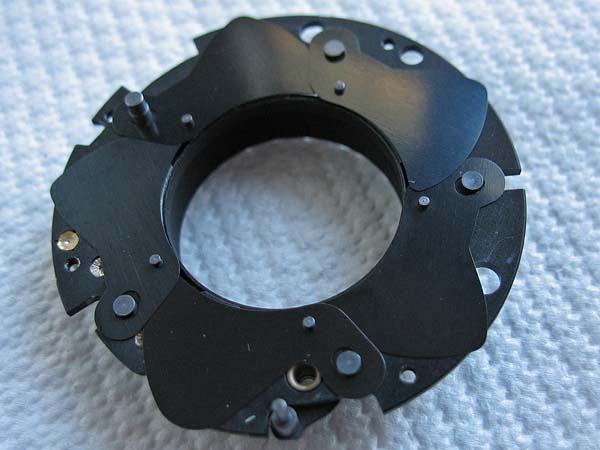
The blade control ring can now be fitted to the mechanism plate. Note the position of the spring that bears on the ring.
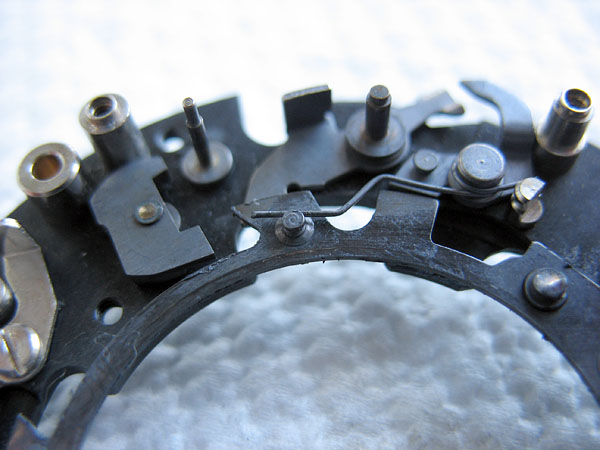
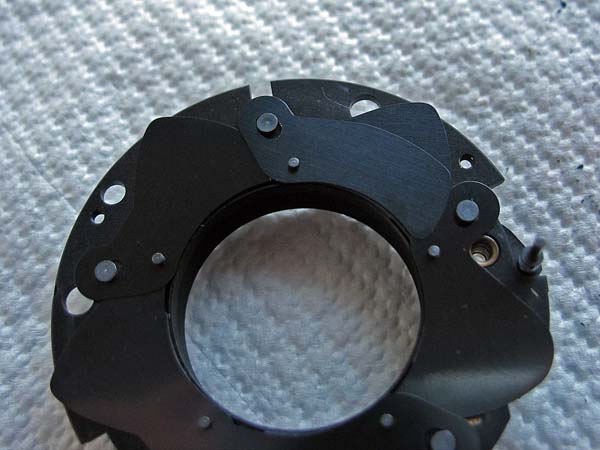
Fit the tube assembly in place. Note the correct alignment. Be careful that none of the levers on the mechanism plate are trapped between the tube and the plate, then fit and tighten the two fixing screws. The third, and slightly longer screw also holding the stop for the main spring will be fitted later in the assembly process.
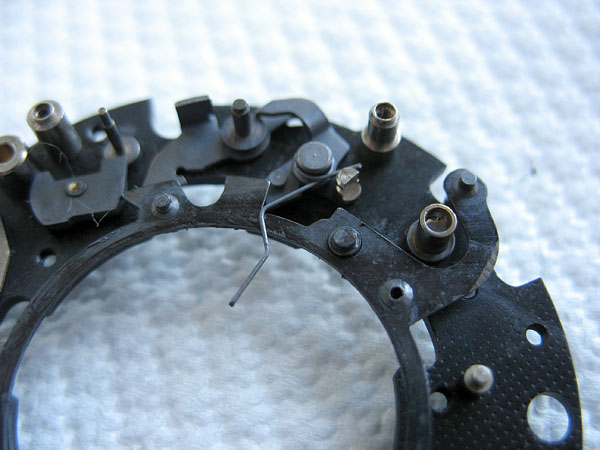
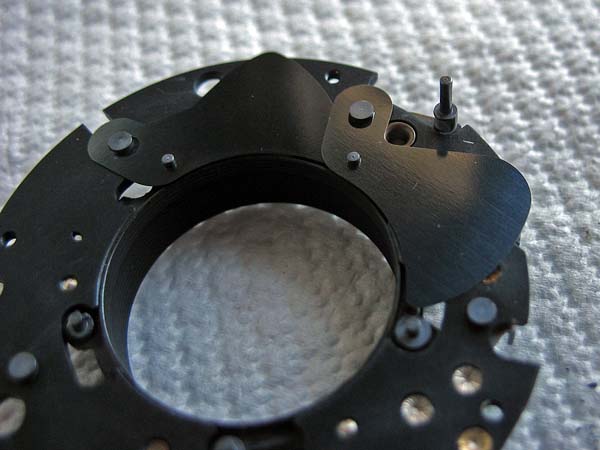
There are three catches or levers on the mechanism plate that perform various functions. The first visible here is the catch for the self-timer. Its job is to prevent the blade control ring from rotating until the self-timer has run down.
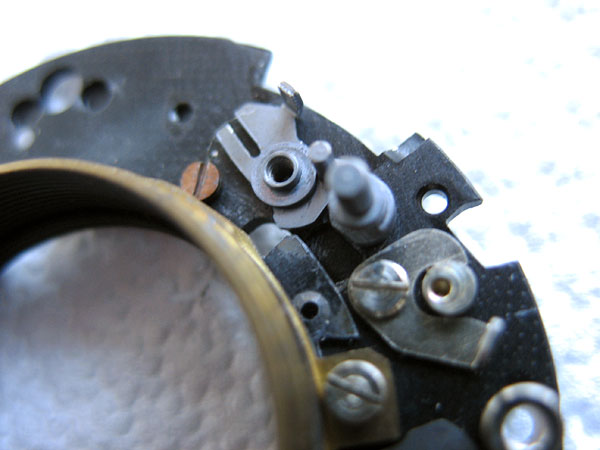
The second catch here is the part of the flash synch mechanism, specifically the 'M' setting. The catch holds the blade control ring from fully rotating and opening the shutter blades for a brief delay after the flash contacts have made. This is the setting used with flash bulbs, which take a measureable time to burn at peak intensity after ignition. By delaying the opening of the shutter, it allows the exposure to be made only when the flash is burning brightest.
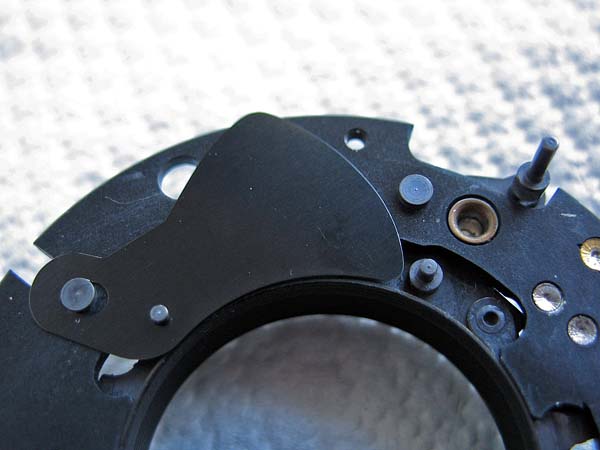
The blade control ring should be positioned in the 'blades open' position as in the picture below.
The first shutter blade should be position as shown. (The first, third, fourth and fifth blades are identical.)
The second blade, the one with the deep notch is then placed as shown
Place the third, fourth and fifth blades.
The sixth narrow cover blade is then placed directly over the first blade.
Check that the shutter case is clean and free from any oil or dust.

Rotate the blade control ring slightly to swing the shutter blades back in a little. This helps clear the case when refitting it.

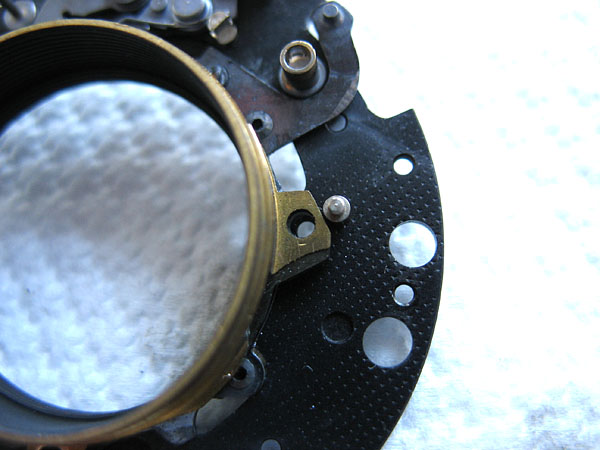
Fit the case over the mechanism plate. It is aligned with the stud on the back of the mechanism plate that forms the pivot for blade number four. You will have to tilt the case to get the mechanism plate past the bracket for the meter drum on the case.
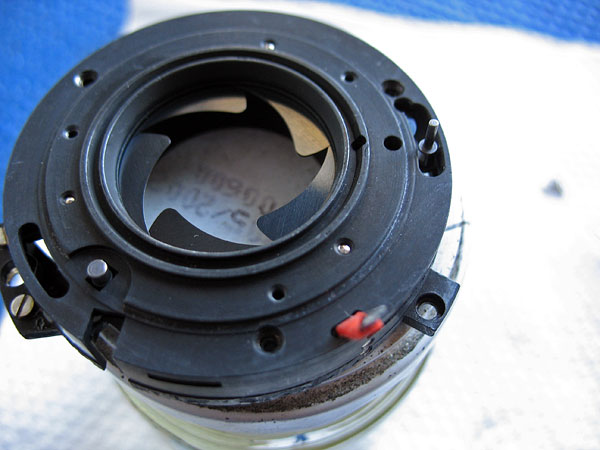
Put the three countersunk screws back into place but don't tighten them right up yet. Check that the blades swing freely by moving the pin on the back of the blade control ring. If all is OK, you can tighten the three case screws.

Next section: Cleaning and reassembling the shutter continued.