Chris's camera pages
How to strip-down and service the Synchro-Compur shutter on a Kodak Retina Ia or IIa camera: continued
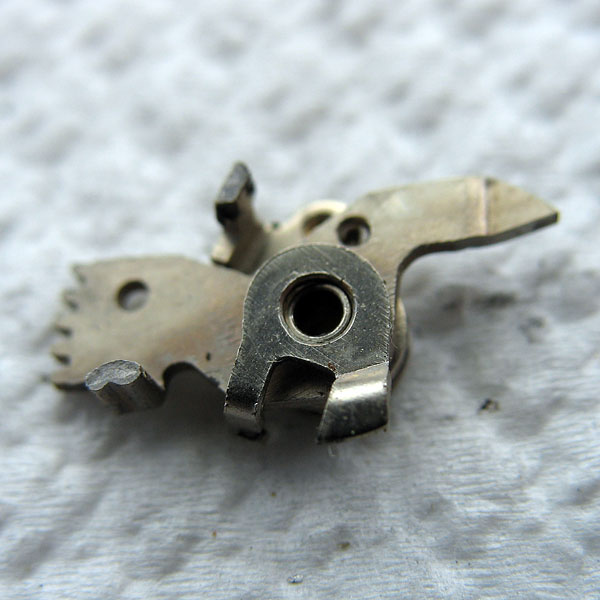
Assembling the synchro mechanism
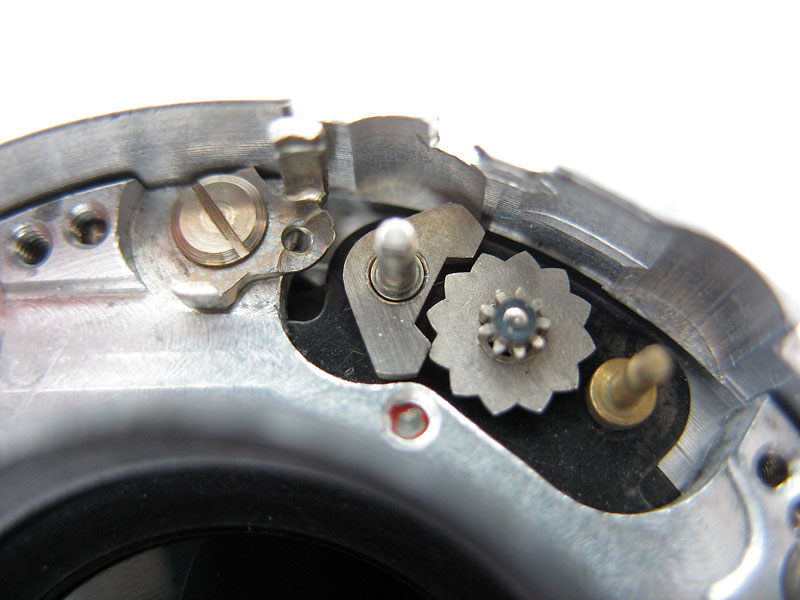
Clean the pallet and fit into place.

Clean the synchro gear and install.
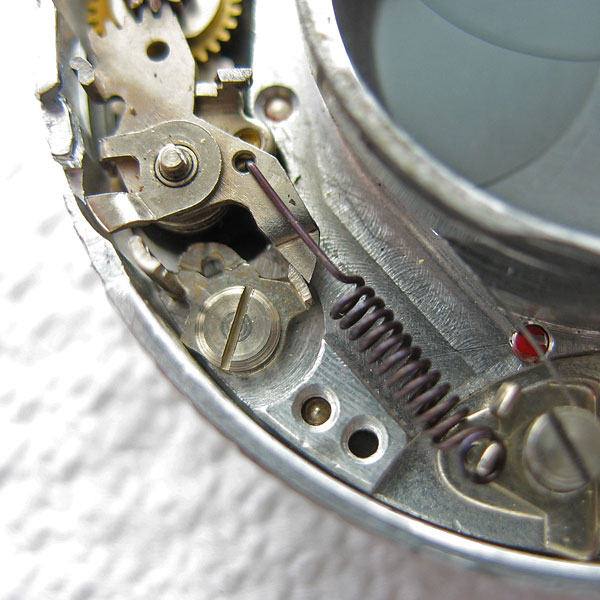
Apply a little molybdenum lubricant to the 1/500 second speed spring and fit over the post.
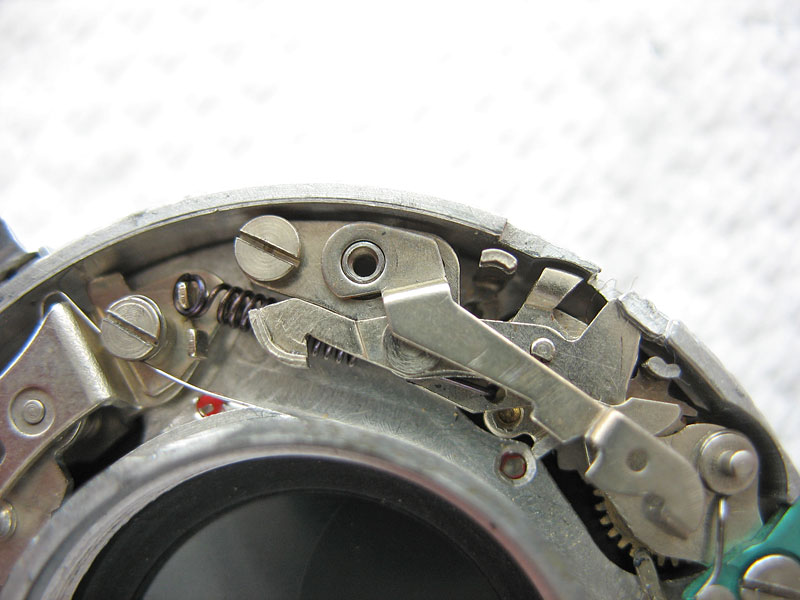
Install the flash contact and lever, first check that the tip of the lever is not resting on top of the bright cam on the synchro gear, then fit and tighten the screw.

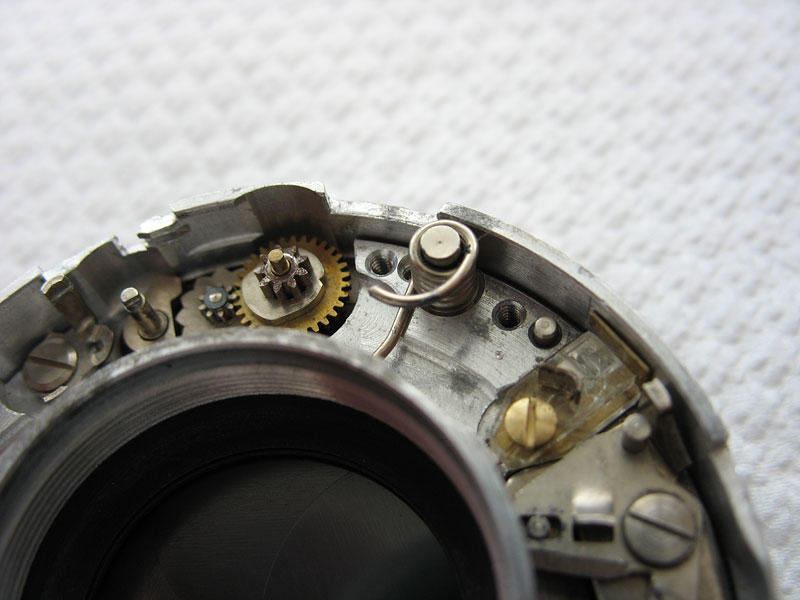
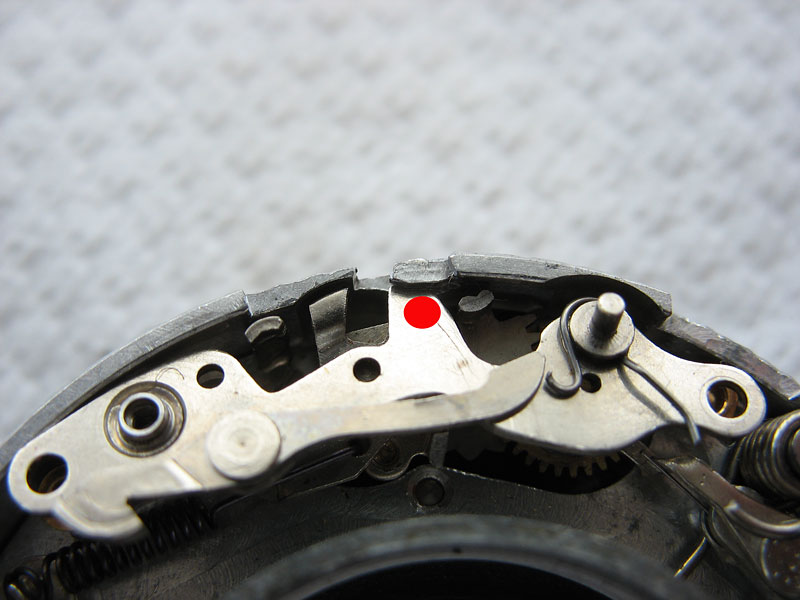
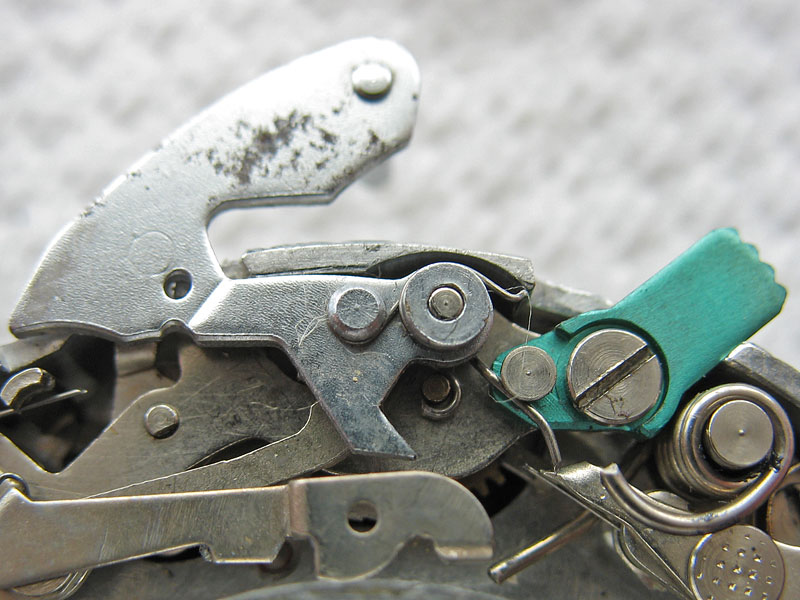
If the synchro gear sector assembly has separated, then reassemble it using these pictures as a guide.A touch of molybdenum on the edge of the point of the lever will help with smooth operation.

Note carefully the relative positions of the synchro gear sector assembly, synchro gear, and the flash lever in this picture and ensure that the parts in your shutter look exactly the same.
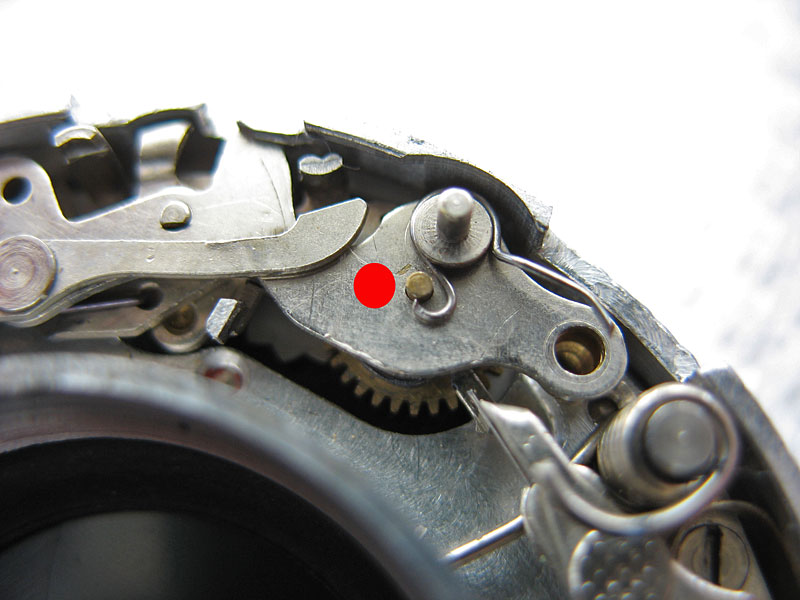
Without disturbing the components, install the synchro spring.
Place both of the brass spacers as shown.
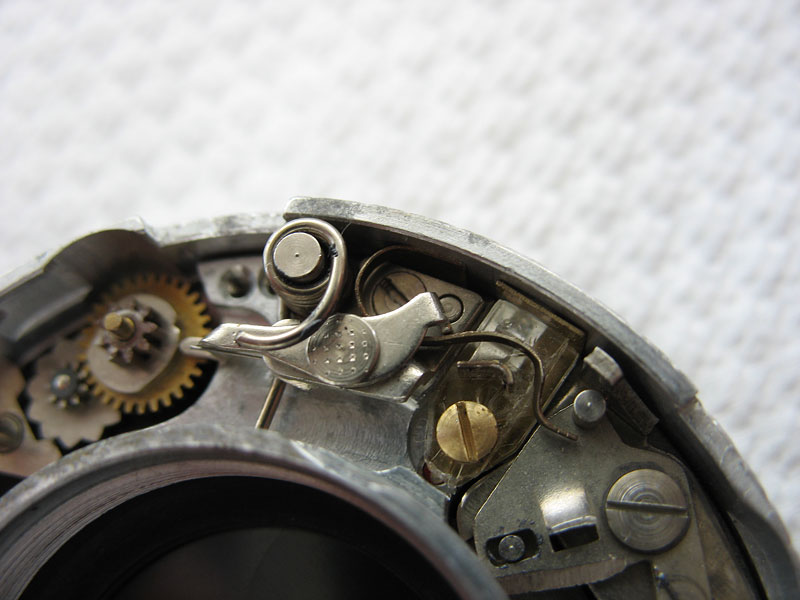
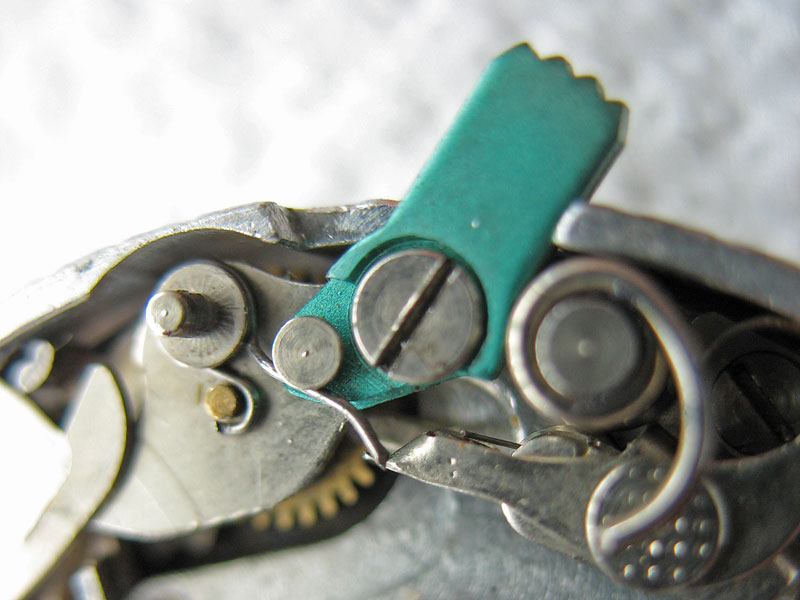
Install the synchro cover plate. First ensure the tab is slipped into the slot in the casting.

Lower the cover plate over the first pivot pin.
Lower the cover plate over the second pivot pin.Make sure the spring for the M-X lever is sitting as shown.

The screw on the left in this picture should be fitted at the left or lower end of the cover plate.

Place the M-X lever under the spring.
Install the remaining screw, tighten and fit the end of the spring against the post on the M-X lever.
Place the 'B' lever over the mounting stud.

Install the spring and screw.Check that spring is fitted into the groove around the screwhead, not trapped underneath it.Make sure the ends of the spring are fitted as in the picture.
Fit the shutter release lever. Note that the fine return spring fits down into the shutter housing.
Questions? Please contact Chris Sherlock